
Table of contents:
2Smart Cloud is an IoT platform explicitly designed for experienced developers’ needs, DIY users, and IoT startups. We combined professional features with a straightforward interface. You can now see how well it has worked out.
Even if you don’t have a microcontroller to create a simple device, you can utilize our virtual device. It is designed distinctively to demonstrate the capabilities of the platform.
Using a virtual device as an example in a platform’s demo, you will test the full functionality of the 2Smart Cloud platform and look at the finished product through the eyes of a real user. This will help you control your device by using a mobile app.
Registration on the platform and demo on the example of a virtual device
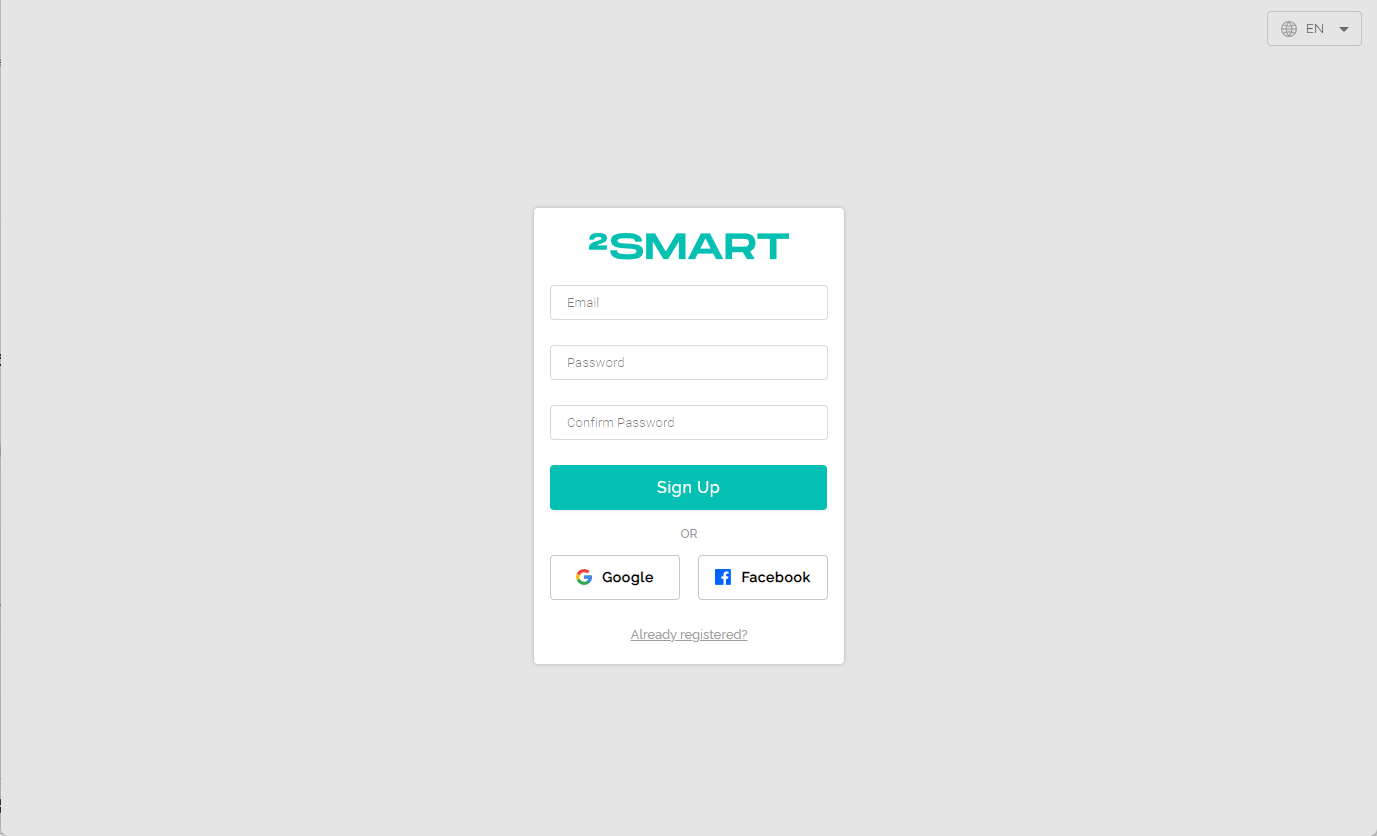
- Follow the link: https://cloud.2smart.com/.
- Create a new account or sign in with your Google, Facebook, or Apple account. When you sign in via social networks, you will receive an automatically generated password to your Email – you can change it in your account’s settings later. You may need the password to connect to third-party services without authorization via a social network. You will also need it when logging into the 2Smart Cloud mobile app.

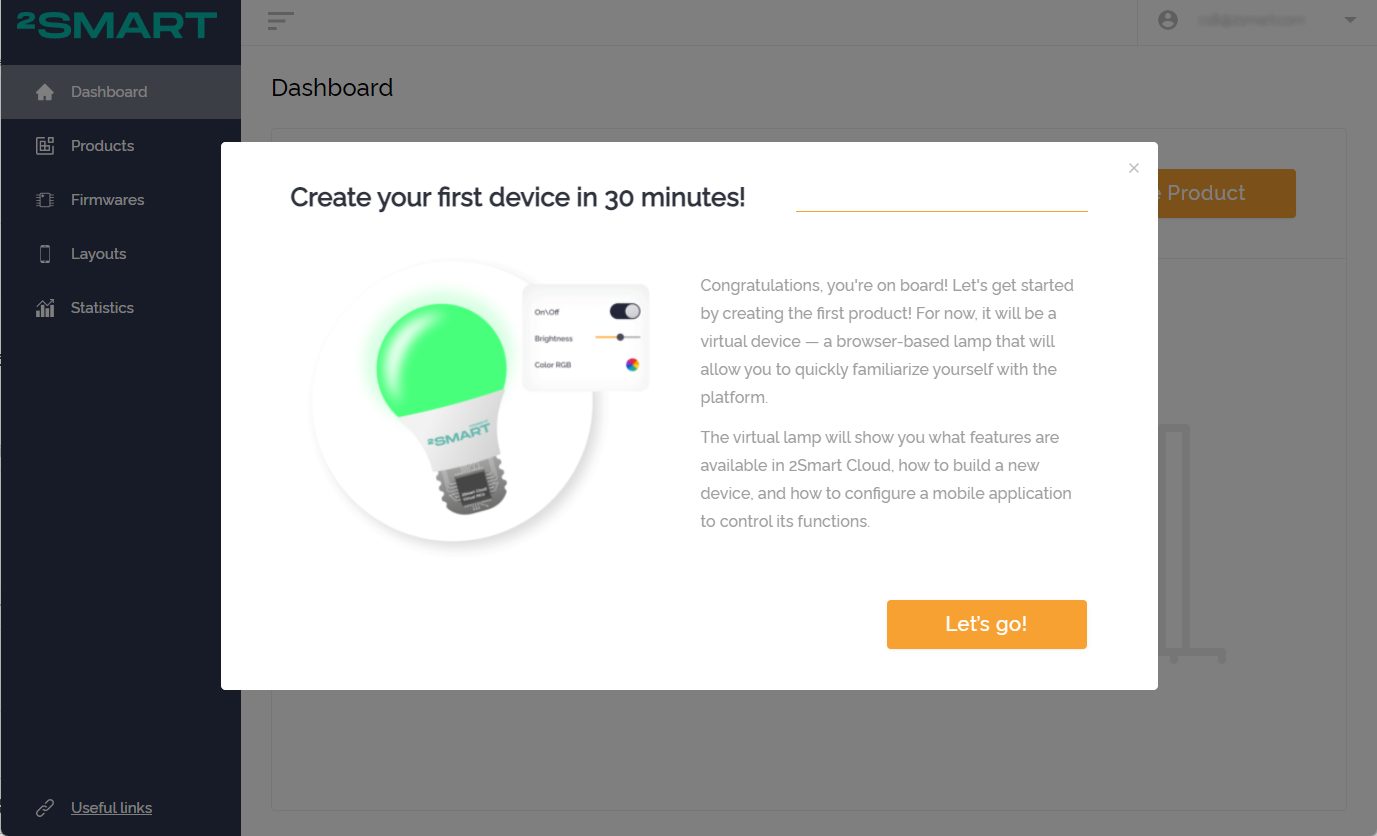
- After registering, the system will suggest creating a test product based on a virtual device. Click “Let’s go!” to get started.
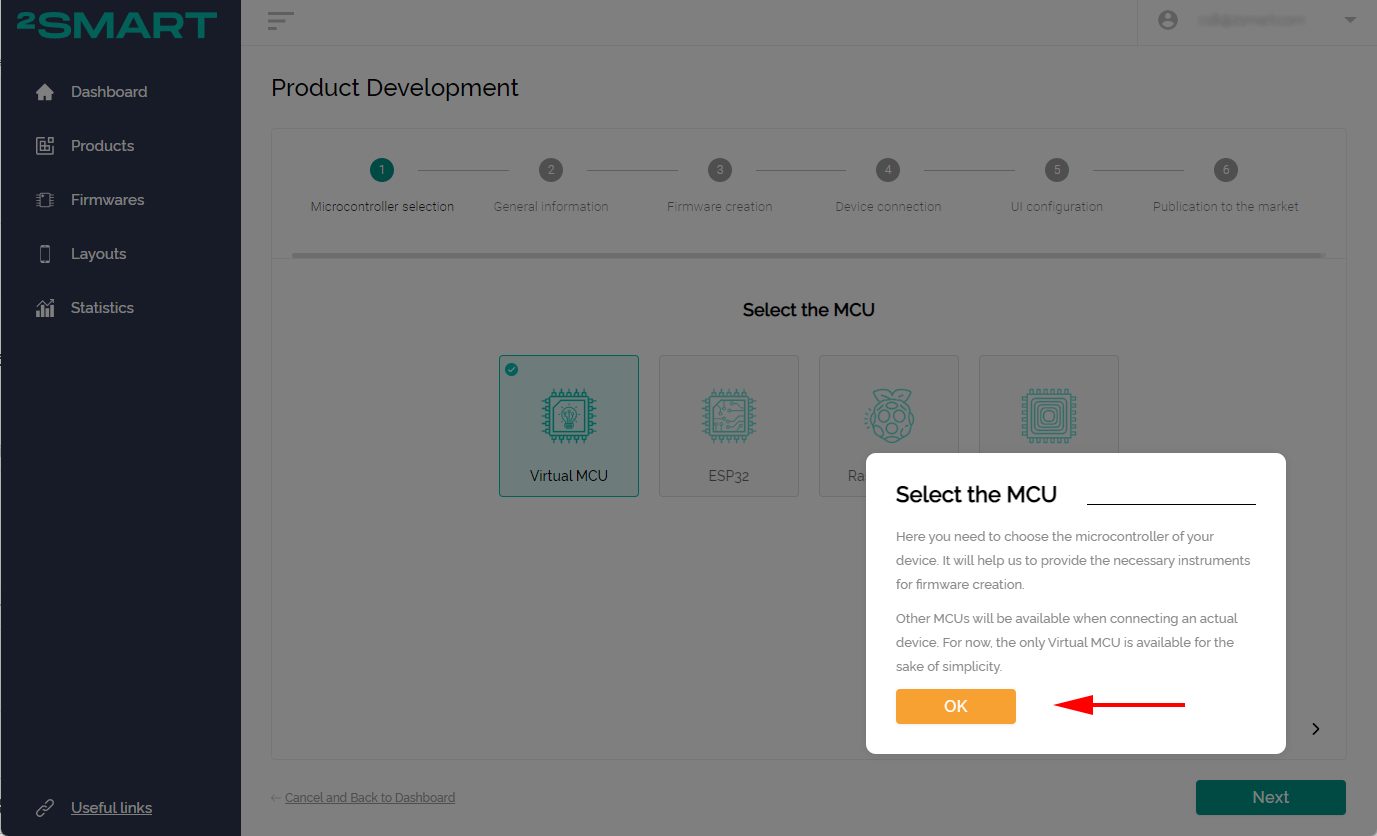
- During all stages of the demo, detailed tooltips in the lower right corner of the screen will assist you. You can hide them by clicking the “>” icon or the “OK” button and summon them again by clicking the “i” icon in the same place on the screen.
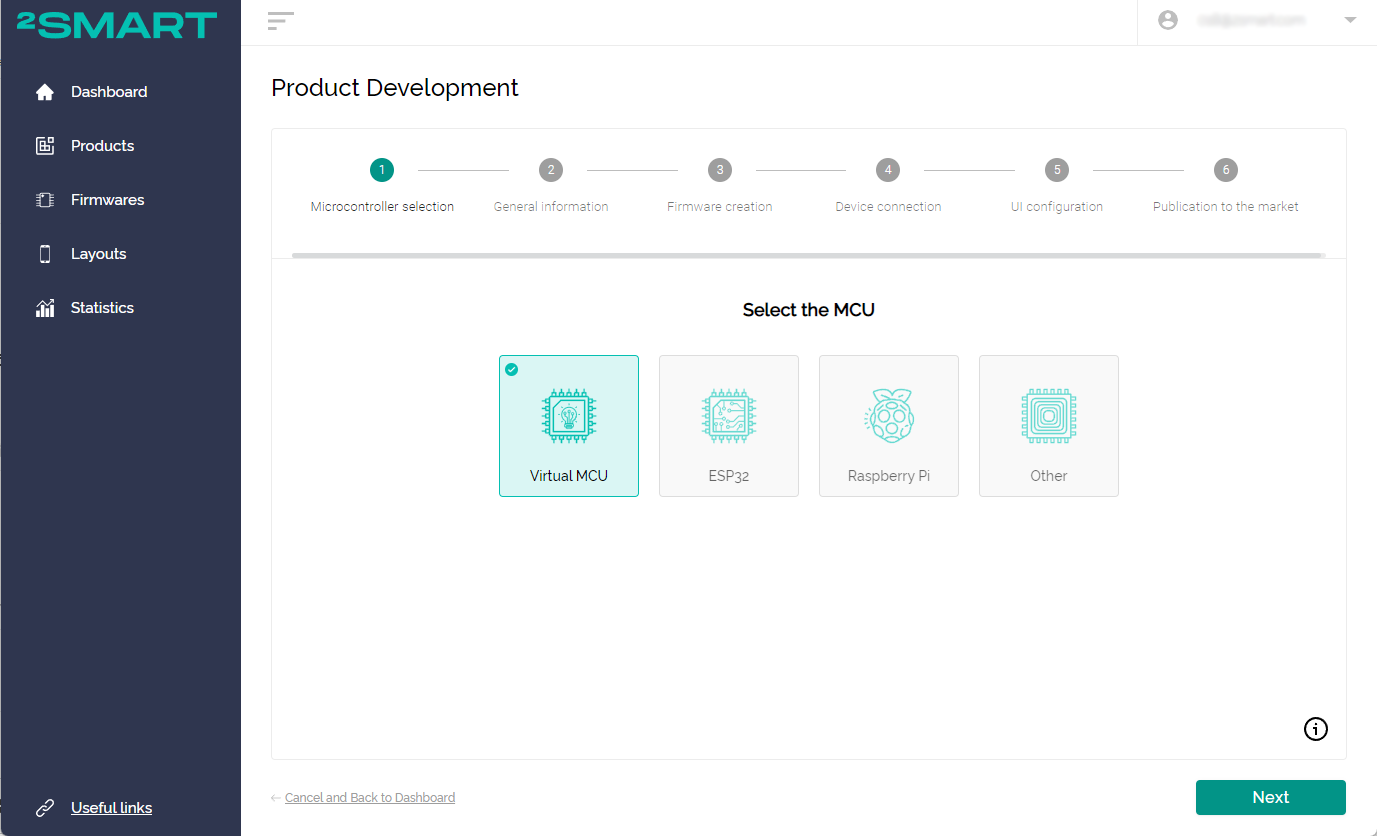
- When working with an actual device, firstly, you need to select the microcontroller based on which you will build the scheme. Since we are working with a virtual device, you can only select the “Virtual MCU” option. Do this, then click “Next”.
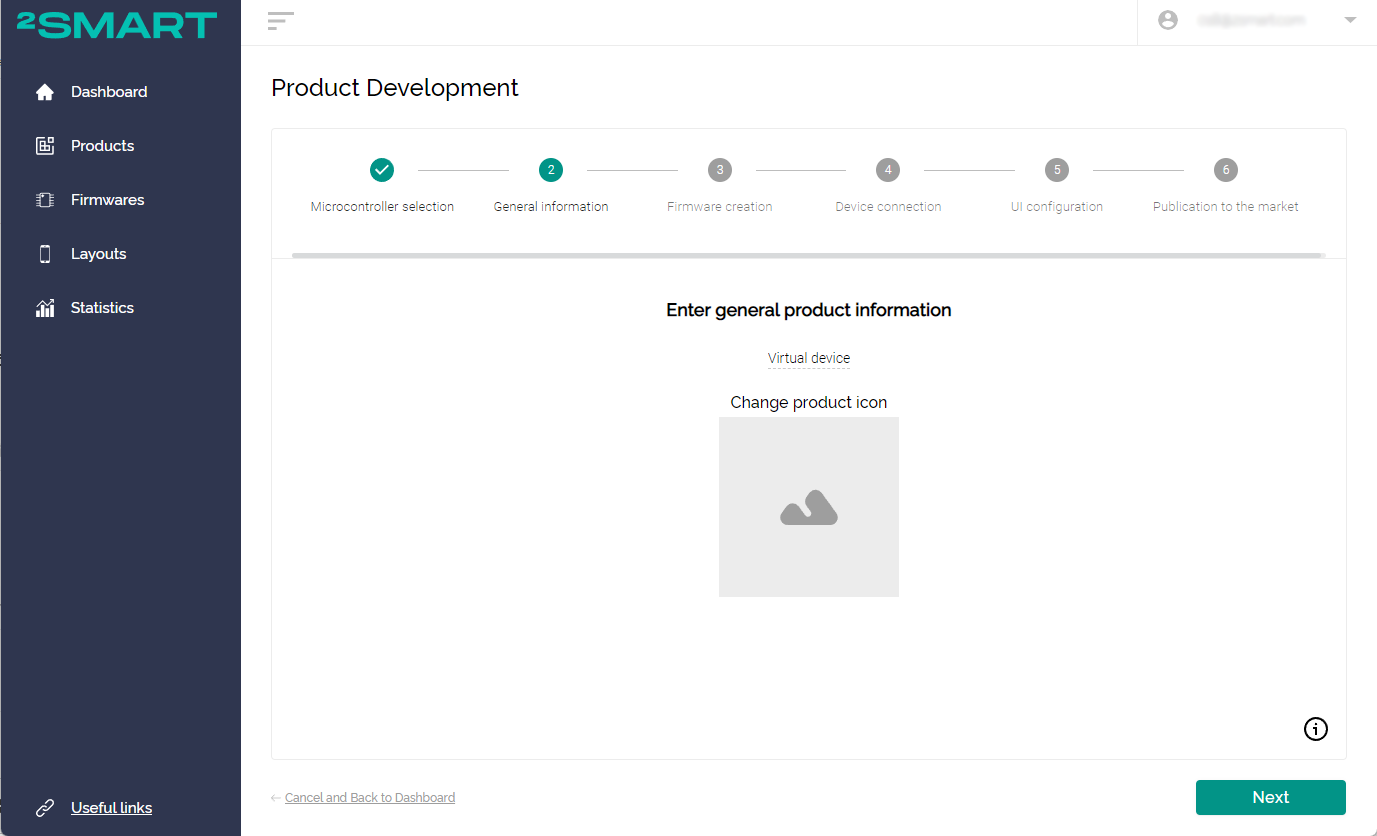
- We recommend entering the device’s name and downloading an icon at this stage. If it is an actual product, this information will later appear in the 2Smart Cloud mobile app device market. You can skip this step by clicking the “Next” button.
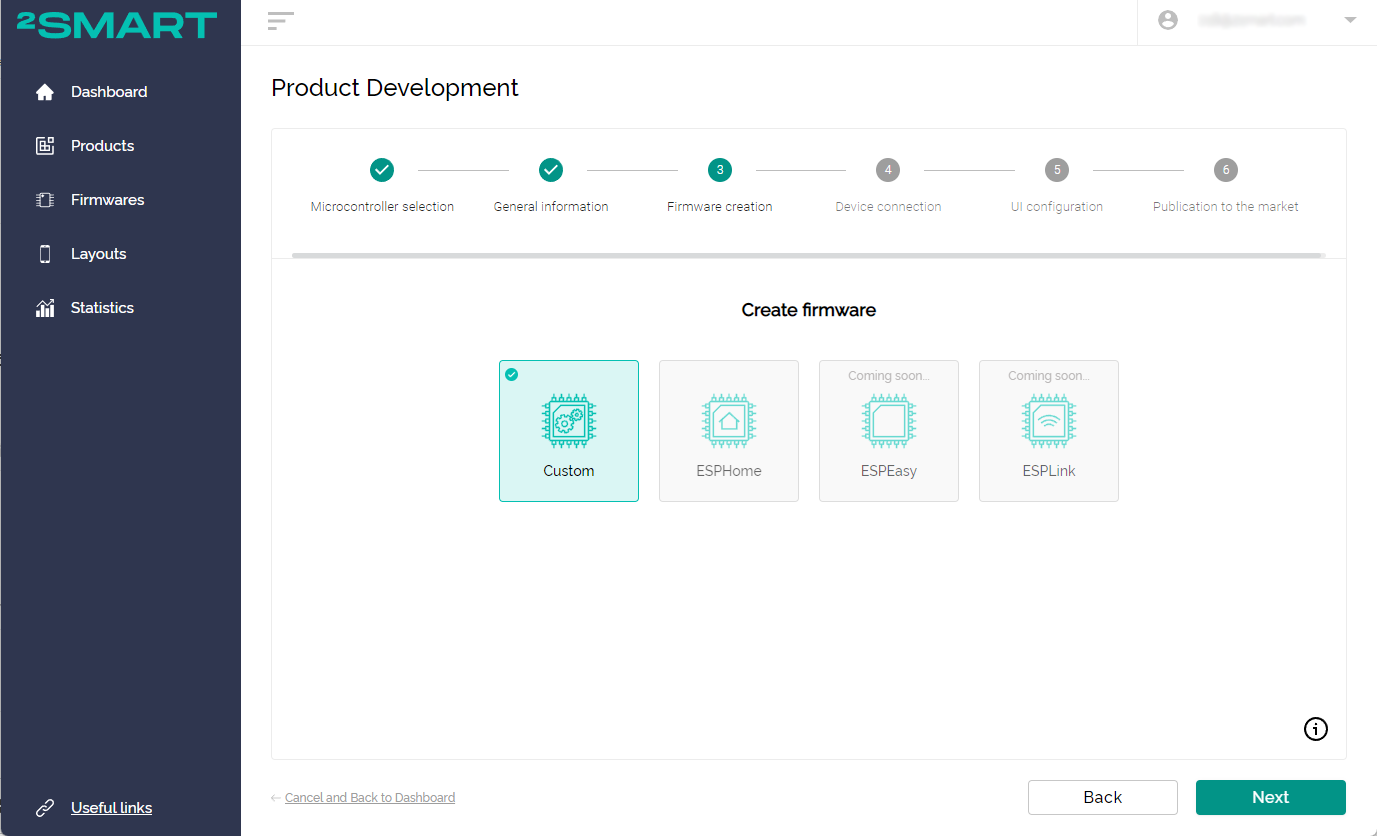
- The next step is the firmware configuration. There are several options when working with an actual device.
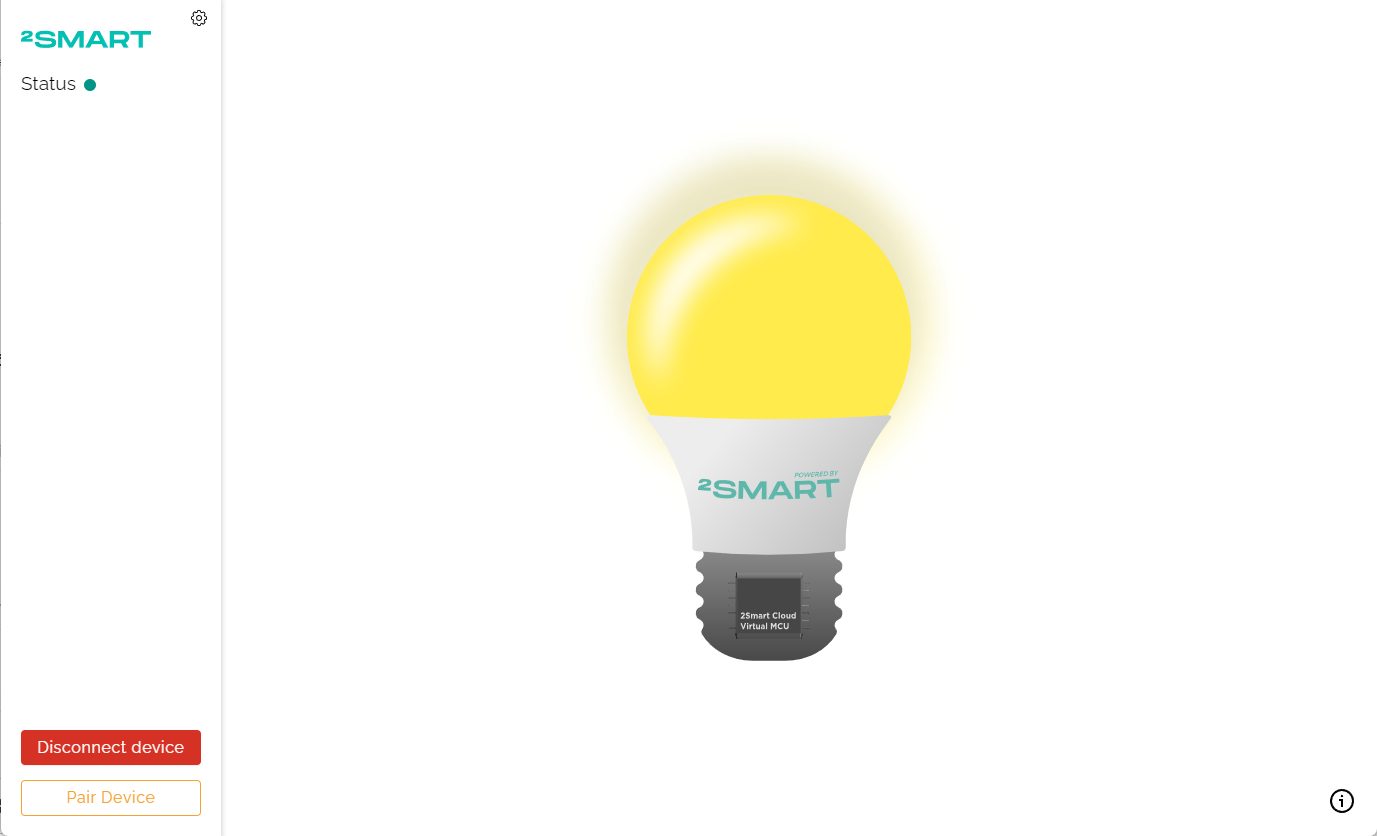
For the ESP32 microcontroller, the ESPHome base is available. Its use does not require any basic programming knowledge. An alternative option is Сustom firmware which is written according to the platform documentation and gives the developer more possibilities.We already wrote a Custom firmware for the virtual lamp. By clicking the “Connect device” link, a new browser tab will open a ready-to-use virtual device with all the necessary settings. Wait until a notification confirms the device’s successful connection to the platform.
- Return to the developer’s account. Once you are there, a tooltip pop-up with the link to the virtual device will close automatically. Click “Next” to proceed.
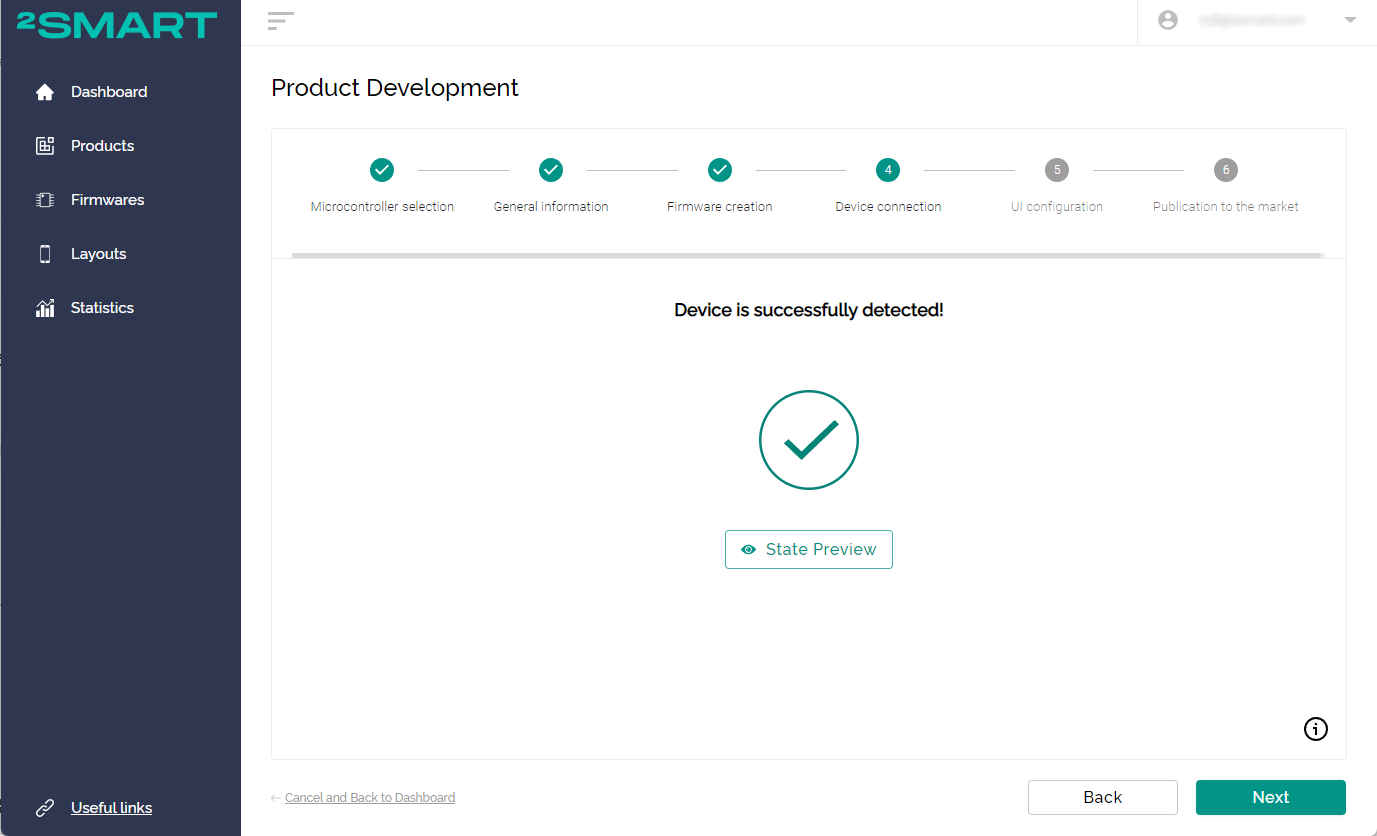
- A notification on the new screen informs you that the system has successfully detected the device.
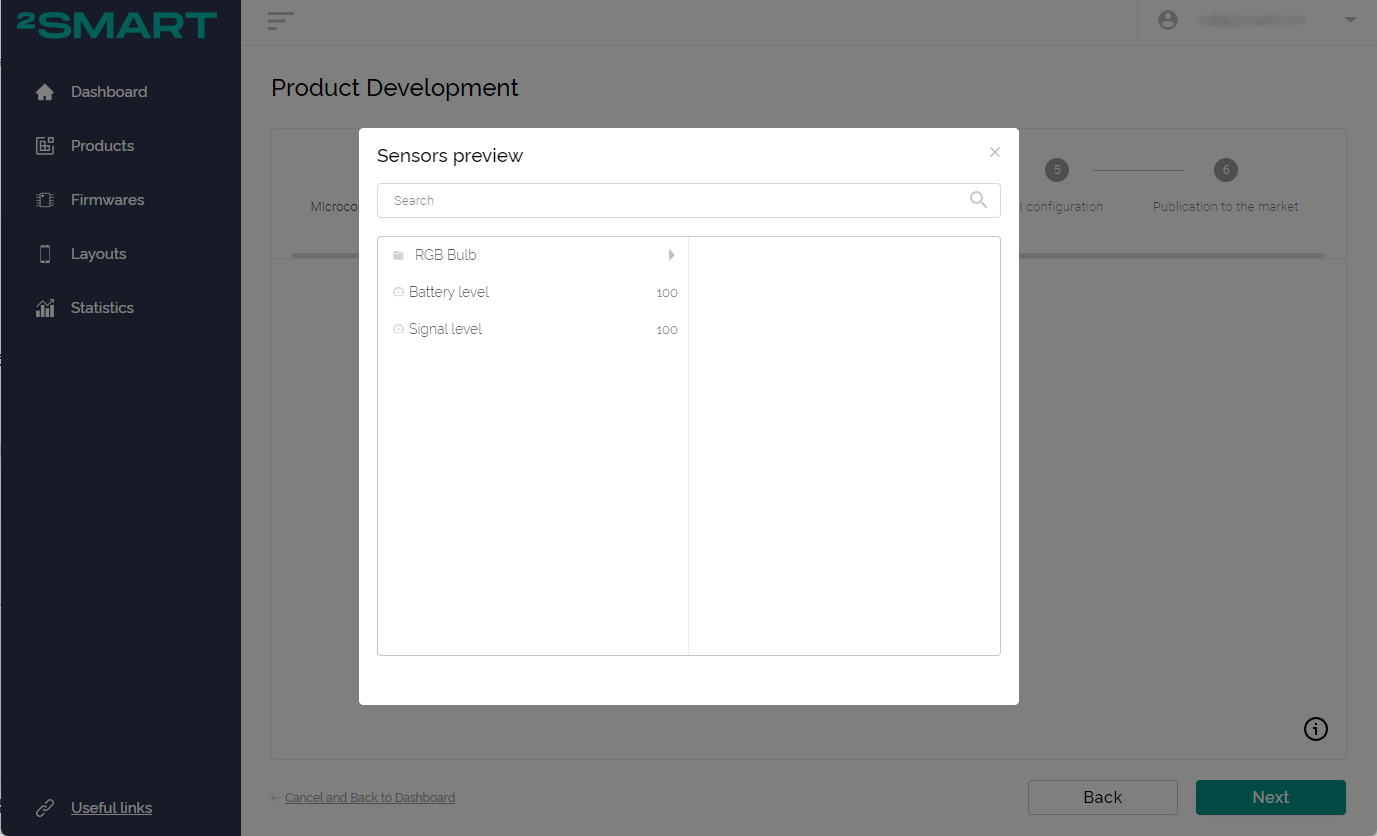
- Click the “State Preview” button, and the sensors data preview window will appear. Similarly, telemetry can be obtained from the actual device already at this wizard stage.
- After closing the sensors data preview window and clicking “Next”, you will proceed to the following step: the settings of the mobile app interface.
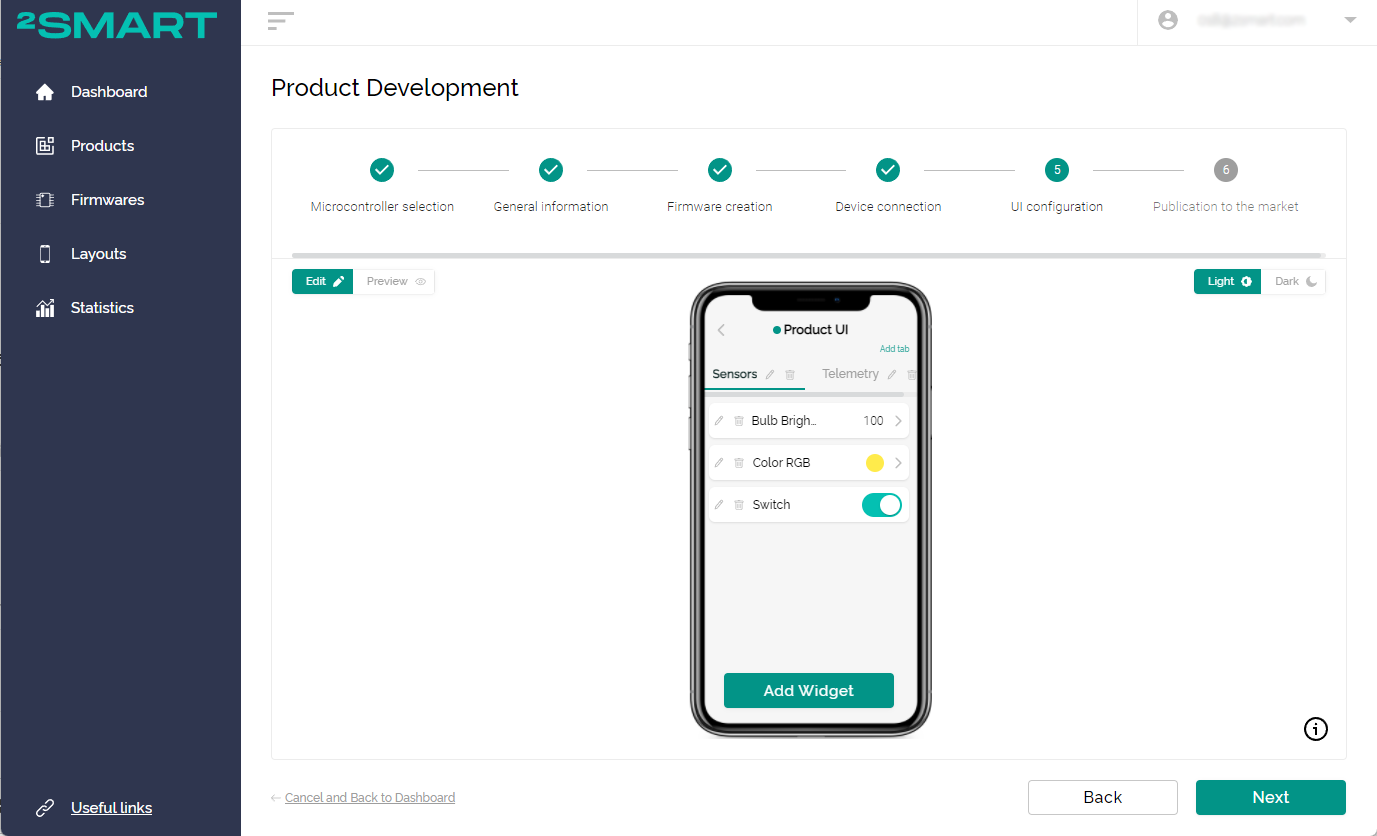
The primary interface for any new device is created automatically. The layout is based on the sensors specified in the schematic. You can improve the interface as you like.
You can group widgets in different tabs. The platform offers an extensive widgets library, many of which are interchangeable. You can use various widgets to control the same sensor. This depends on which one is more convenient for you to use with your device.
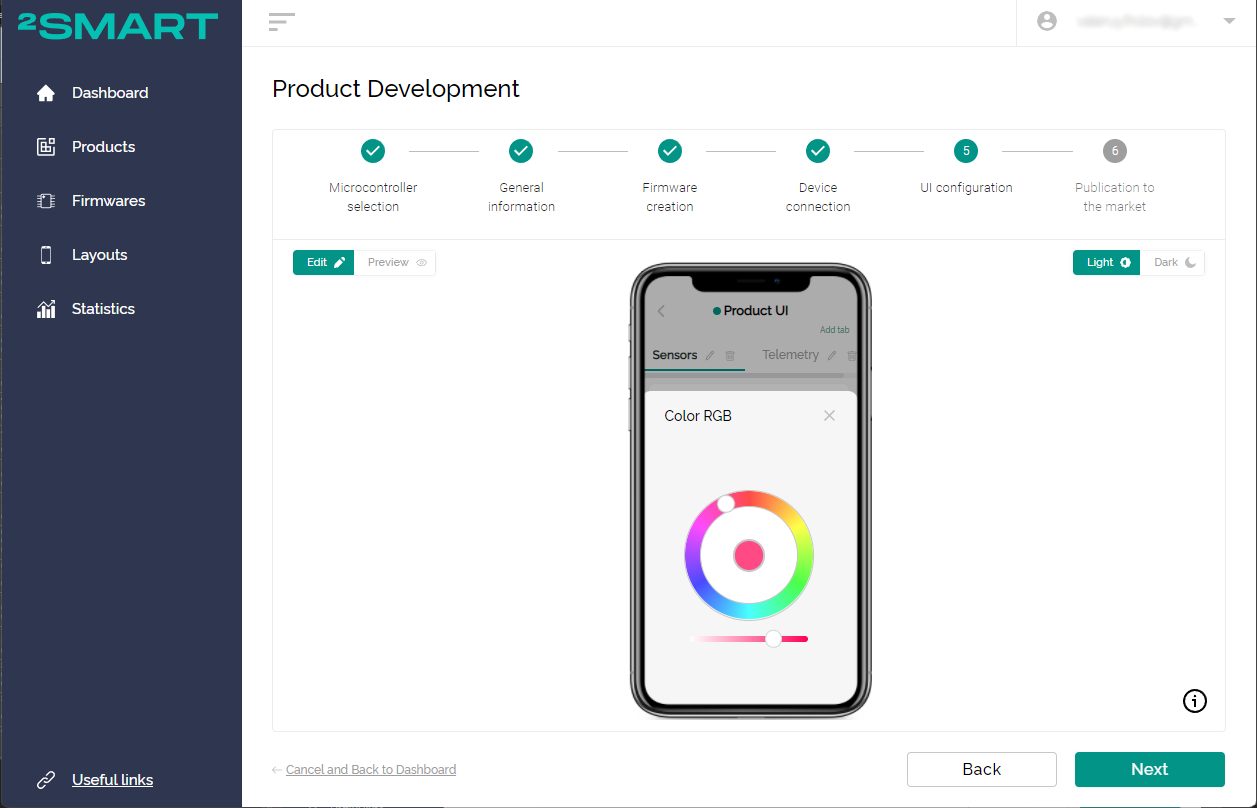
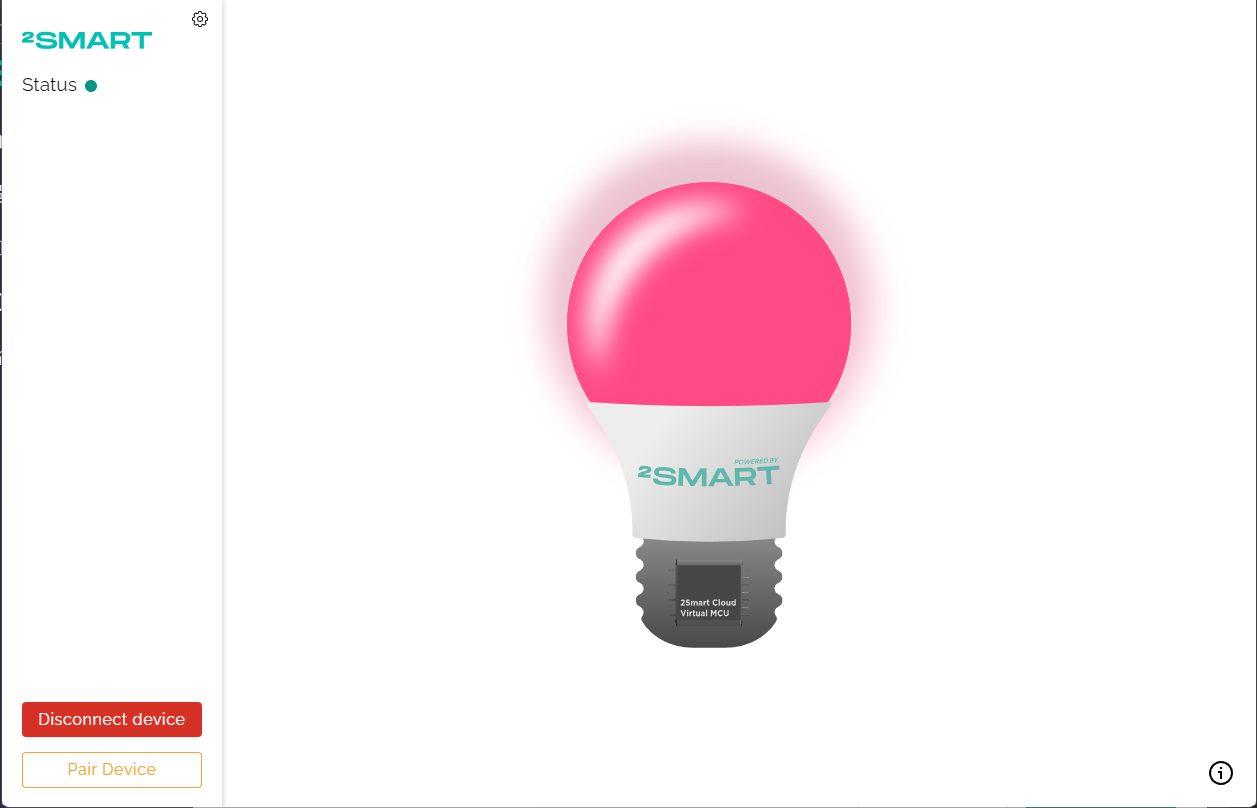
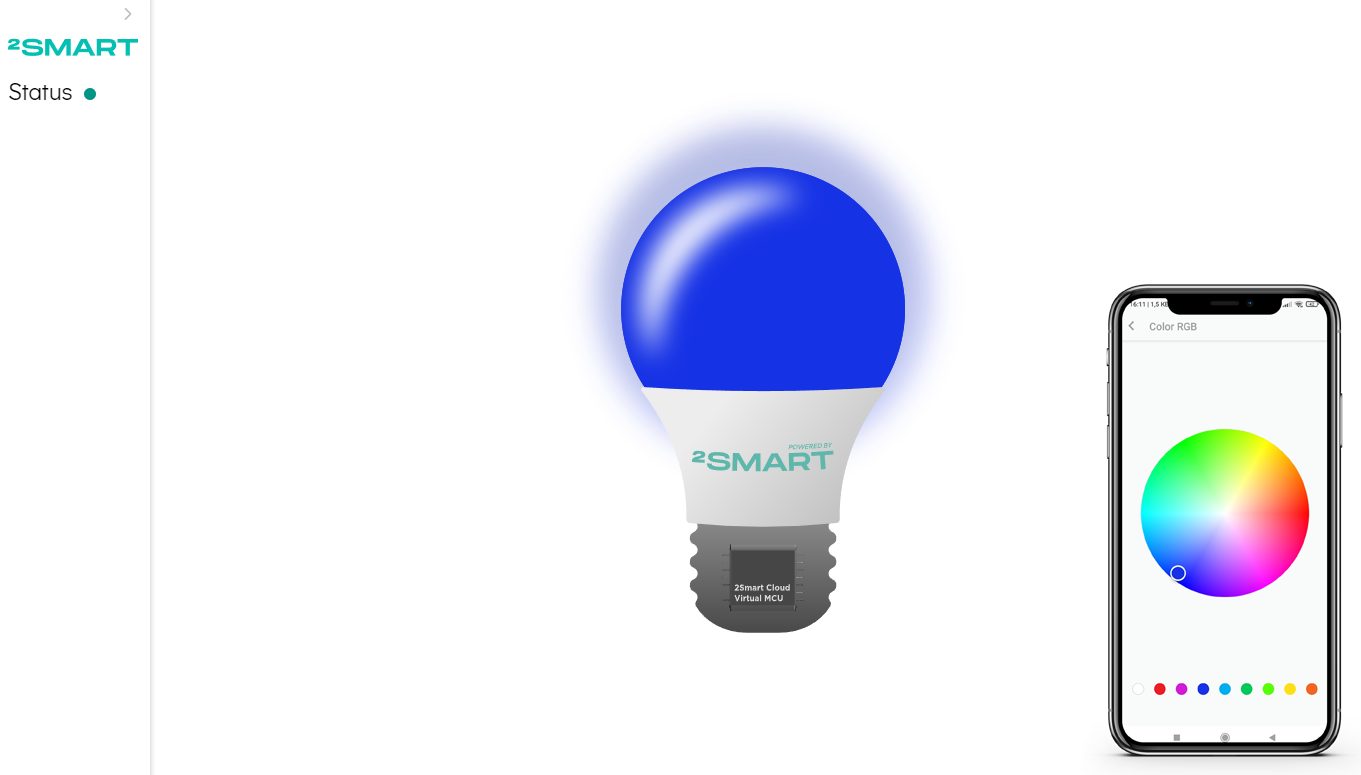
- Note that you can control the device directly from the application emulator. For example, by setting the glow color to red in the “Color RGB” widget, you can see that the virtual device reacted instantly and executed this command.


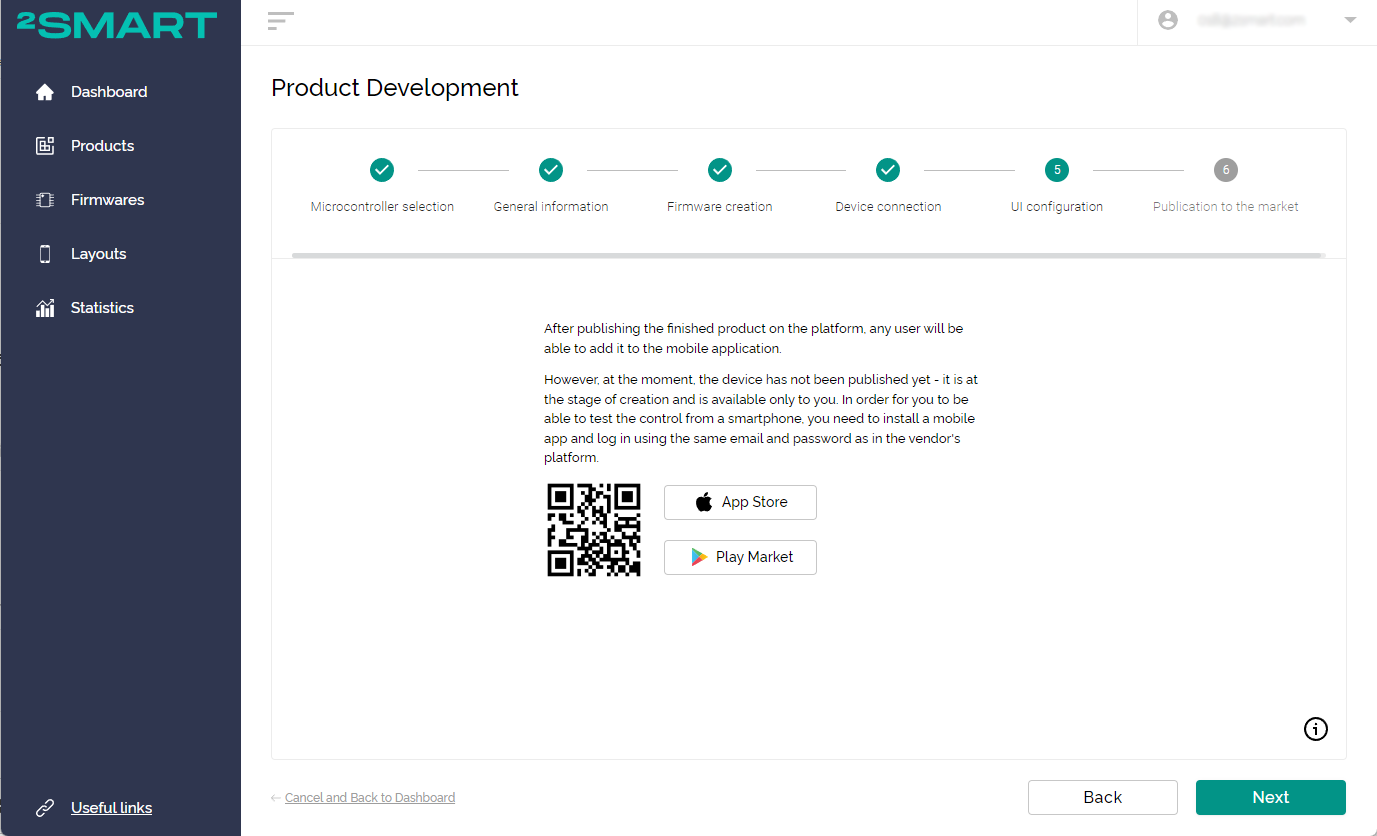
- After customizing the mobile app interface, click “Next”. A window will appear with instructions on adding your device to the mobile app.

Let’s collaborate
We’re empower your business with our technology expertise
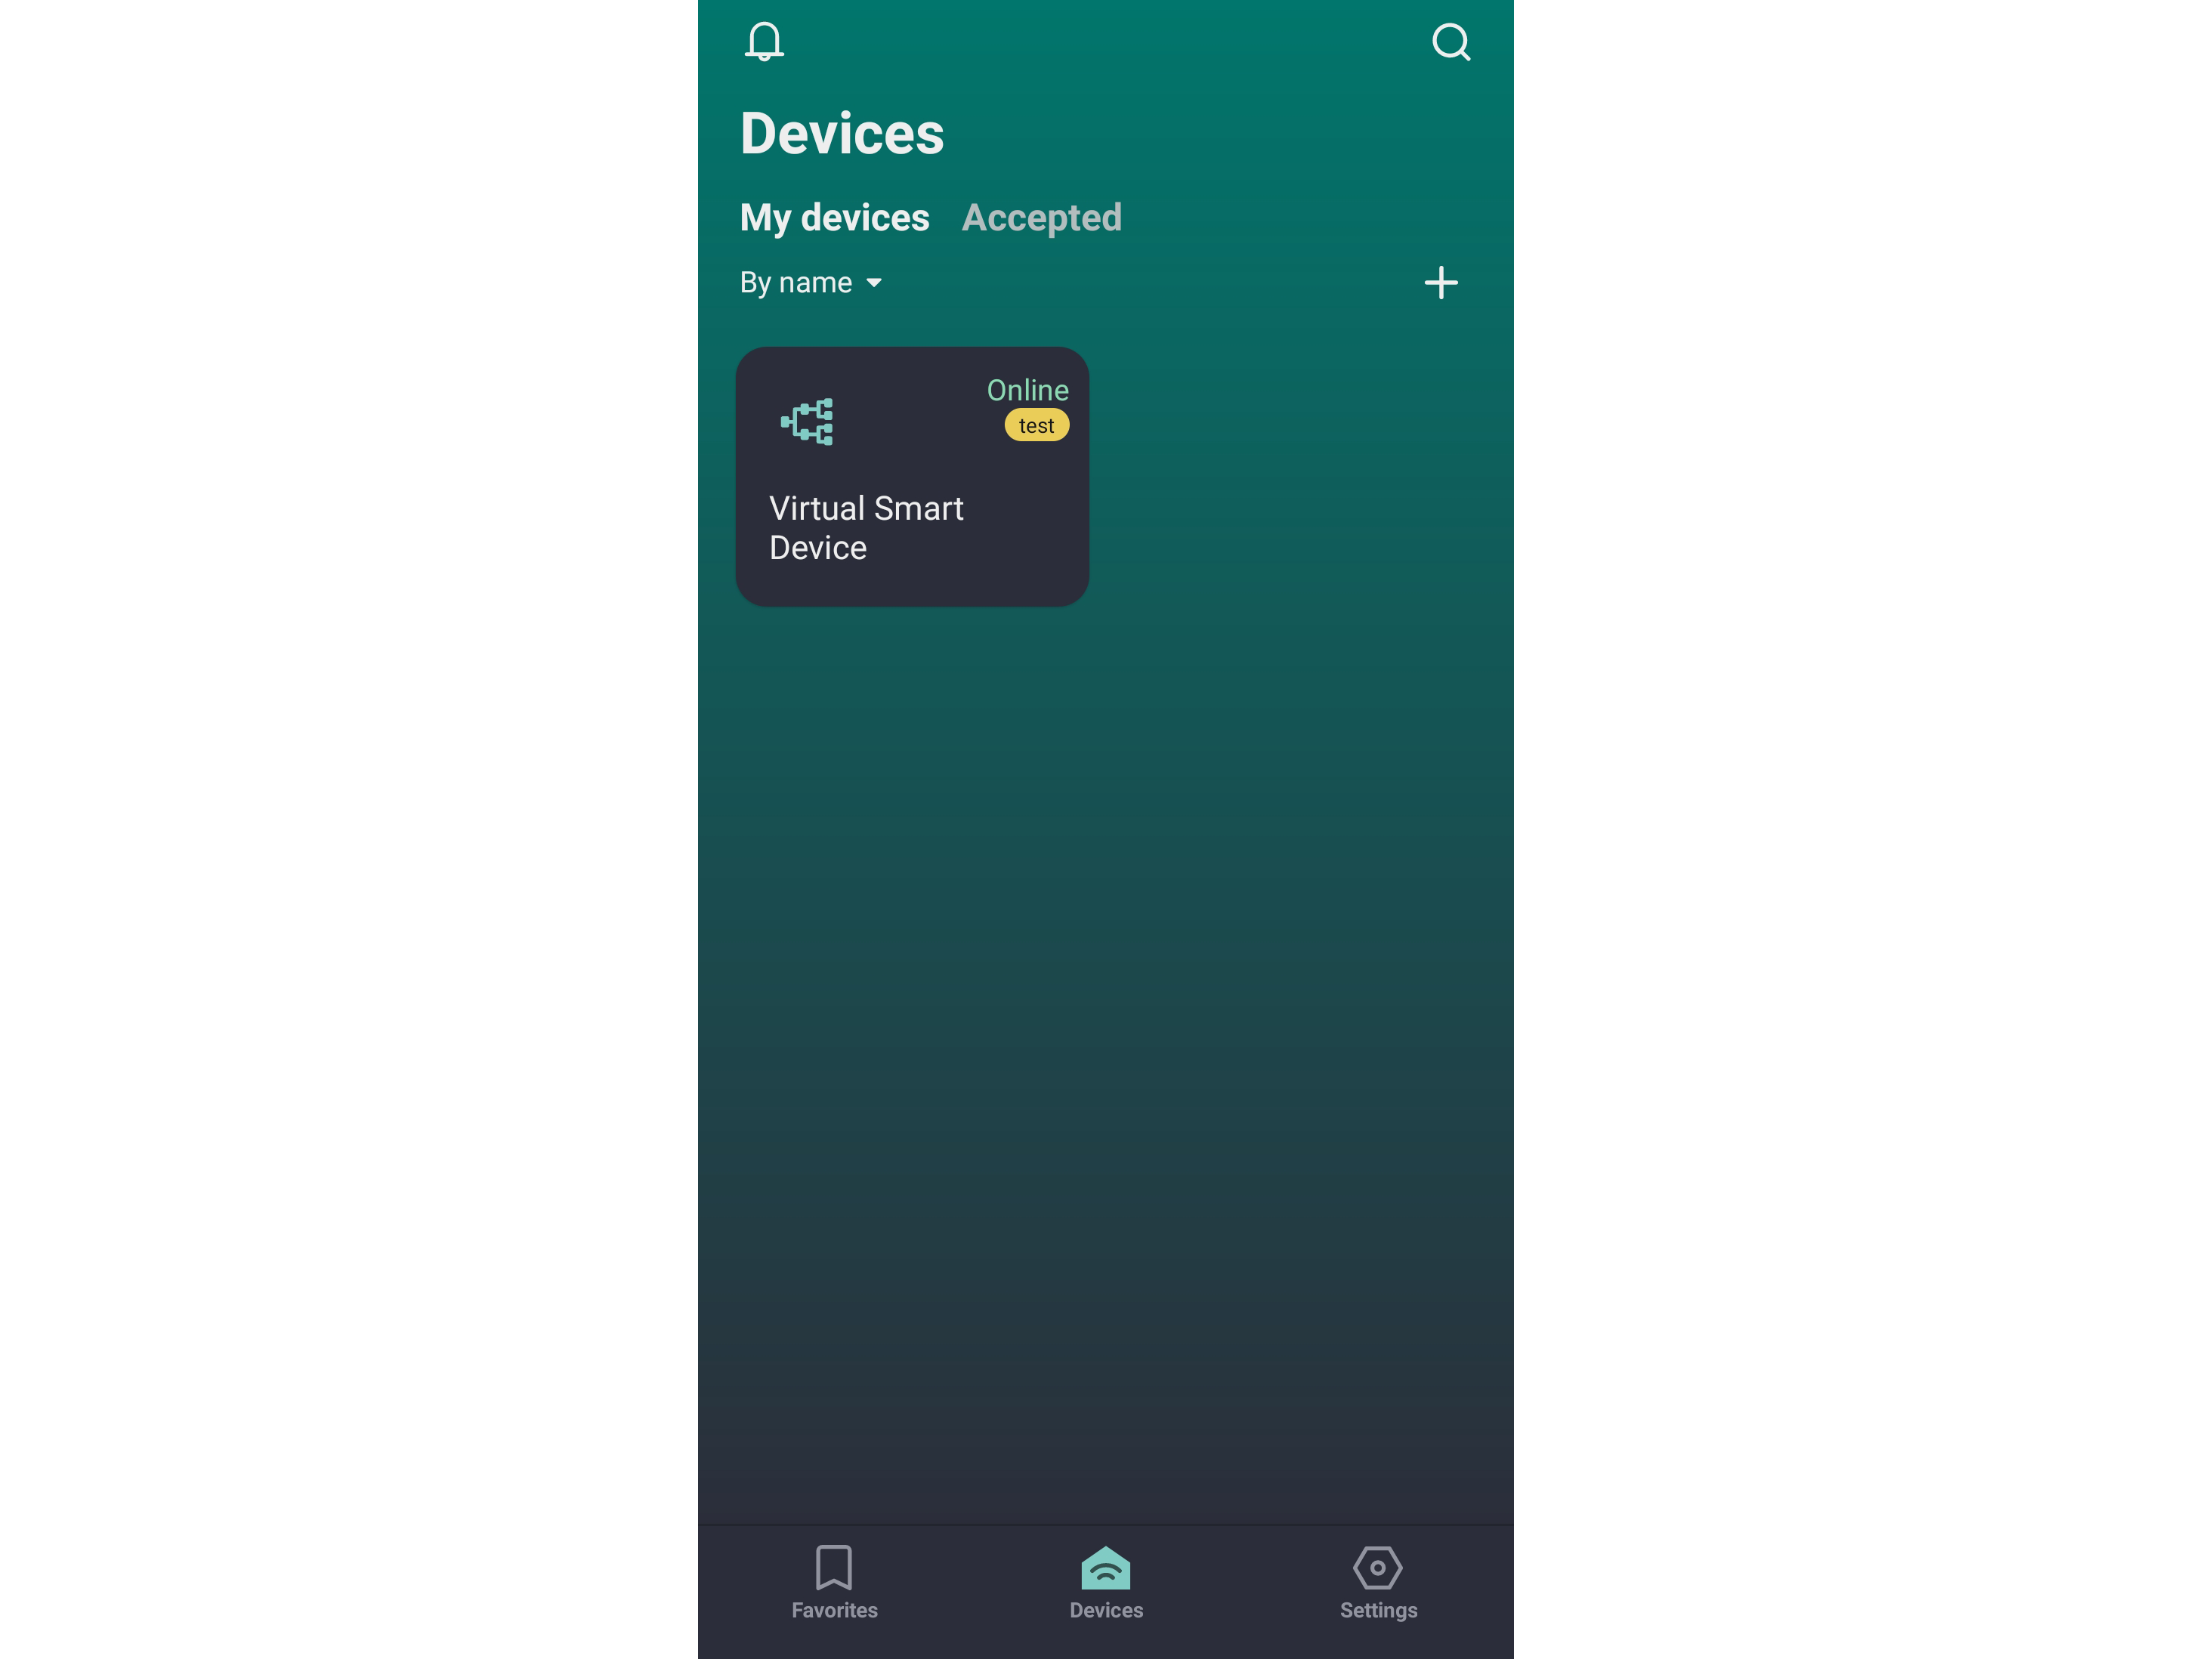
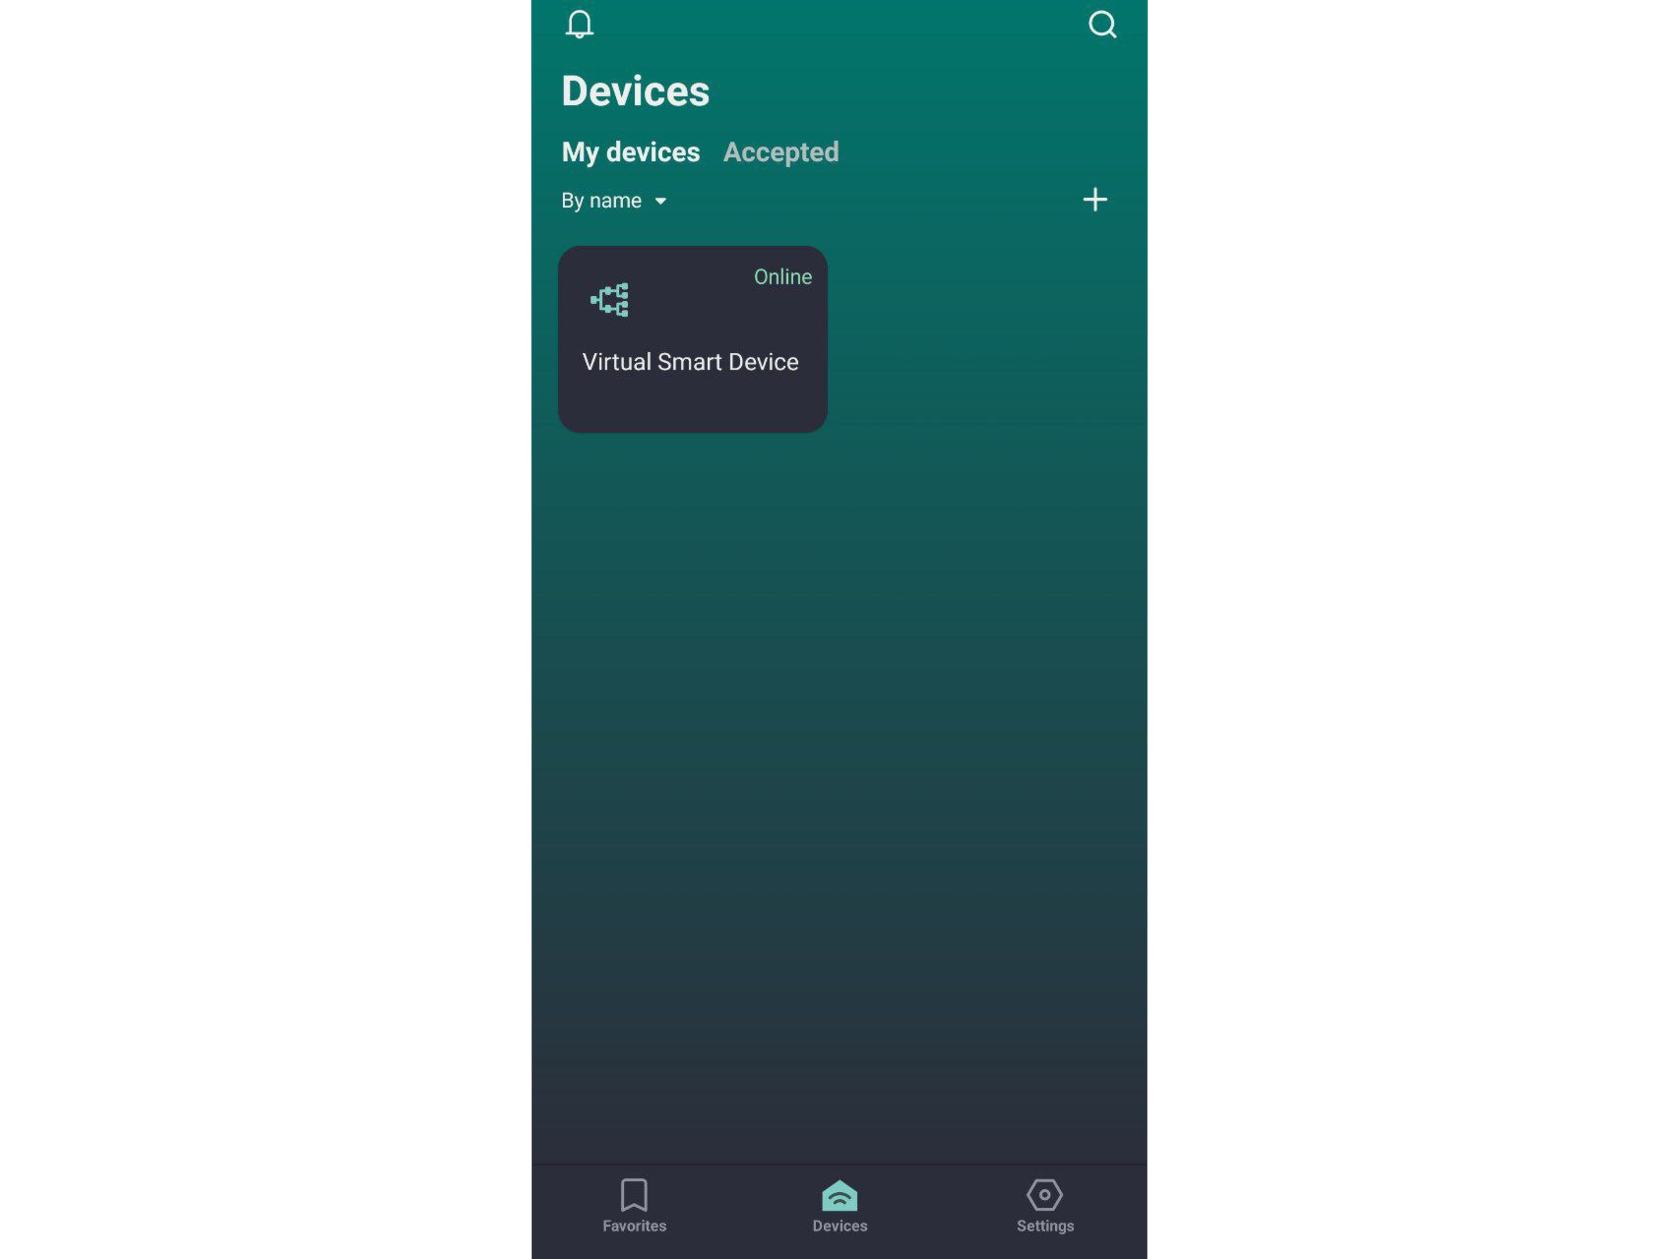
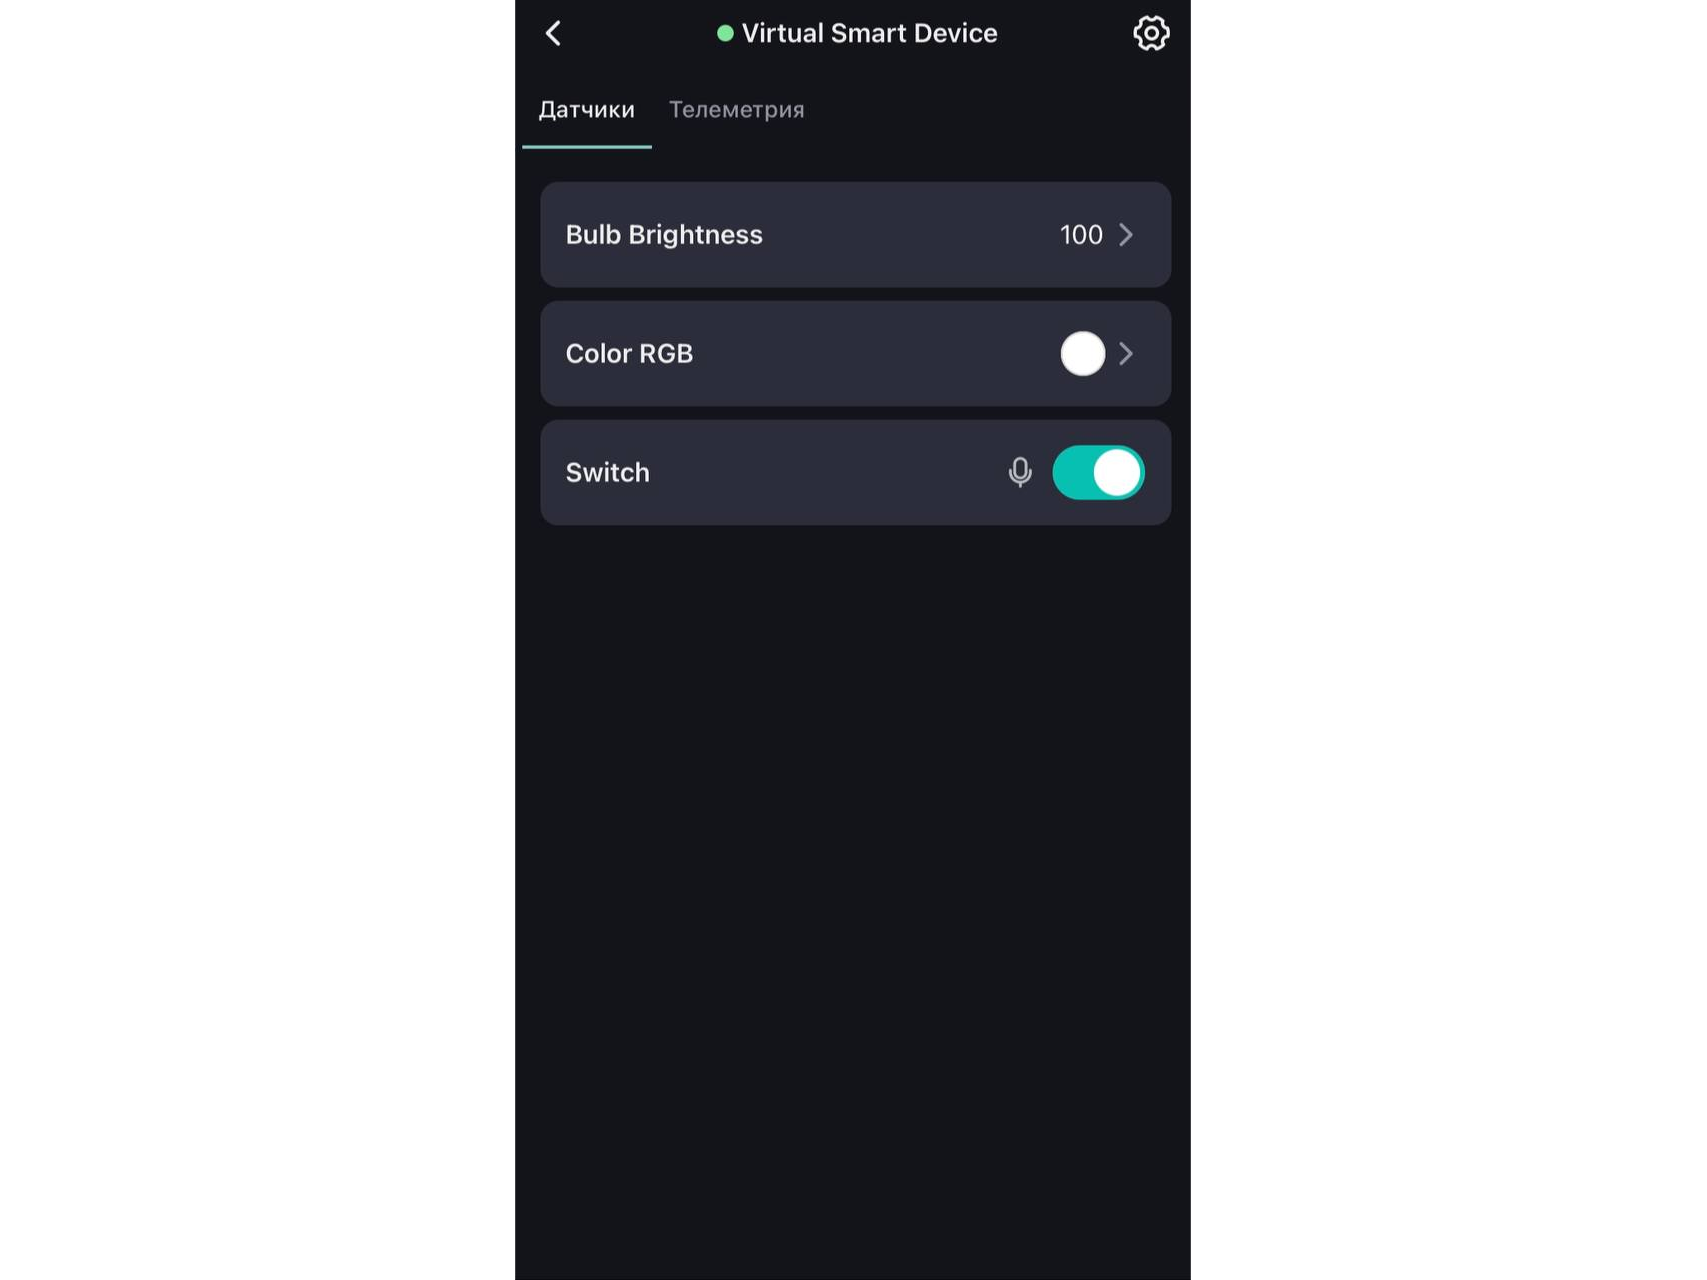
- Install the 2Smart Cloud application on your smartphone and sign in with the same login and password you used when logging in to the platform. Your virtual device is on the Devices tab.

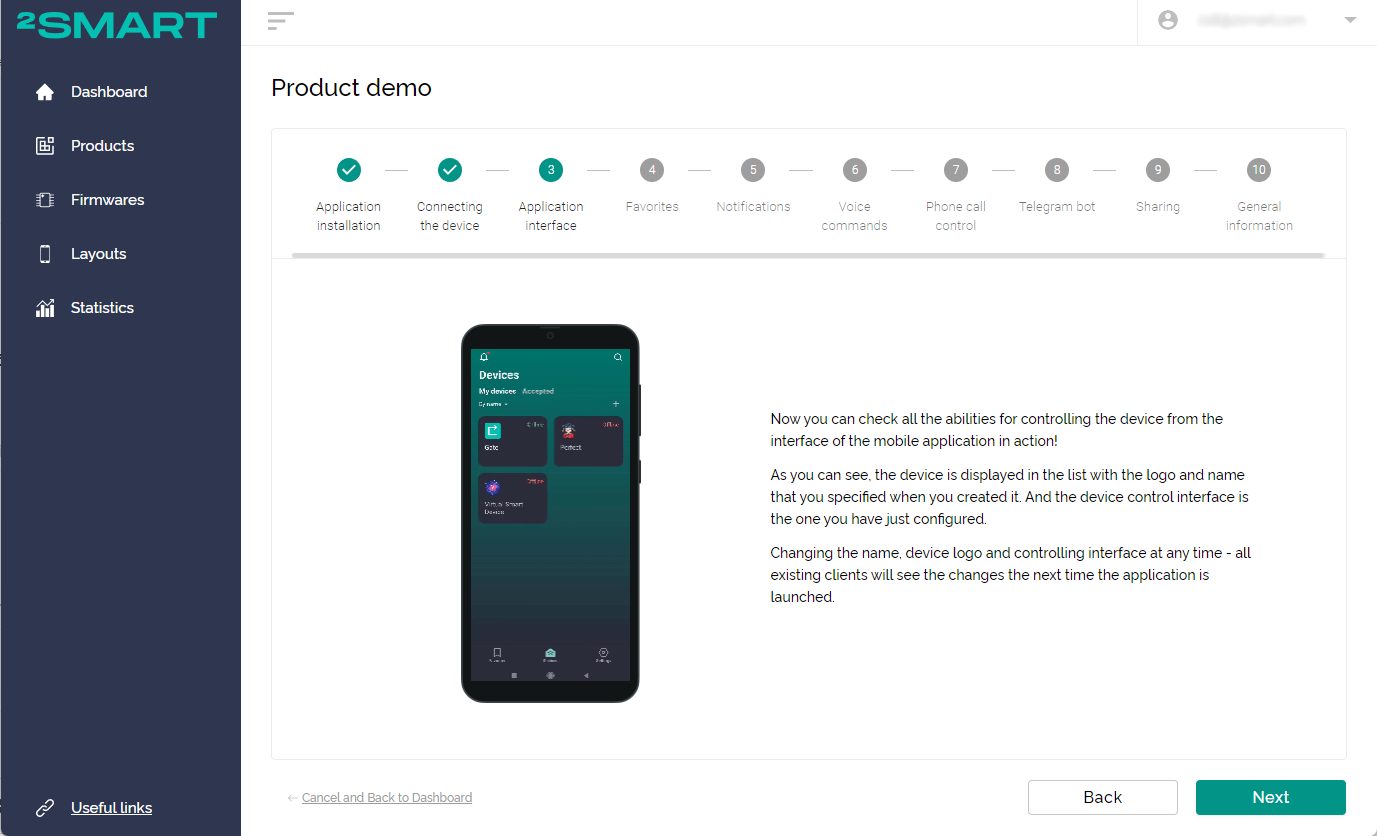
- After clicking on the device’s name, you will see the same interface as in the mobile app emulator on the platform. If you have made any changes to the interface, they will be displayed in the mobile application.
Open the browser tab with the virtual lamp and ensure that the device responds to all the commands from the mobile app. You can change the brightness of the lamp and its color and turn the device on and off.
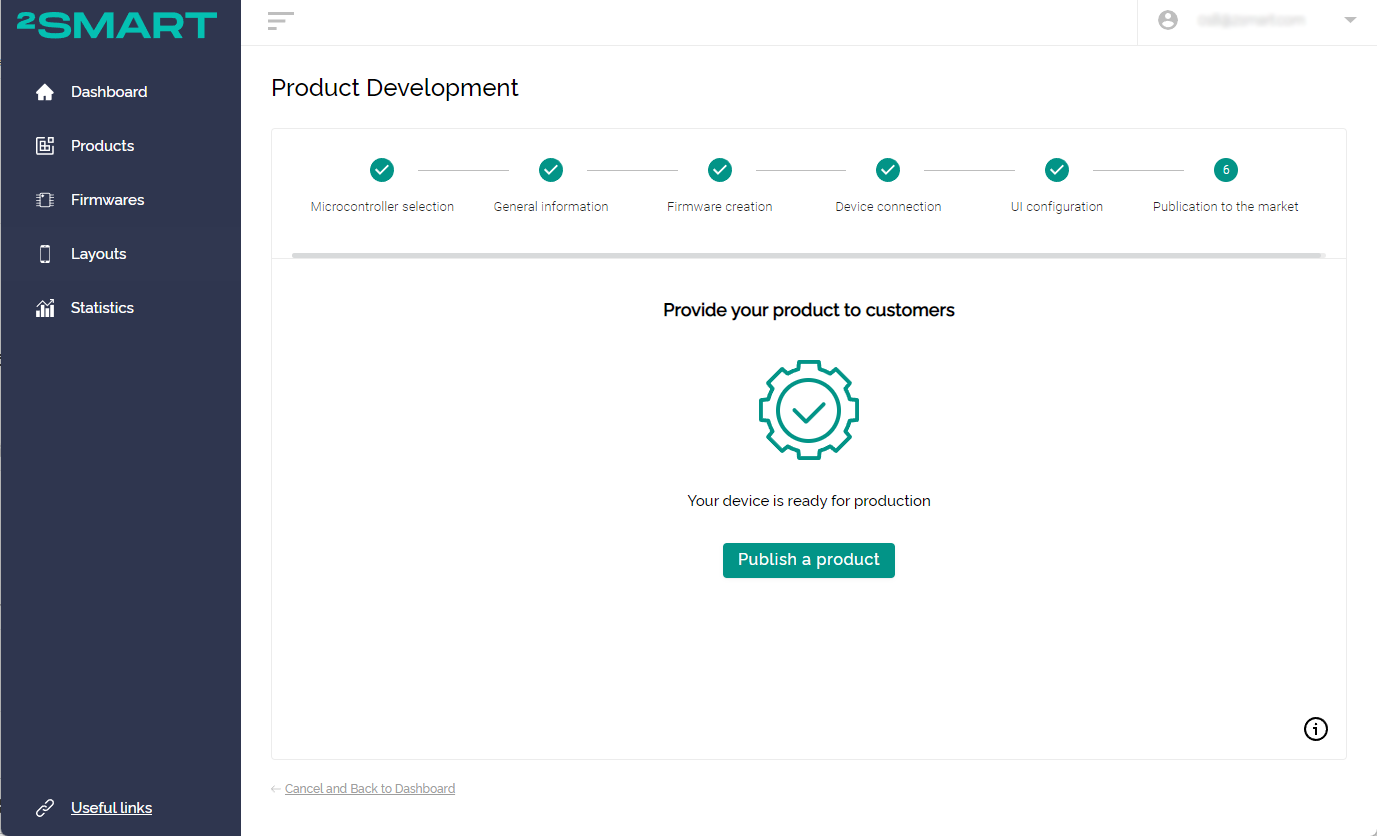
- Return to the platform demonstration window and click “Next”. You will proceed to the final stage of product development – its publishing on the 2Smart Cloud market. When working with an actual product, publishing the device will allow users to add it to the mobile app using the standard pairing.
- The system will suggest returning to the mobile app to evaluate the device from the end-user’s perspective.
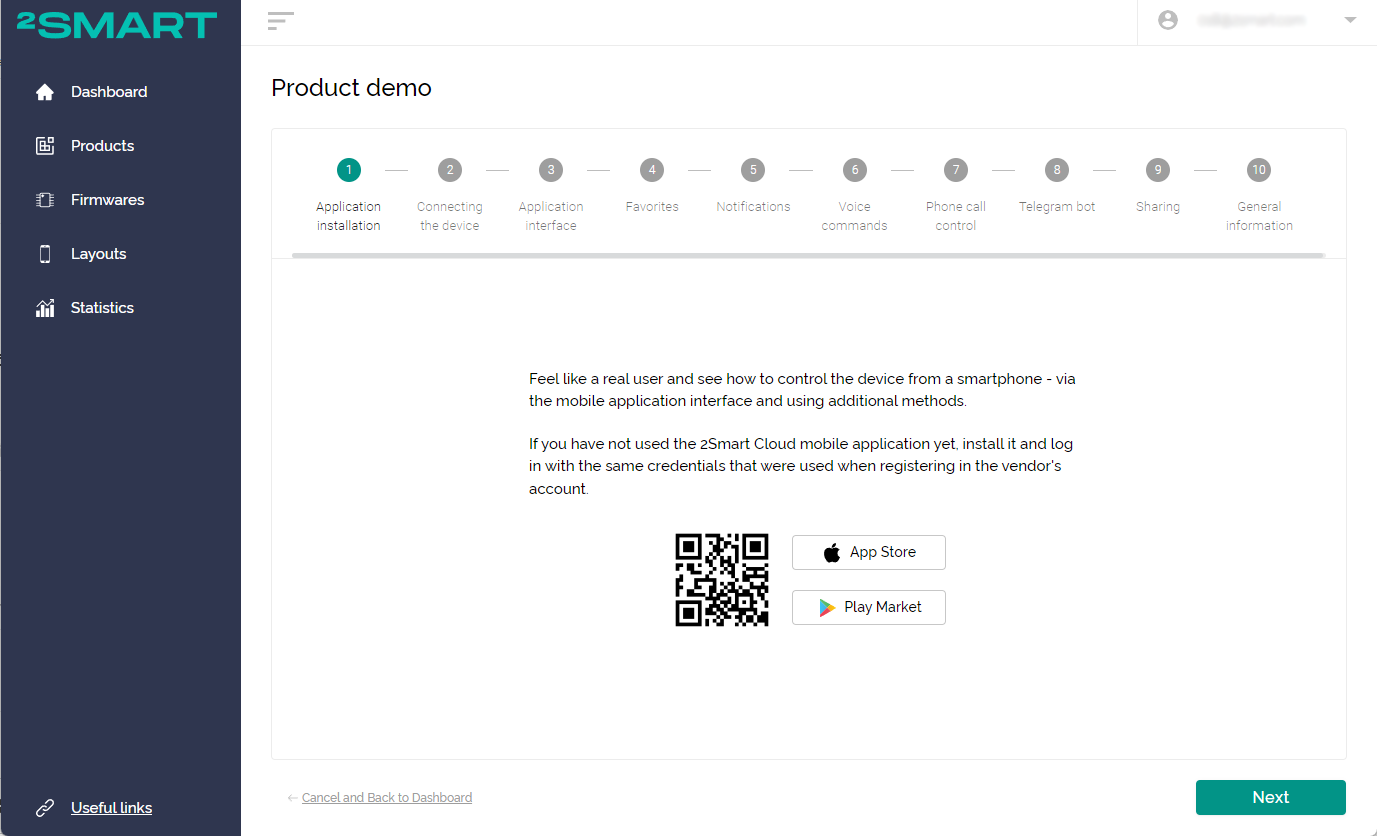
Do not ignore this possibility – test a virtual lamp as a smart device developed by you that will get to your customers. Put yourself in their shoes and evaluate how convenient it is to operate the device. Try additional control methods available to all 2Smart Cloud users: voice commands, phone calls, and Telegram bot.
To start, click the “Test” button to open a new wizard with step-by-step instructions.
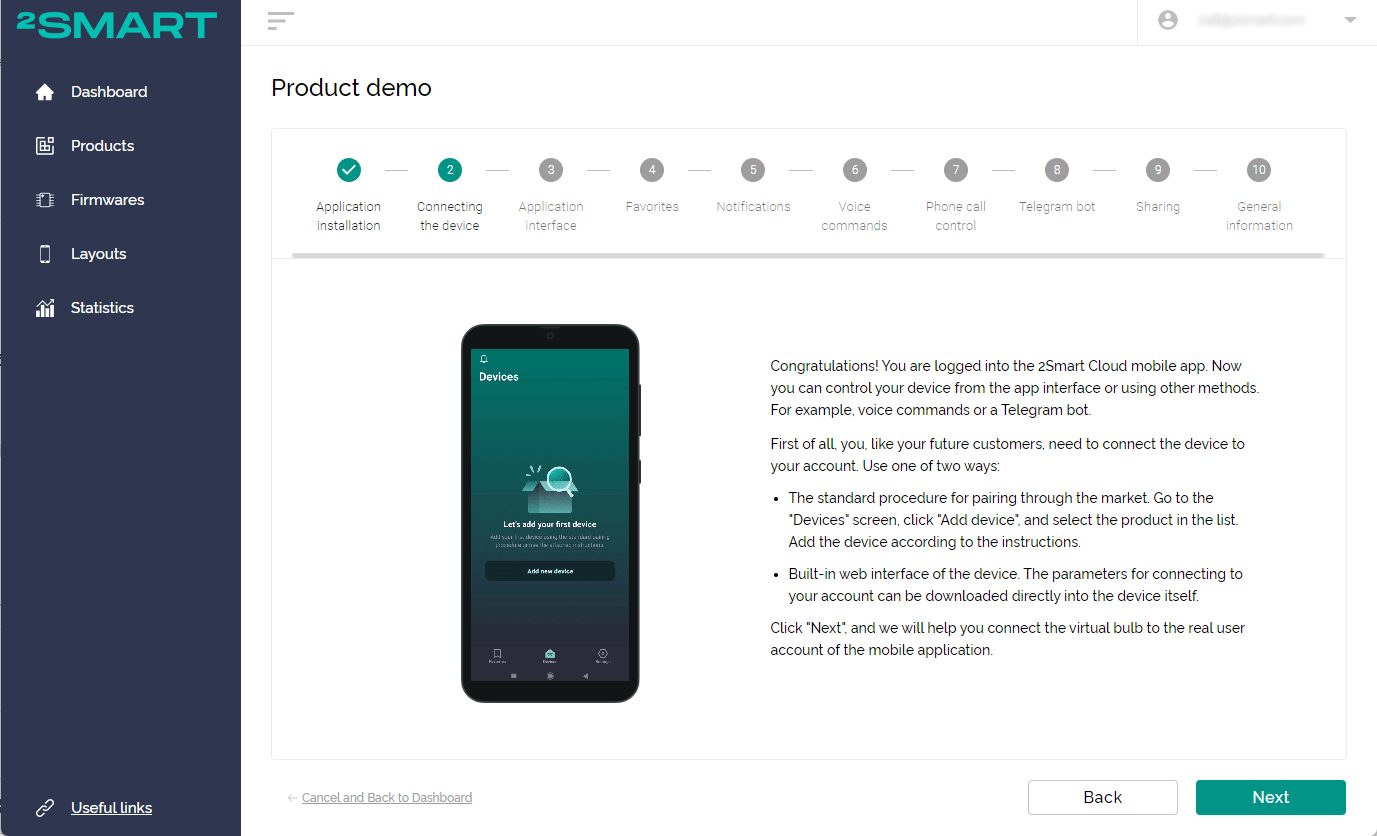
- Install the 2Smart Cloud mobile app on your smartphone if you haven’t already.
- When adding an actual device to the app, you can use two primary methods: standard pairing via the market or the device’s built-in web interface.
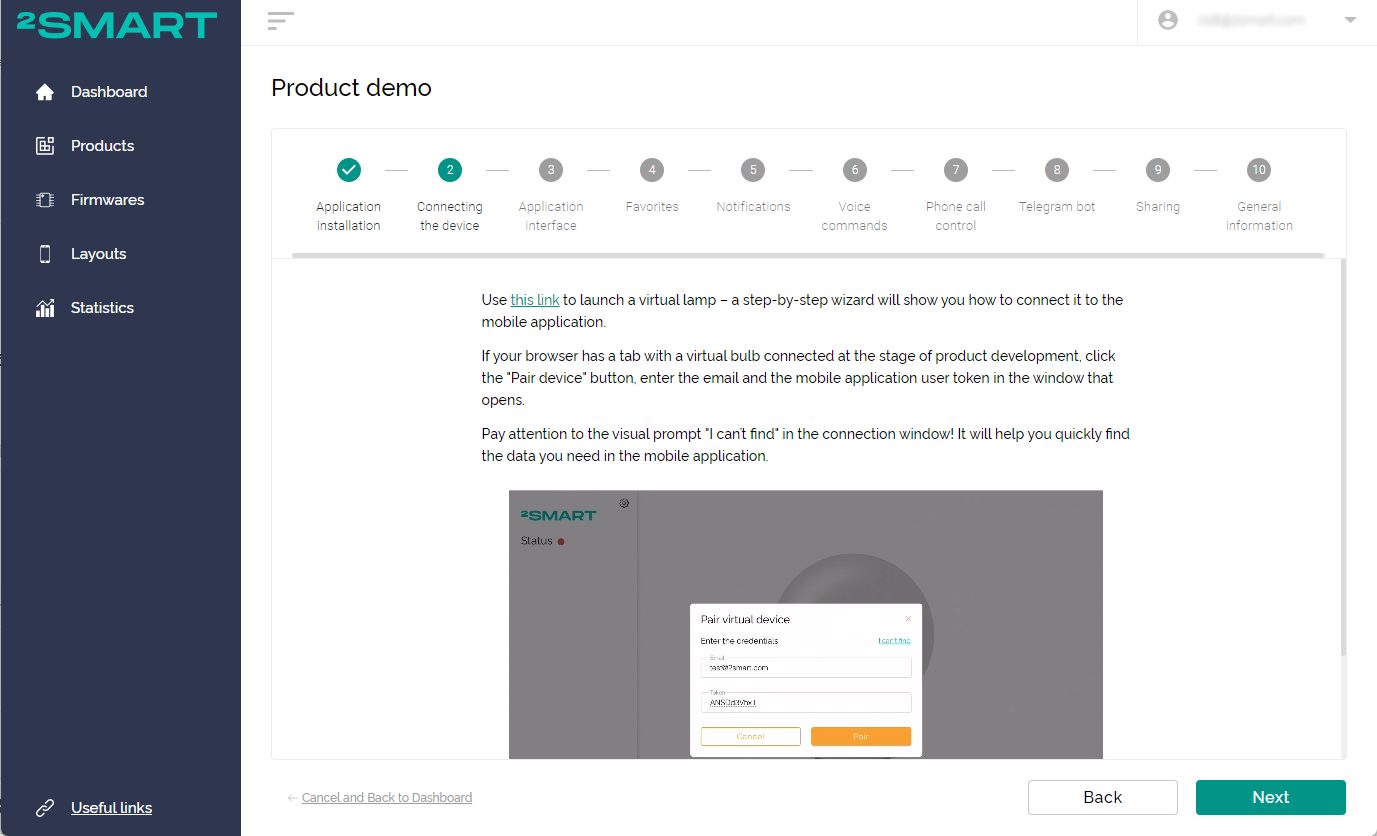
- The usual methods are not suitable for pairing a virtual device. Click on the suggested link to add a virtual lamp to the application.
- In the new window, enter the user’s Email and Access token. You can find these credentials in the “Account settings screen” of the mobile app. If you can’t find them, use the visual tip tool that appears when you click the “I can’t find” link.

- After entering the email and token, the virtual lamp will appear on the “Devices” window of the mobile app.
- The interface for the device control is the same one you configured in the developer’s account. You can edit it anytime, and all users will get the changes after restarting the mobile app.
- Have a go at controlling the virtual lamp from the application. You can change the color and brightness of the lamp and turn it on and off.


- In addition to complete control via the mobile app interface, you can also use other features. You can learn about the app’s functionality from the tips, or you can try out all of the additional features right away:


- Adding frequently used widgets to the main application screen, “Favorites”.
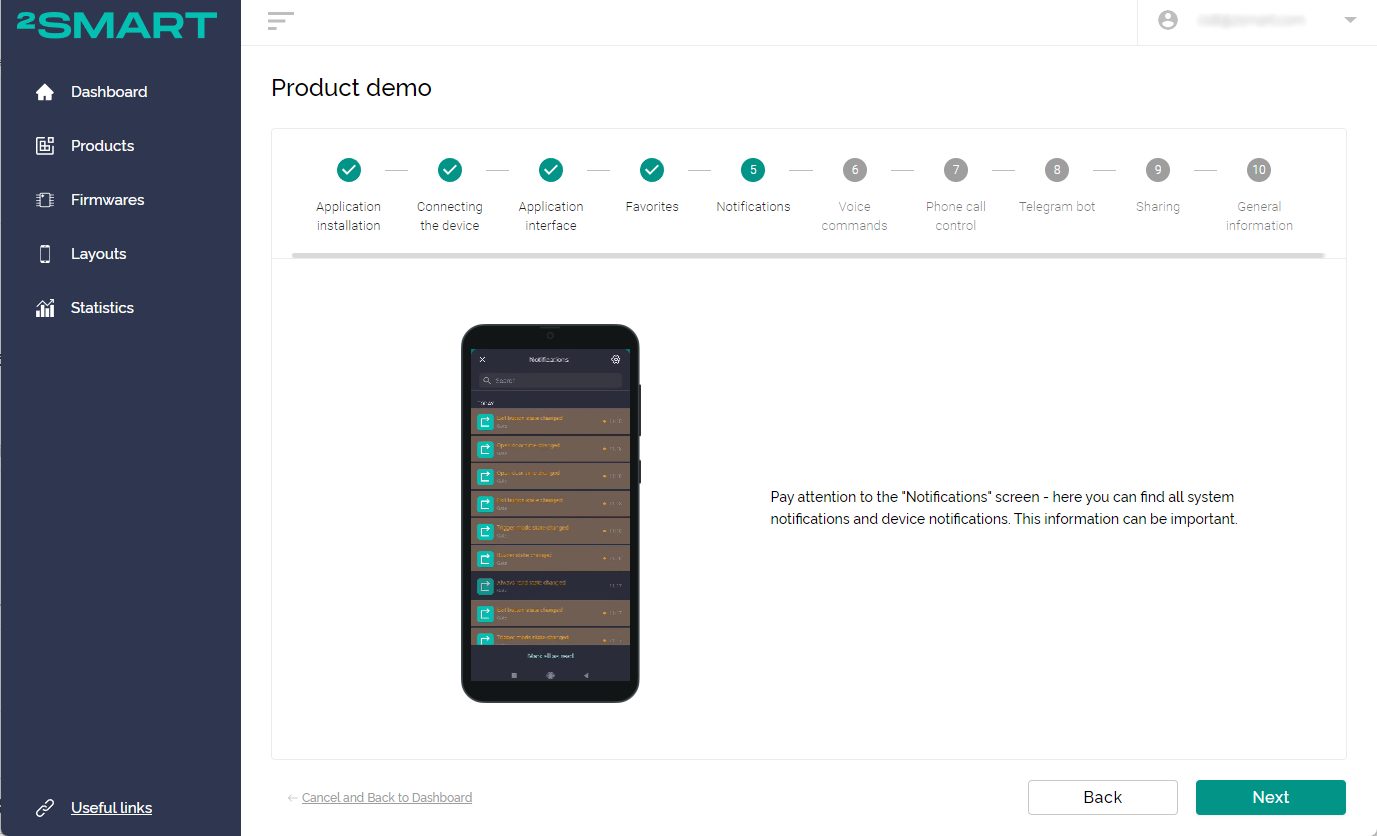
- Getting notifications from devices on the “Notifications” screen.
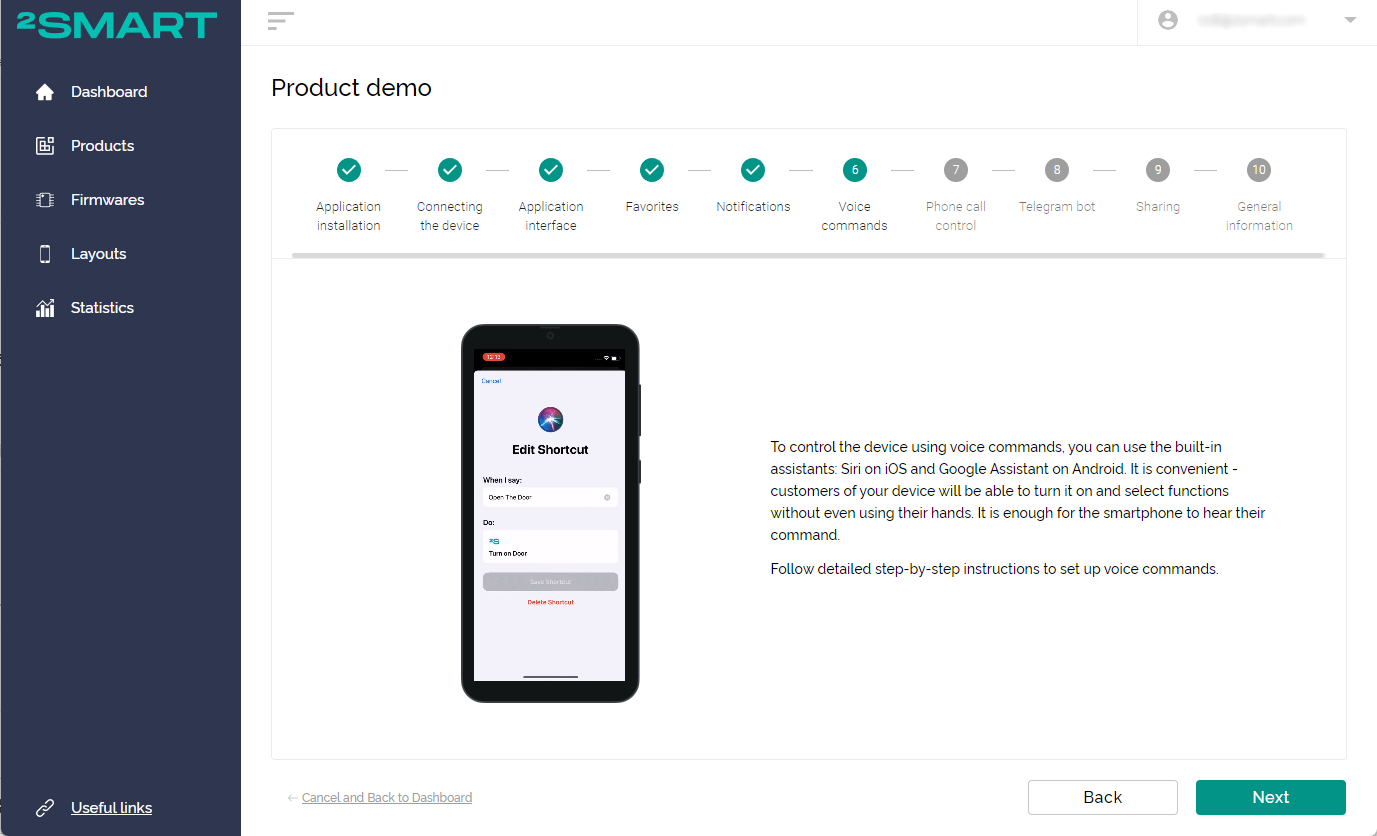
- Using voice commands to control devices.
- Сontrol via a phone call at no cost.
- Control via 2Smart Cloud’s Telegram bot.
- The ability to share device control with other users.

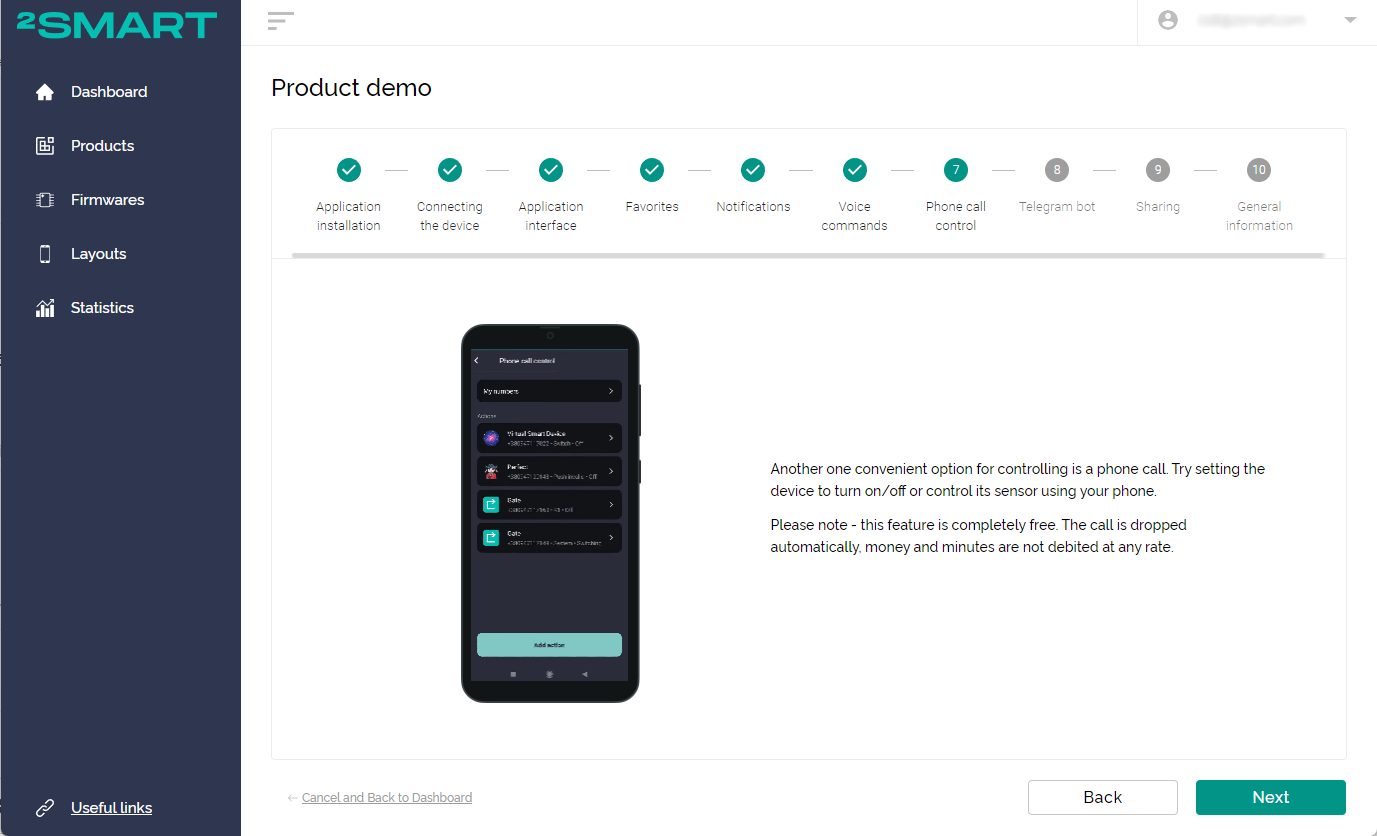
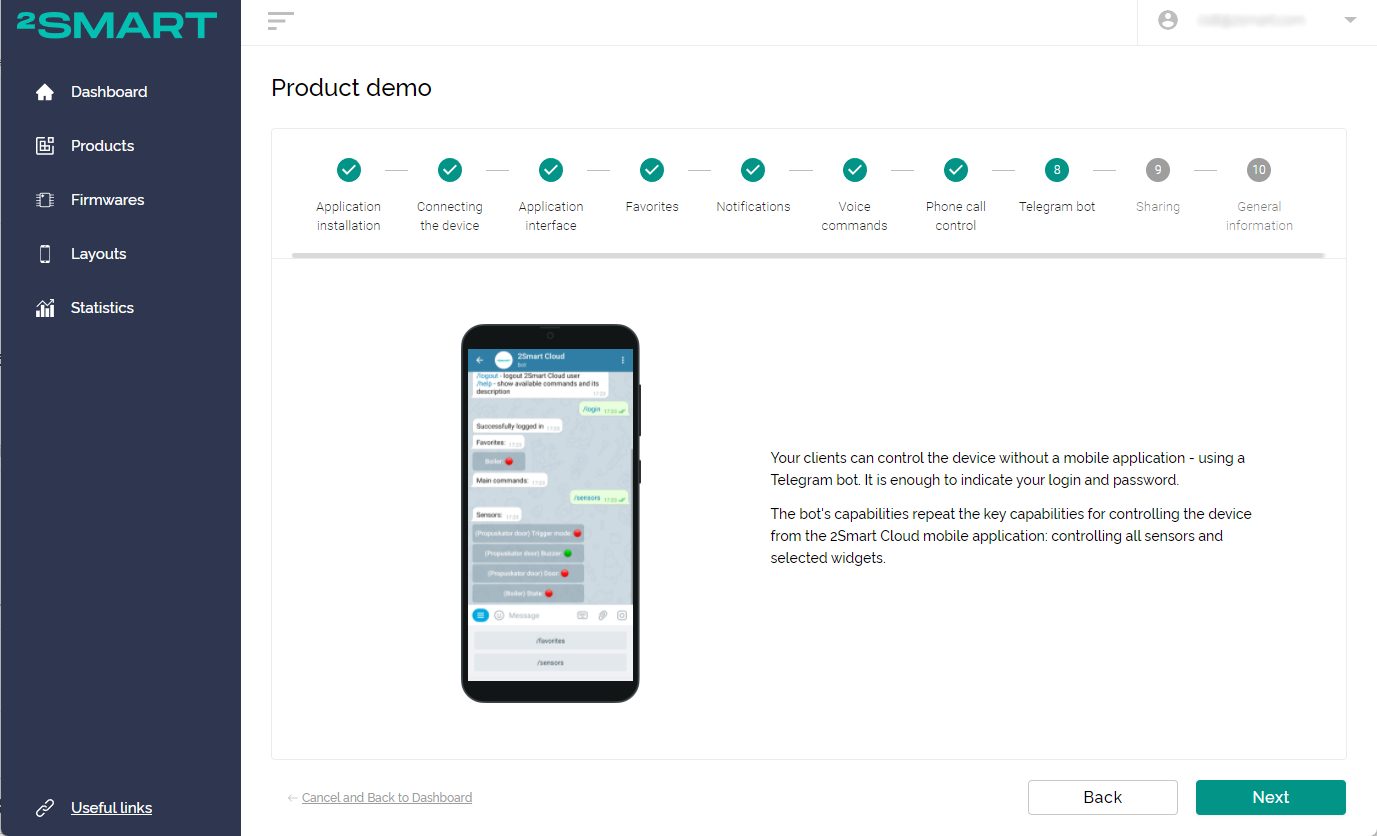

We recommend trying to control the virtual lamp using the Telegram bot, voice commands, and a phone call to see how easy and user-friendly it is. Your customers will be able to use these additional methods when managing your actual device.
You can share access with your family members or friends to control the device. They will also be able to operate the virtual lamp from a mobile app on their smartphone.
If you need more info, you can find detailed instructions for each control method on the 2Smart Cloud blog.
You might be wondering how to add an actual device to the 2Smart Cloud IoT platform. Please check out the following article in our series to learn more about it.
Links:
- 2Smart Cloud IoT platform – https://cloud.2smart.com/
- 2Smart Cloud blog – https://2smart.com/docs-resources
All articles about IoT device creation and support
- Learn your way around the IoT platform – create your first device and control it from your smartphone without an MCU
- How to create a Wi-Fi switch to control via a mobile app and Telegram bot
- How to build an IoT device using the 2Smart platform?
- How to create an IoT device on a printed circuit board and take it from prototype to finished product
- How to write SDK-based firmware for an IoT device
- How to update the firmware and mobile application of ready-made devices within 5 minutes
- Collection and analysis of statistics – a useful tool for product improvement
Don't forget to share this post!
Read Next


Let’s dive into your case
Share with us your business idea and expectations about the software or additional services.
