Table of contents:
The 2Smart team is happy to share great news – an enterprise-grade automation platform for industrial and home use, 2Smart Standalone is now an open-source project. You can freely use it for your needs, utilizing all available features, sharing your professional scenarios and use cases with the platform user community, and suggesting changes and improvements to us.
What is 2Smart Standalone?
2Smart Standalone is a platform that our team created as the most flexible IoT automation tool. Initially, we developed this platform for personal use since we were not satisfied with any of the existing automation platforms. The main disadvantages of other open-source home automation platforms we have encountered are the lack of flexibility, complexity of customization, and excessive focus on a narrow target audience.
Having challenged ourselves to develop the best home automation platform, we have identified the following key sub-tasks:
- the platform should have a simple and intuitive interface so that any user can quickly configure it without having special knowledge and skills,
- the possibility of expanding the platform functionality should not be limited; the architecture of the platform should be such that in the future, it will be possible to use the latest IoT protocols and integrate any new services of the Internet of Things,
- the platform should be capable of unlimited scaling to connect a fleet of devices not only in smart home systems but also for the digital transformation of an industrial or agricultural facility.
Benefits of an open-source home automation platform
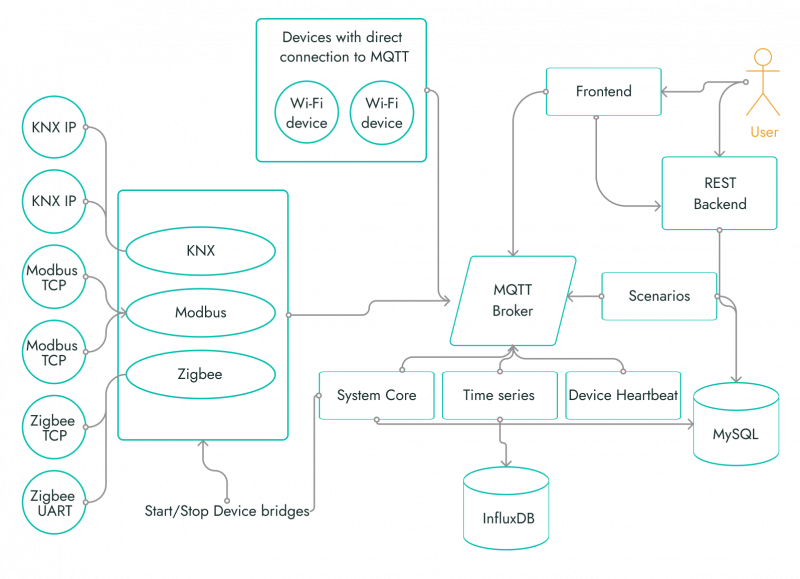
To ensure the flexibility and scalability of the platform, we decided to use a pluggable architecture when the product consists of a universal core (MQTT broker) and a variety of modules. In this case, the core is not tied to any manufacturer and knows nothing about what hardware protocols are used in the system.
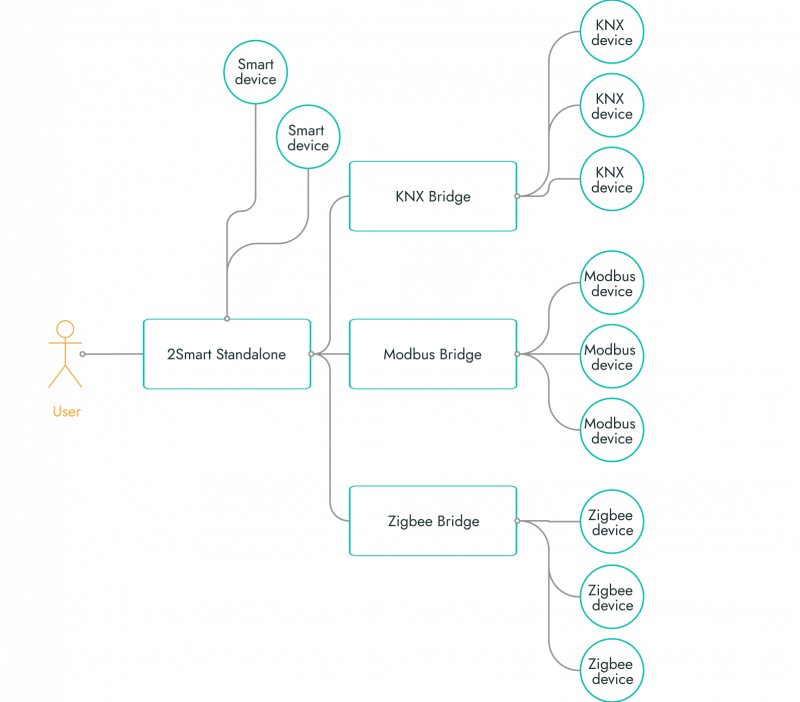
Devices can use various IoT protocols to interact with other equipment and the platform core. At the same time, not all protocols can connect to an MQTT broker – for example, this is not possible by default for KNX and Modbus. To solve this problem, we have developed an SDK, using which you can create bridges with which the automation platform core can communicate with IoT devices using any protocol. In theory, if a completely new IoT protocol appears in the Internet of Things universe tomorrow, this will not be a problem for 2Smart Standalone users.
Features of 2Smart open-source automation software
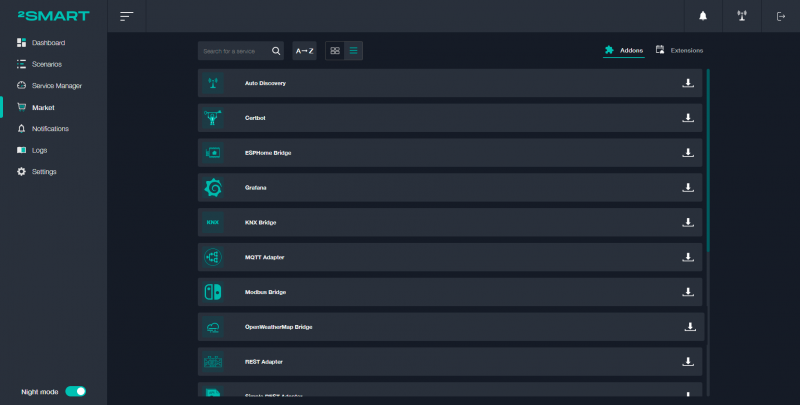
The bridges developed by the 2Smart team are available in the built-in addon market in the admin interface of the open-source home automation system. In addition to those designed to connect to the platform of devices using various Internet of Things protocols, the market includes addons for using voice commands to control the system, the OpenWeather service for configuring scenarios using its data, etc.
The list of ready-made bridges in the 2Smart Standalone market also contains those that allow you to use the ESPHome syntax to configure your devices. The MQTT Adapter bridge enables you to bring the messages that your devices send to the broker’s MQTT topics in accordance with the 2Smart convention. Separate bridges in the market make it possible to connect 2Smart Cloud devices to 2Smart Standalone and vice versa. Below, we will show examples of how these and other addons can be used in practice.
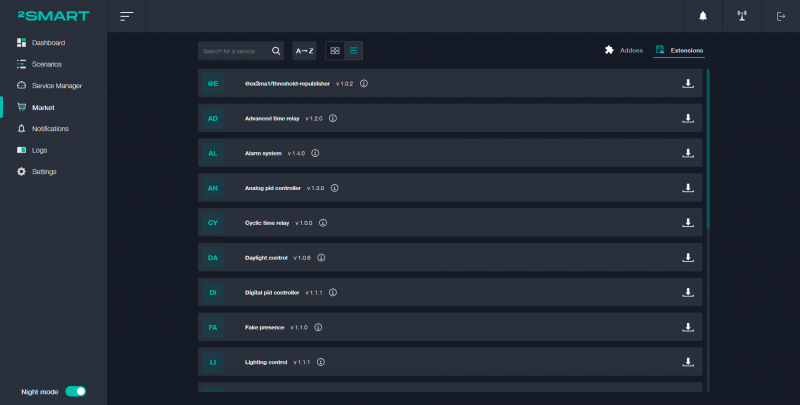
The platform’s market also includes a section with automation scenarios. The user can download, install, and configure ready-made scenarios that suit them, as well as write their own using JavaScript and a public API. The description of ready-made scenarios is in the project wiki.
Open-source home automation system – Case studies
Below, we show three cases of using the 2Smart Standalone platform in practice, ranking them from the simplest to the most advanced. All platform users described below adhere to the philosophy that the best open-source home automation platform should work as autonomously as possible and not require attention after setting up the main scenarios. Interaction with the mobile or web application should be kept to a minimum.
Case 1: An apartment in Kyiv with a minimum set of IoT devices
The simplest case of using the automation platform belongs to a member of the 2Smart team, who prefers the development of 2Smart Cloud devices and uses the local platform only to implement those scenarios unavailable in the cloud.
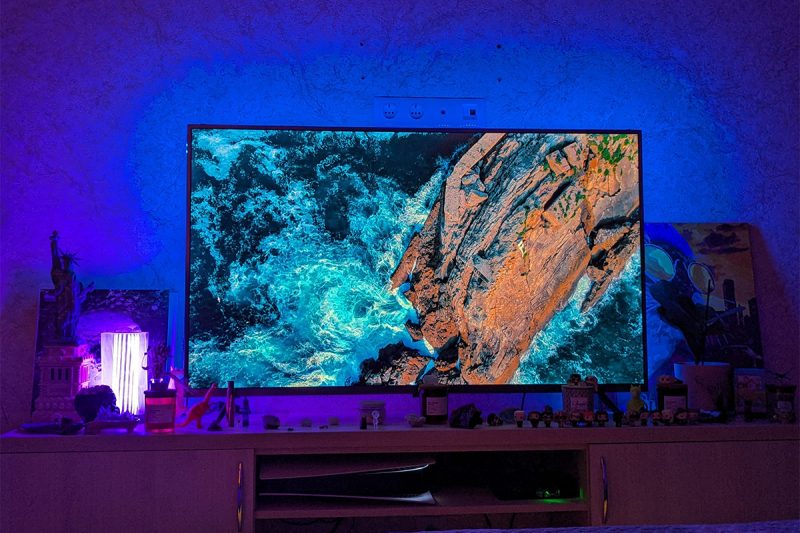
All the primary smart home devices that the user operates are initially connected to the 2Smart Cloud platform. This is a WOW Fire Lamp, two LED strips to illuminate the space by the bed and behind the TV, and a hydroponic tower based on the Sonoff relay with 2Smart firmware.
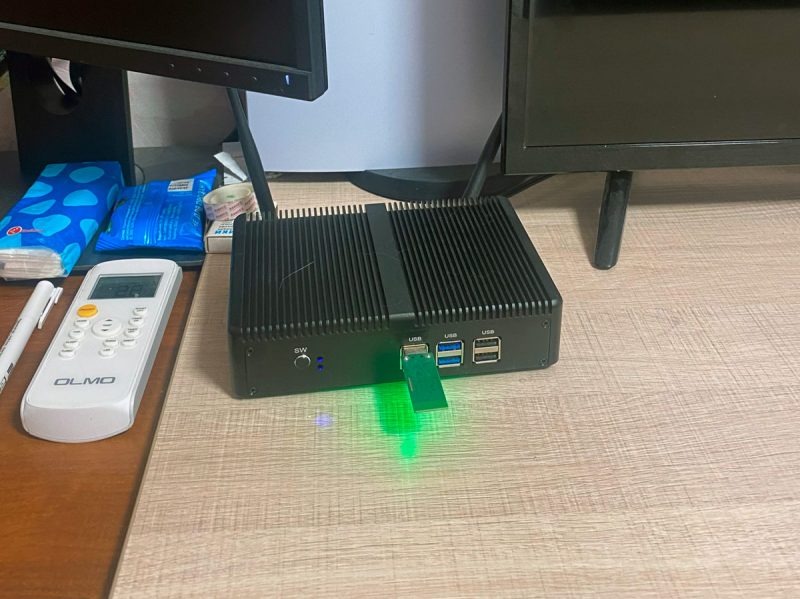
The devices mentioned above are connected to the local open-source home automation software using the “2Smart Cloud Integration” bridge. In addition, the user connected a Zigbee gateway stick to a mini-computer with a deployed automation platform, allowing him to connect a control cube that works using this protocol.
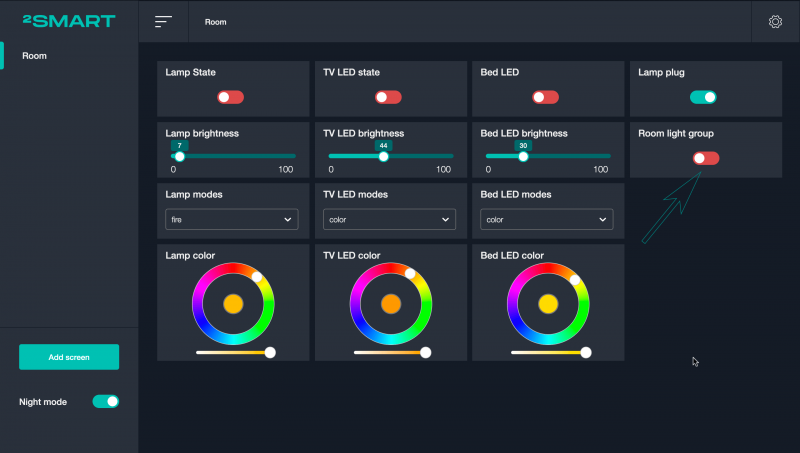
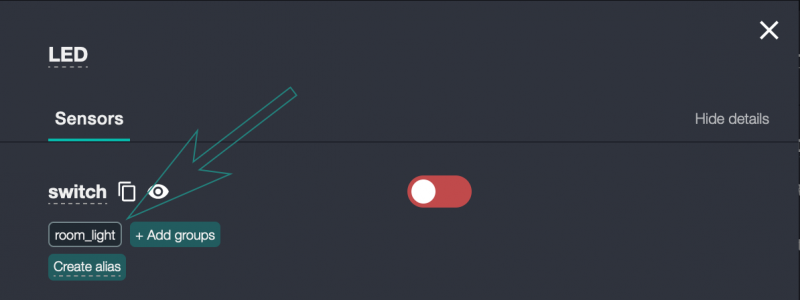
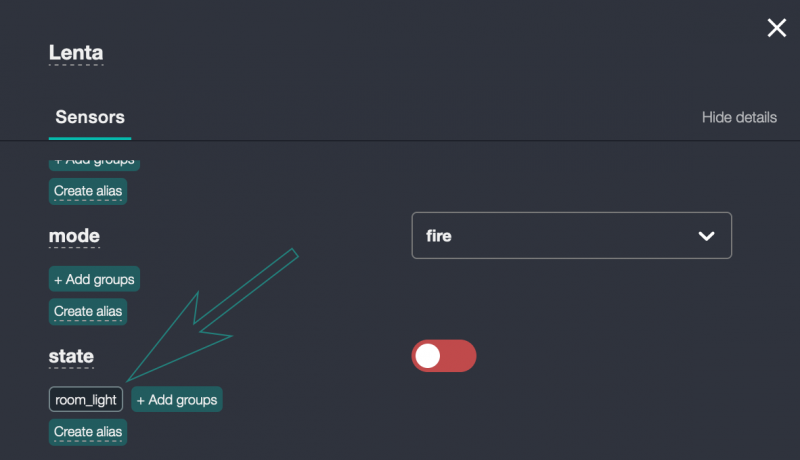
The user has combined a lamp and two LED strip controllers into a common “room_light” group for ease of lighting control. Grouping devices in 2Smart Standalone makes it possible to manage all ones in a group simultaneously and quickly integrate new devices into existing scenarios without editing them. Therefore, when a new lamp or LED strip controller is connected, the user must only include it in this group for the general lighting control scenarios to apply.
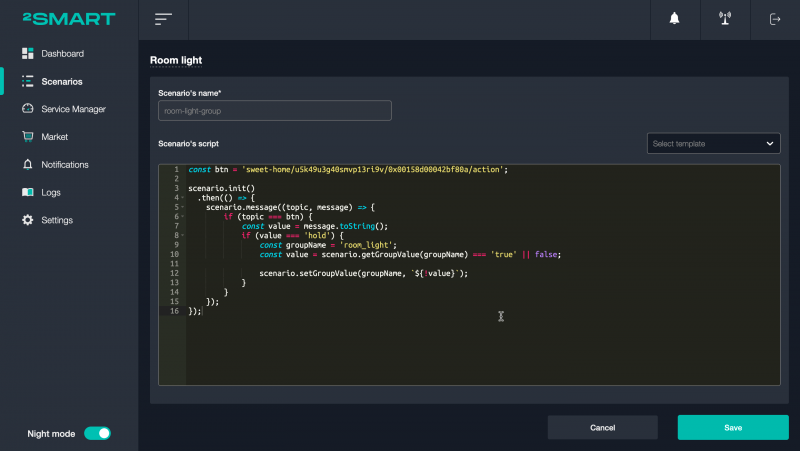
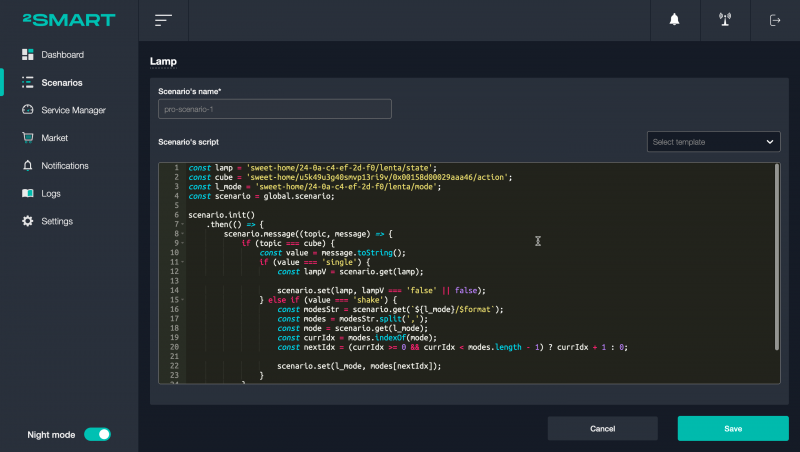
The user also wrote a couple of scenarios that allow managing the entire group of devices using a cube. Pressing the button on the cube turns the lighting on and off, and shaking the cube sequentially switches the lamp modes.
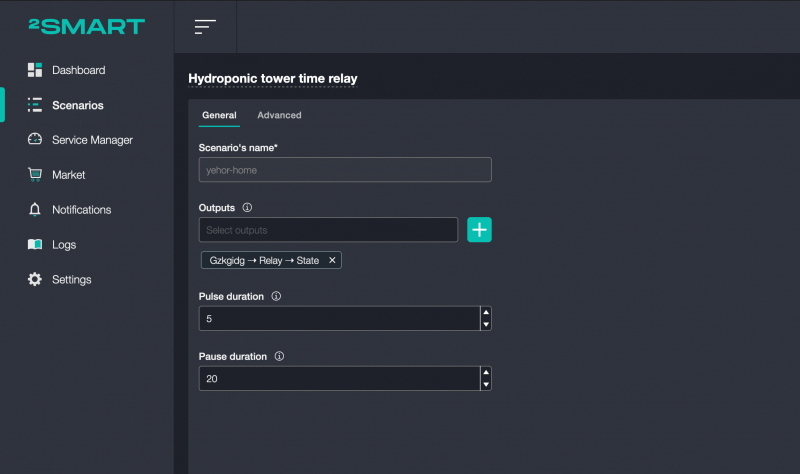
Finally, to control a custom hydroponic tower based on a Sonoff relay with 2Smart firmware, a scenario is used that starts watering plants on a timer. This is an example of a ready-made simple scenario taken from the open-source platform’s market that does not require programming. The user just ran the “Time Relay” scenario for the watering relay and configured the operation parameters: 5 minutes of watering is constantly replaced by 20 minutes of rest.
Case 2: Rented apartment in Kyiv
The platform user lives in a rented apartment and cannot profoundly embed automation devices into the house architecture. Only those devices he can quickly install and dismantle are available to him, namely Zigbee sensors, lamps, LED strips, smart sockets and relays, etc. However, this case demonstrates that even under such conditions, it is possible to use automation to improve the convenience of your home experience.
This case is in many ways similar to the one described above. Still, it differs in that the user additionally utilizes sensors that allow him to set up automation scenarios based on the presence of a person in the room.
As in the first example of using the 2Smart open-source home automation platform, the user has several devices connected to the 2Smart Cloud. This is a WOW Fire Lamp, two LED strips (for lighting the space behind the TV and inside the shelving), and a Sonoff socket with 2Smart firmware. The socket controls the garland above the window, so all cloud devices are responsible only for lighting in this case.
2Smart Cloud devices were integrated into the automation platform using the “2Smart Cloud Integration” bridge.
As in the first case, the user connected a Zigbee gateway to a mini-computer with a deployed platform, only in this case, more additional devices are connected using this gateway, namely:
- temperature and humidity sensors,
- two motion sensors in the bathroom,
- control cube,
- two control buttons,
- lamps in the dressing room and bathroom.
A few more devices were used earlier and remained connected, but they turned out to be of little practical use:
- vibration sensor in the bathroom,
- illumination sensors,
- sensors for opening doors to the dressing room and bathroom,
- gas leak sensor (disabled due to frequent false alarms).
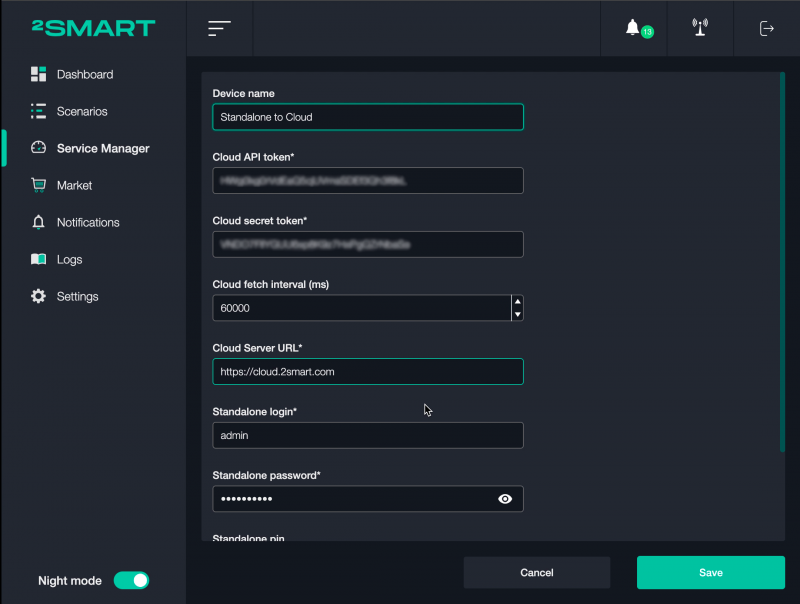
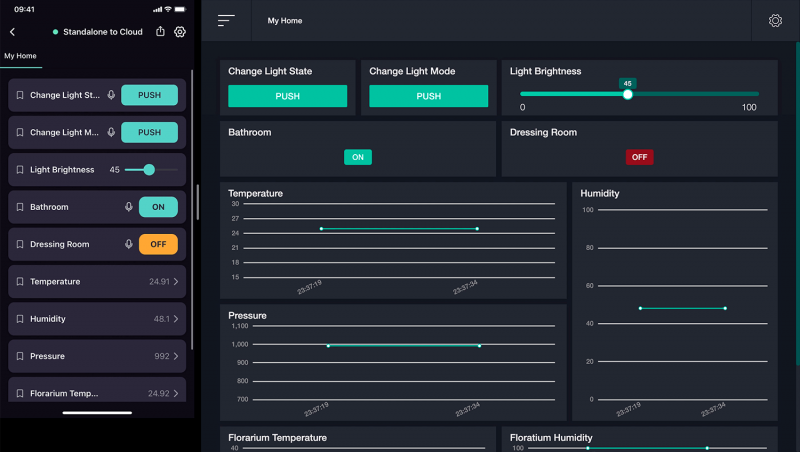
The user has set up a dashboard in the platform, on which he has configured the wizards he needs. Then, using the “Standalone to Cloud” bridge, he brought the same wizards into the 2Smart Cloud mobile application for convenient remote managing of his devices.
The user utilizes the 2Smart Cloud mobile application as the primary way to interact with his devices manually. It makes it possible to turn devices on and off from anywhere, switch their operating modes, and see the historical data of several sensors.
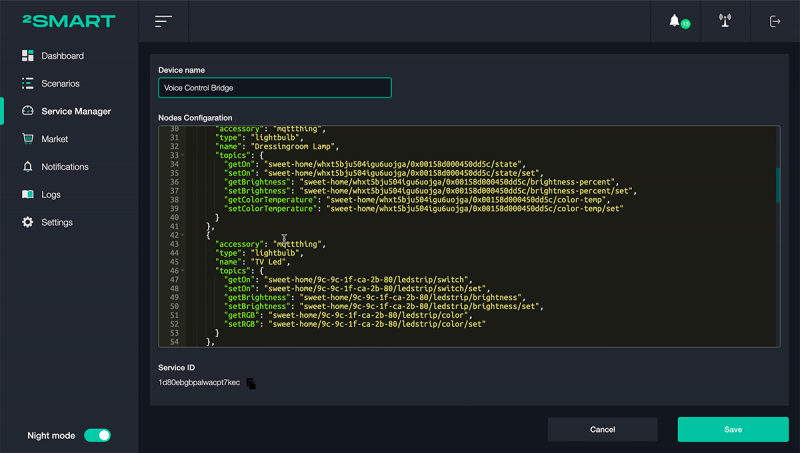
The mobile app also allows the user to utilize additional ways to control devices, such as voice commands. And it turned out to be more convenient for the user, although the “Voice control” bridge is also presented in the platform’s market. The user has configured this bridge and has previously used it, but the bridge is currently disabled. The fact is that the bridge only works if the smartphone with the voice assistant is connected to the same Wi-Fi network as the mini-computer with the automation platform. The user has set up a home and guest network on his router, and the smartphone connects to one or the other. So the bridge doesn’t always work. And, of course, it doesn’t work remotely, unlike voice control via a cloud app.
The automation scenarios the user configured include lighting control using a cube, as in the first case. Lighting devices are also combined into a common “LED State” group, and the user can turn them on / off and switch operating modes using cube gestures. Unlike the previous case, the user configured the scenario so that the cube allows additional control over the brightness and color of the LEDs.
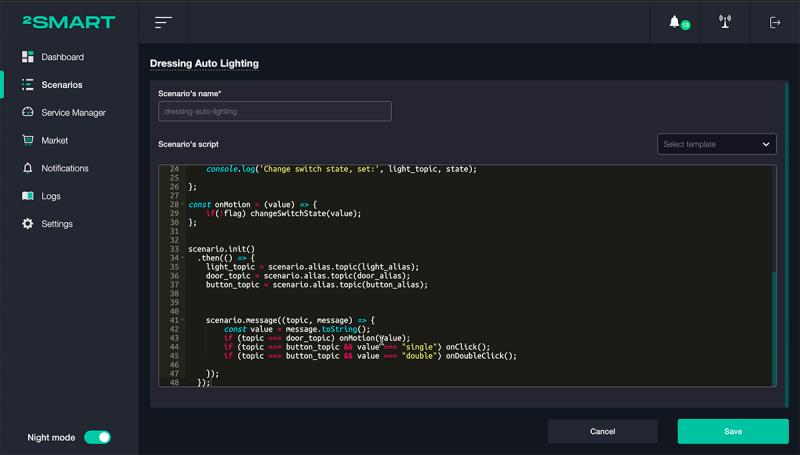
Curious custom automation scenarios that this 2Smart Standalone user set up are automatic lighting in the dressing room and bathroom.
Using the dressing room, the user encountered an inconvenience that was laid down when designing the electrical equipment of a rented apartment. Opening the dressing room door to the left, the user was forced to reach to the right to turn on the light with the switch. He decided to automate the dressing room lighting fully.
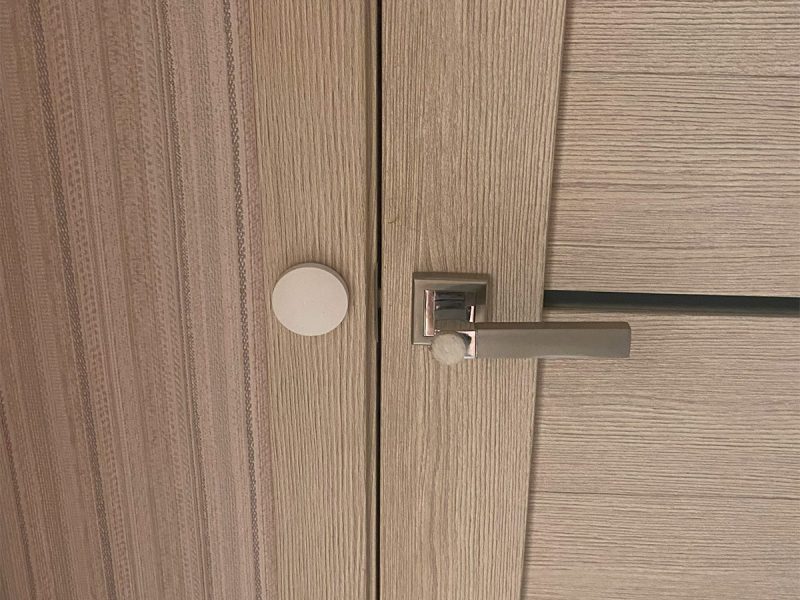
The first automation option assumed a lamp and a door opening sensor were installed in the dressing room, operating using the Zigbee protocol. When the door is open, the lamp turns on; when it is closed, it turns off. Of course, the user quickly encountered the fact that this is not always convenient because if he needs to do something inside the dressing room, closing the door, the light turns off.
To solve this problem, the user also installed a wireless Zigbee button in a convenient place. The scenario for the button is written so that with a single click, the light turns on or off, regardless of the current state of the door open sensor. However, the sensor continues to affect the light, and triggering it may reset the lamp’s state.
To avoid this, the automation platform user added a reaction of the lamp to the scenario with a double click on the button. When double-clicking, the light in the dressing room turns on, and the door open sensor does not affect the lamp. The light stays continuously until the user turns it off by double-clicking the physical button again.
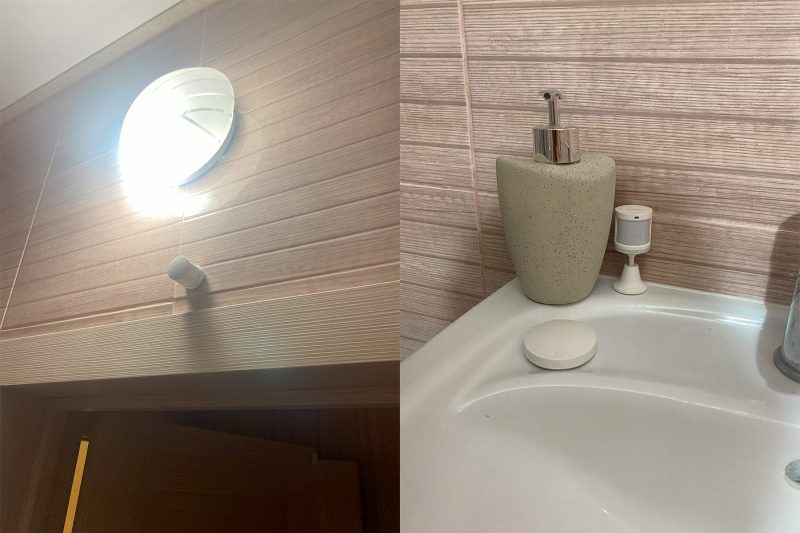
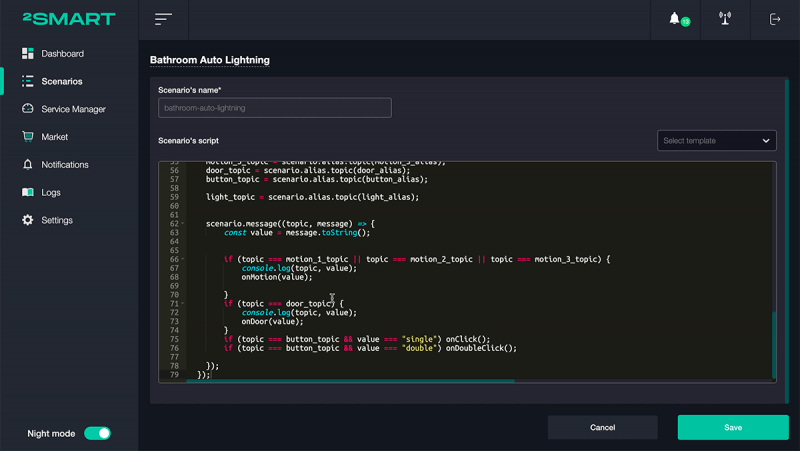
A slightly more complex light control scenario is configured for the bathroom. The door open sensor is also physically installed here but not used since the door is almost always ajar to allow the cat to reach her litter tray. Therefore, to monitor the presence of a person, two motion sensors are used, one of which is installed to monitor the entrance, and the second covers all the bathroom space. The joint work of these sensors ensures that the light is turned on when a person enters the bathroom and keeps it on while the person is inside.
Of course, motion sensors do not always correctly detect the presence of a person, and the light turns off if the user does not move or is behind the bath curtain. To avoid this, the user also uses a button configured similarly to the one installed in the dressing room. A double click forces the light on, and the automation platform ignores the motion sensor readings until the next double click.
Case 3: A private house in the suburbs of Kyiv
This case is the most interesting since the user of the automation platform took into account its use already when building a house and laying communications. He connected dozens of different devices that made his life easier, and configured a lot of exciting scenarios.
Let’s start with the fact that the user ensured the uninterrupted operation of the automation platform by activating the BIOS to turn on the device when power is applied automatically.
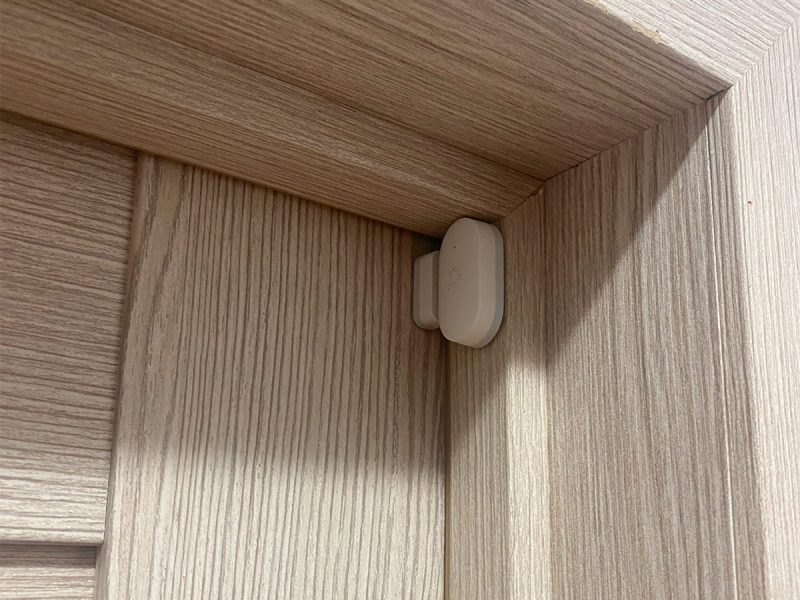
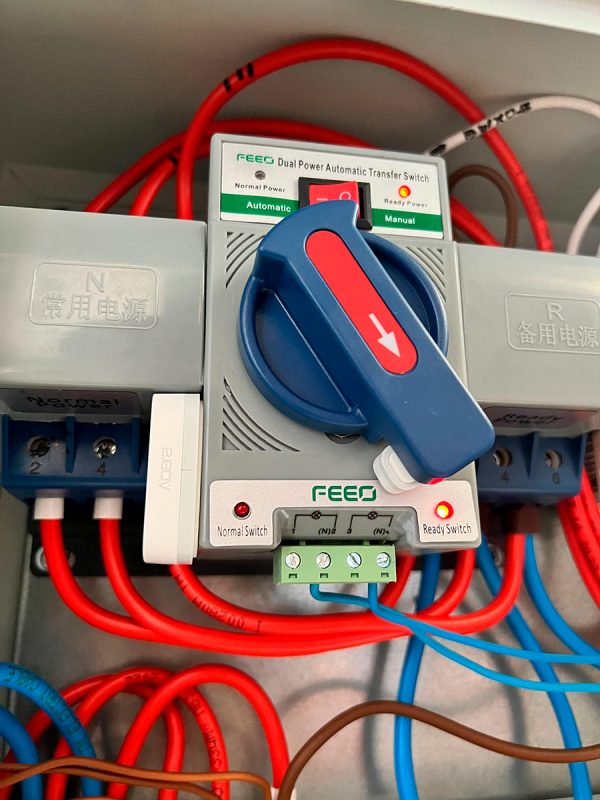
In order not to suffer from power outages, the user has also installed rechargeable batteries in the house. The power source is automatically selected using an automatic transfer switch (ATS), and a Zigbee door open sensor is installed on its handle. This sensor lets the automation platform know which power option the house is currently using. And if batteries power the house, the platform conserves battery life by turning off some power-hungry devices, such as underfloor heating systems.
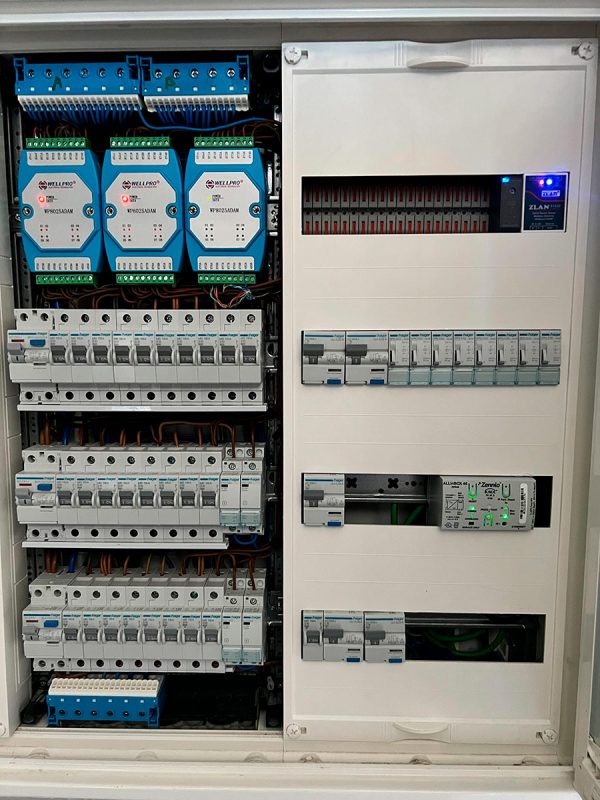
Almost all electrical equipment in the house is connected to the 2Smart open-source home automation control software using protocols such as Modbus (six networks based on six adapters), KNX (air conditioning and blinds), and Zigbee. In this case, the user operates two Zigbee networks at once. One was deployed directly in the house and includes wireless sockets, motion, door openings, and gas leak sensors. The second network is deployed in an apartment in Kyiv, that is, about 30 km from the house. It consists of similar devices and uses a Wi-Fi adapter to connect to the automation platform and be included in the overall ecosystem of the user’s smart devices.
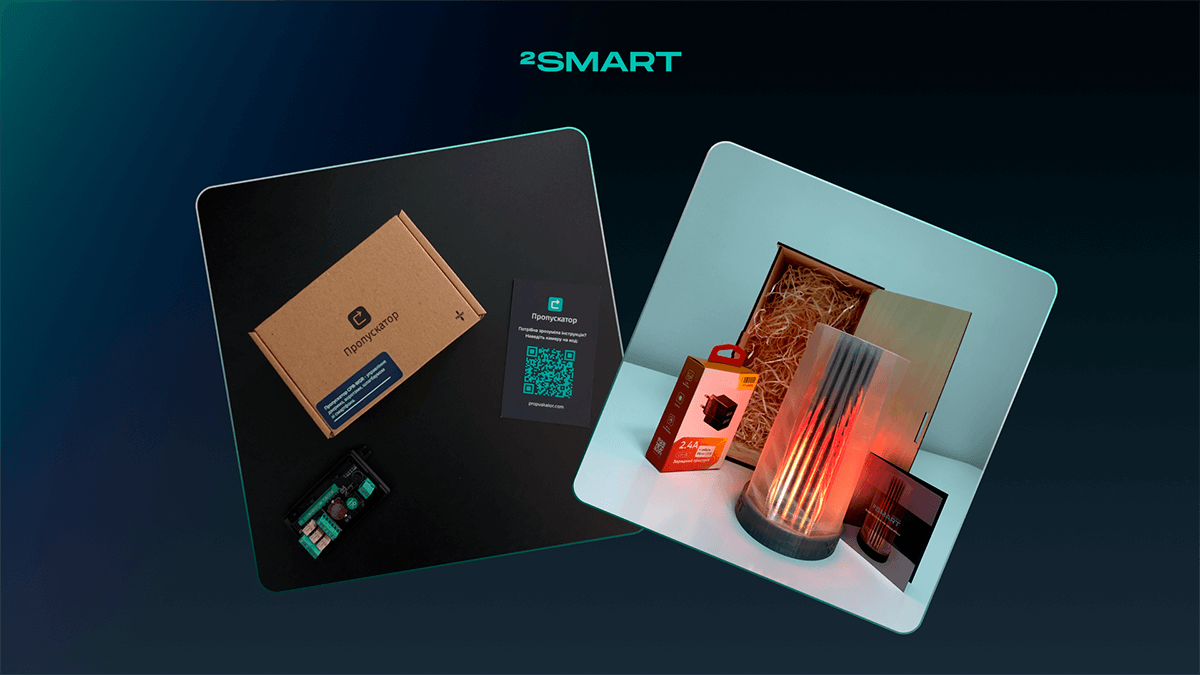
In addition to devices that use the IoT protocols listed above, the user integrated into the automation platform such devices connected to 2Smart Cloud as Sonoff sockets and relays with 2Smart firmware and Propuskator controllers for controlling gates and doors with electric locks.
The automation scenarios used by the owner of the described house can be divided into several groups. The following ones manage the communal resources:
- Automatic switching on the boiler for heating at the night rate.
- Automatic economic turning on of hot water circulation.
- Automatic heating control with the help of electric underfloor heating using the Digital-PID thermostat built into the Standalone.
- Automatic switching on the pump of the local treatment plant for economical use of the pump resource.
- Automatic activation of the bathroom hoods when the set humidity threshold is exceeded.
These scenarios control the lighting in the house and on the site:
- Automatic turning on of outdoor lighting and emergency lighting in the house.
- Automatic shutdown of outdoor and indoor lighting, changing the algorithm of wall light switches to comply with blackout rules in wartime.
- Automatic switching on certain lighting when opening the gates controlled by the Propuskator controllers.
A couple of service scenarios serve devices connected to the automation platform:
- Automatic daily soft-reset of Zigbee proxy to minimize Zigbee network hangups.
- A universal handler for pressing Zigbee buttons to control devices. Allows not to program each switch individually.
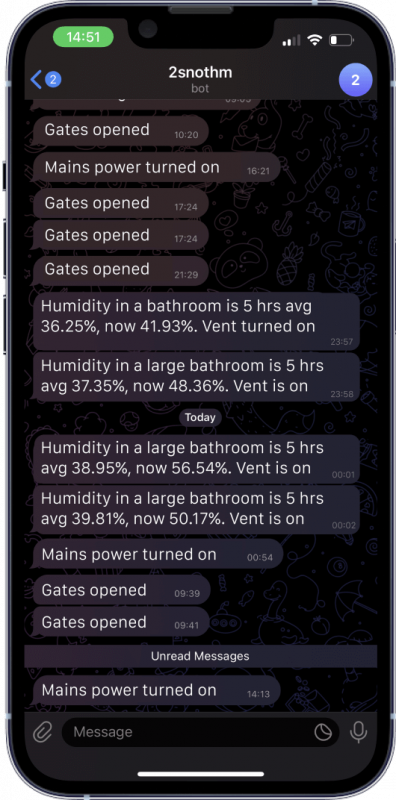
Integration with the Telegram messenger allows the user to receive notifications of the following events on his smartphone:
- the house is too cold or too hot;
- a smoke or gas leak detector has tripped;
- someone opened the gate, the wicket, or the front door;
- the gate was opened by workers who were given temporary access to control its electric lock.
This case is described in more detail in the “Results” section of the article on developing the 2Smart Standalone open-source automation platform in our company blog.
We also described a case of professional greenhouse automation using the 2Smart Standalone platform. This example shows how open-source home automation systems can be utilized to automate commercial facilities.
How to install and use the 2Smart open-source home automation platform
Since we have made 2Smart Standalone an open project, anyone can install and use this platform, including drawing inspiration from the use cases described above. So, automation geeks, add another software product to your comparison sheet!
If you use 2Smart Cloud devices, we recommend enhancing your user experience with Standalone’s device automation capabilities.
To install 2Smart open-source automation software for your home, you need a computer with the following minimum specifications:
- CPU: 2 core,
- Memory: 4GB,
- Storage: 10 GB FREE.
In practice, most budget mini-computers meet these requirements.
To install the 2Smart open-source home automation, use any operating system from the list below:
- CentOS 7,
- Debian,
- mac OS,
- Linux (Ubuntu).
To install the platform, use the instructions for your operating system in the 2Smart Standalone Wiki, ignoring the step of entering a private token.
You can also install the platform on a virtual server, where you will have access to its admin panel from anywhere there is Internet. This will allow you to test it without using a machine for local deployment, especially if you are using Windows 10 or another OS not on the list.
As with any open-source project, you can offer your edits and suggestions to the project code. Or you can fork the project, modify the code to your liking, and build your own docker image.
You can also ask your questions to developers and other platform users in the 2Smart Cloud Discussion Telegram chat. Looking forward to your feedback!
Don't forget to share this post!
Read Next
Let’s dive into your case
Share with us your business idea and expectations about the software or additional services.

