
Table of contents:
In this article, we’ll explore the methods for installing ESPHome firmware on the ESP32 microcontroller, tailored for users employing MacBook, iMac, Mac Pro, or Mac mini. There are two primary methods: flashing an ESP32 device via a web browser or using esptool. Let’s examine both approaches in detail.
Flashing an ESP32 Microcontroller via a browser
We’d like to highlight our useful feature for developers using ESPHome to install ESP32 microcontroller firmware using a macOS device: you can easily install it to your microcontroller with just a few clicks. This streamlined process is made possible through the web interface of the 2Smart Cloud platform, leveraging the ESP Web Tools library.
To install the ESPHome-based firmware on your microcontroller using a browser, simply follow this step-by-step instruction published on the 2Smart website. MacOS users won’t require any additional steps to enable these new features. However, if you encounter issues with serial ports not being displayed in the browser, you may need to install drivers as outlined in this guide. Let’s consider the major steps of the process here below.
Please note that we’ve taken care of firmware assembly on our servers – you do not need to use assembly programs on your computer.
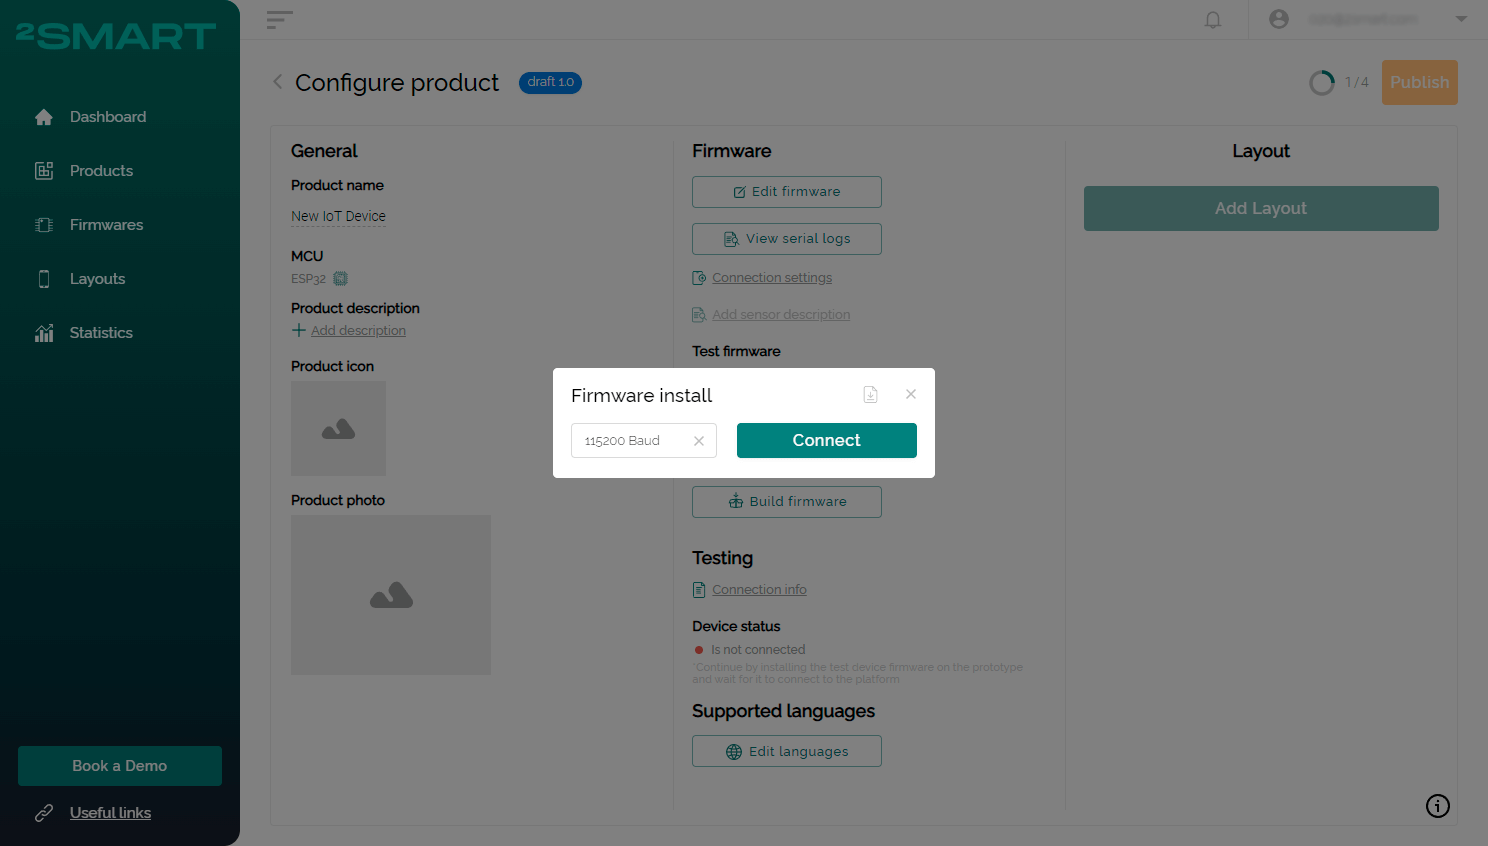
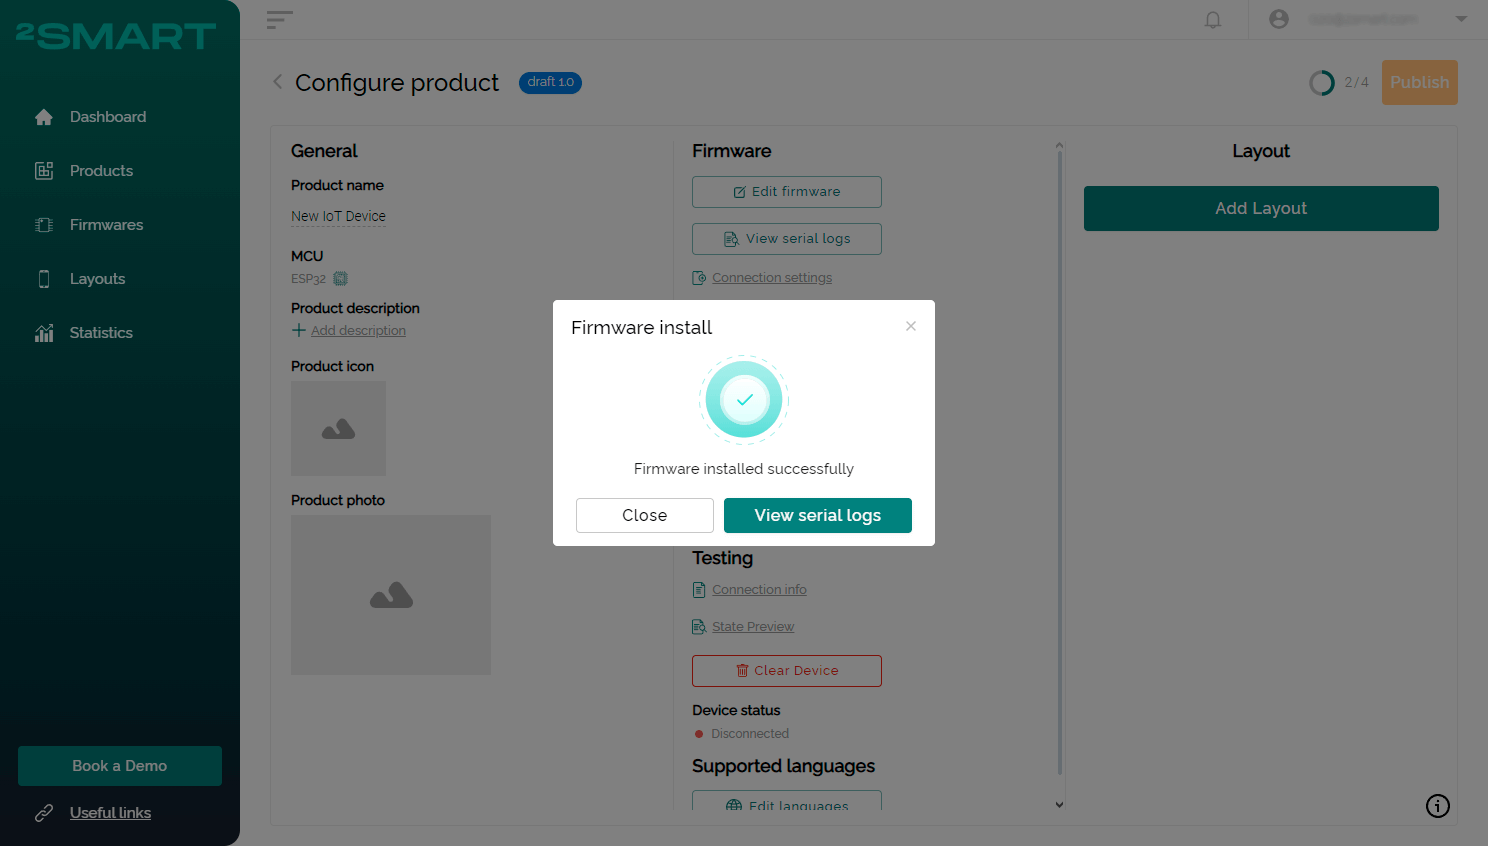
At first, you’ll need to create an ESPHome configuration for the device, and then install the firmware on the microcontroller using the platform web interface.
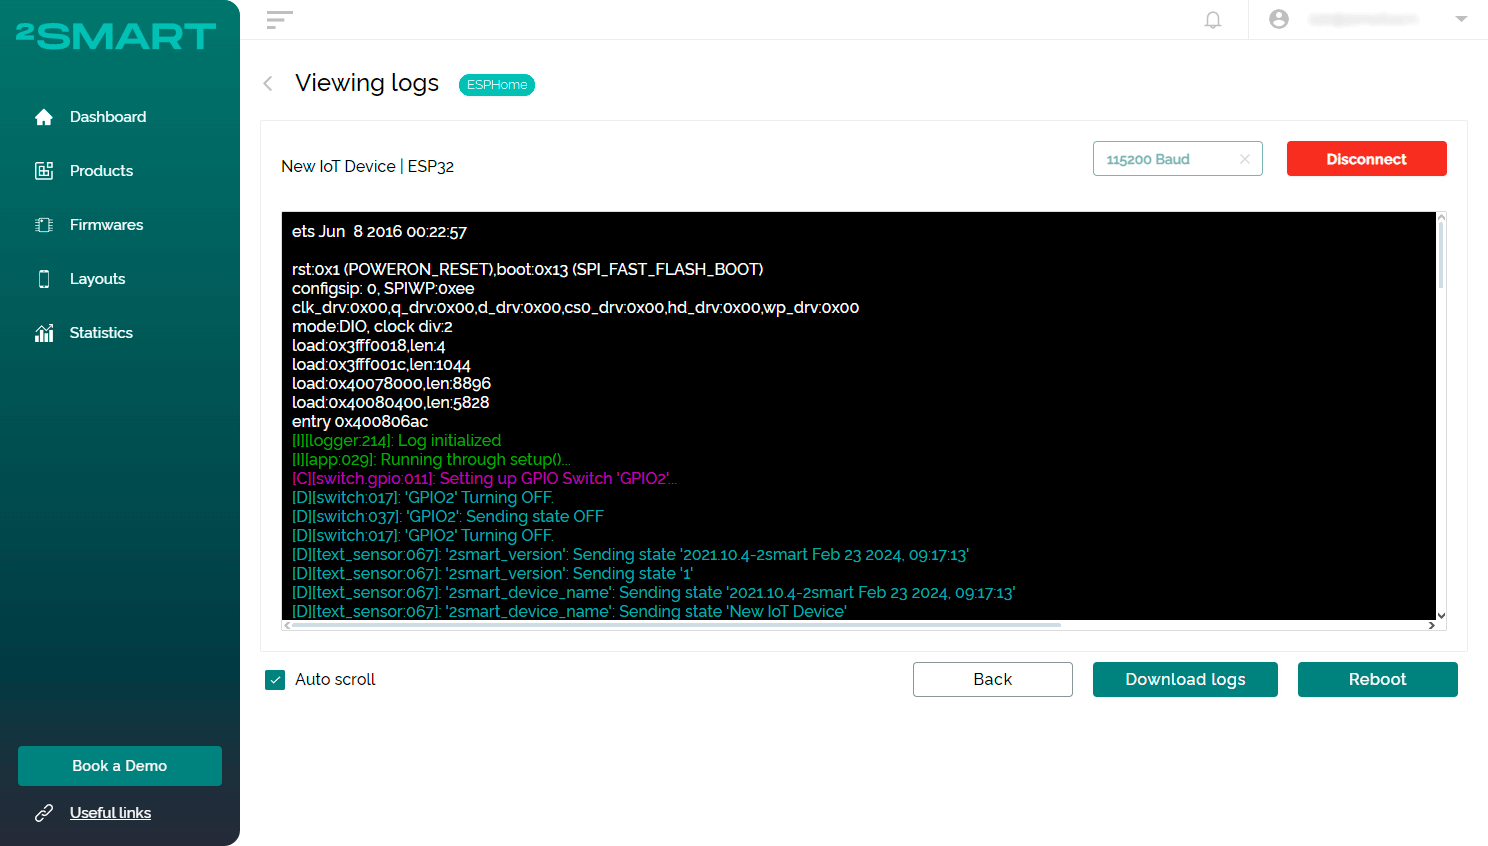
Another notable advantage of this method of firmware installation is the ability to access microcontroller logs directly through your web browser. After successful flashing, you will be able to view logs after connecting to the computer’s serial port.
You can also download the logs of the microcontroller to your PC.
If you encounter difficulties with the aforementioned web interface method, we also provide an alternative option for installing the firmware using Python. Please refer to the instructions below. These steps may be necessary during initial product testing when installing test firmware on prototypes.
Let’s collaborate
We’re empower your business with our technology expertise
Flashing an ESP32 Microcontroller with esptool
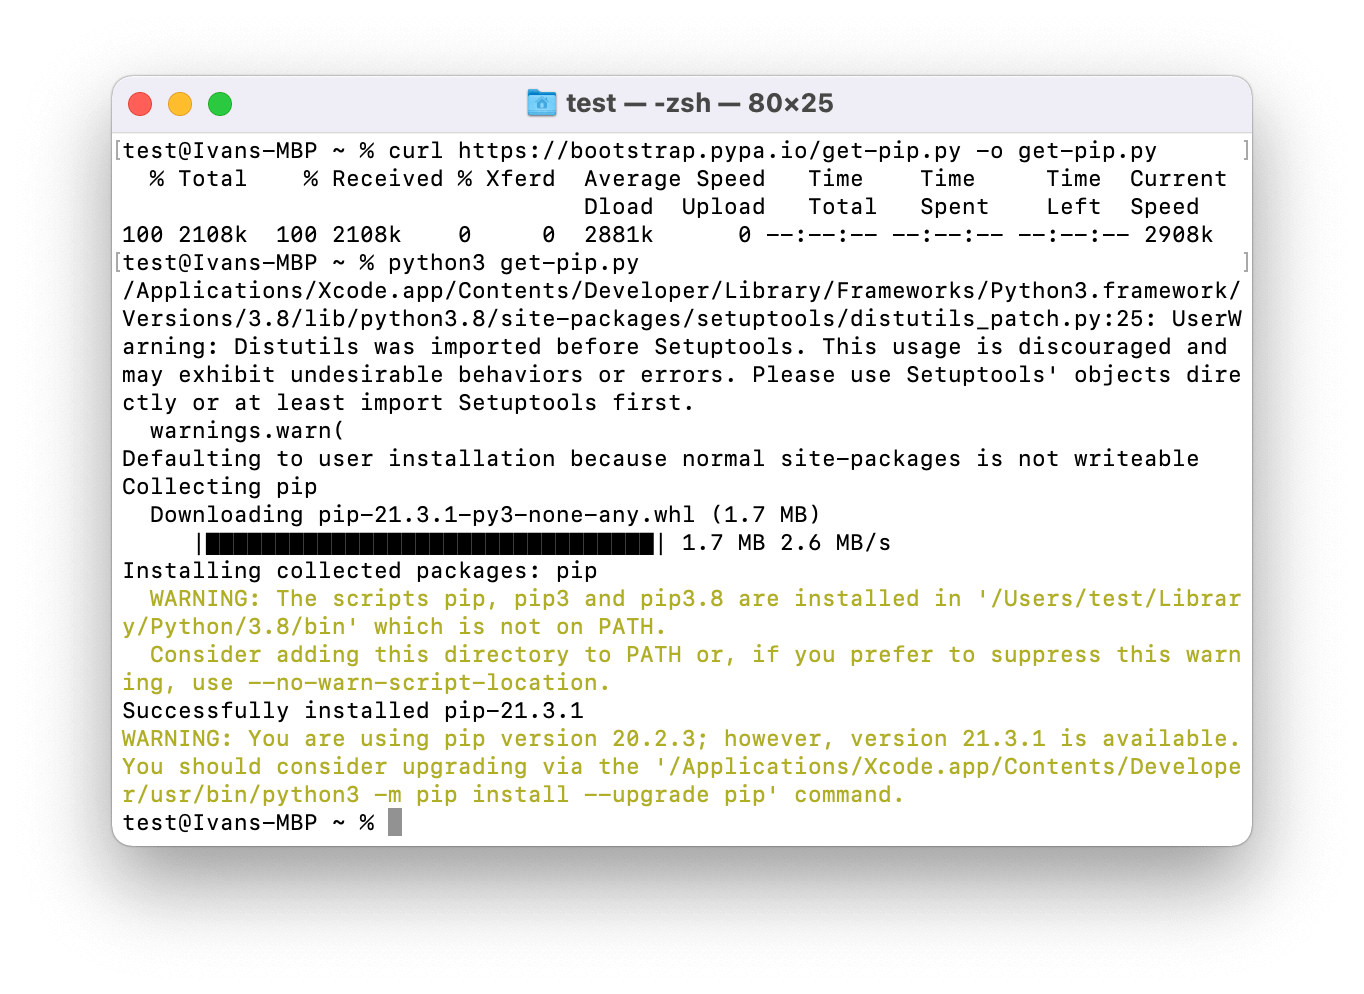
- Install the latest version of Python — you can download the stable release from the developer’s website.To flash the microcontroller, the pip3 package manager should be installed. Use the following command to download the pip3 installation file:
curl https://bootstrap.pypa.io/get-pip.py -o get-pip.py
After this, install the package manager:
python3 get-pip.py

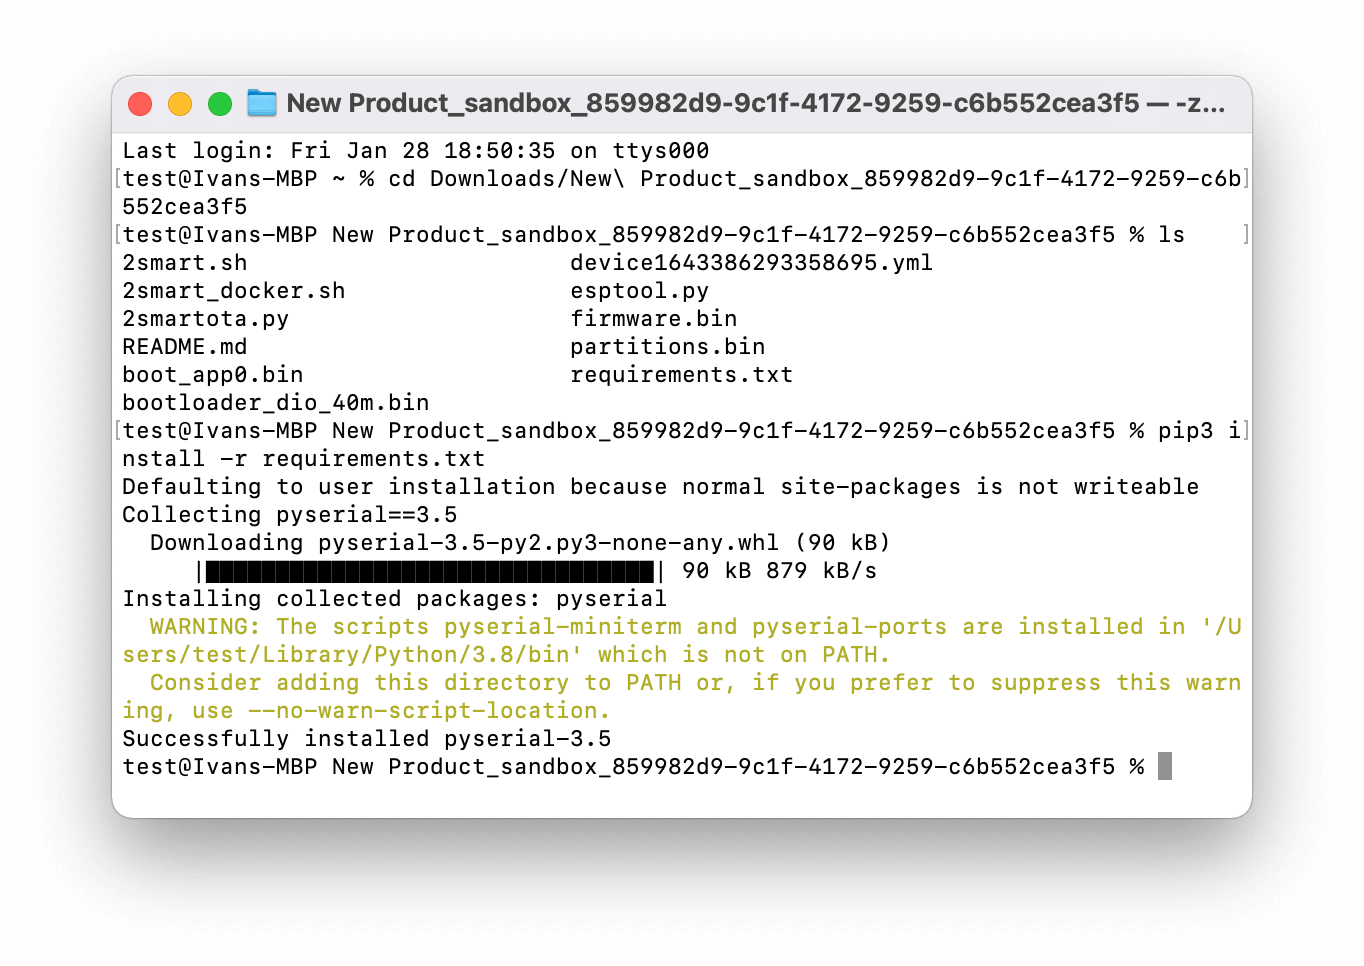
- Unzip the firmware file and navigate to the directory containing the archive’s firmware in the terminal.
cd Downloads/<unzipped_archive>
ls

- Install the necessary libraries to work with the “2smart.sh” script using the following command:
pip3 install -r requirements.txt
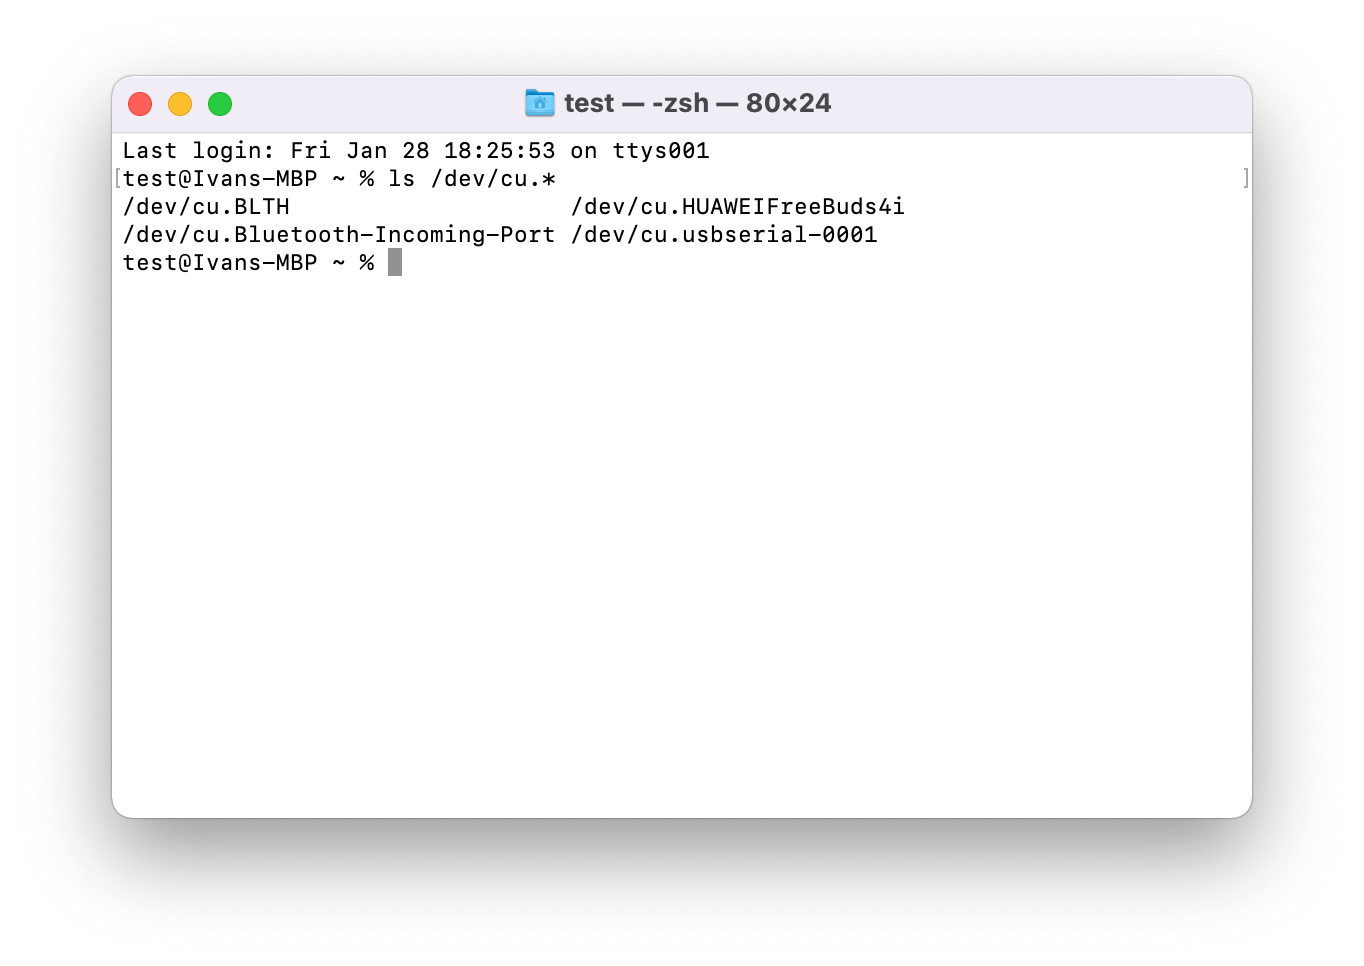
- Connect your MicroUSB cable to your ESP32 Board. Then connect the other end of the USB data cable to your Mac. Enter command in the terminal:
ls /dev/cu.*
In example you should now see /dev/cu.usbserial-0001, you may choose your serial port. It is necessary for the flashing device in the next steps.
- Clean up the microcontroller memory by running the following command:
./2smart.sh erase_flash
If the memory erasing stops at the “Connecting ….___….___” step, press the Boot button on the DevKit board:

- Run the “2smart.sh” script to flash the microcontroller, put your usb serial port after -d, for example /dev/cu.usbserial-0001:
./2smart.sh write -d /dev/cu.usbserial-0001
If the flashing stops at the “Connecting ….___….___” step, press the Boot button on the DevKit board.
- After a successful flash, you will see the “Leaving… Hard resetting via RTS pin…” notification.
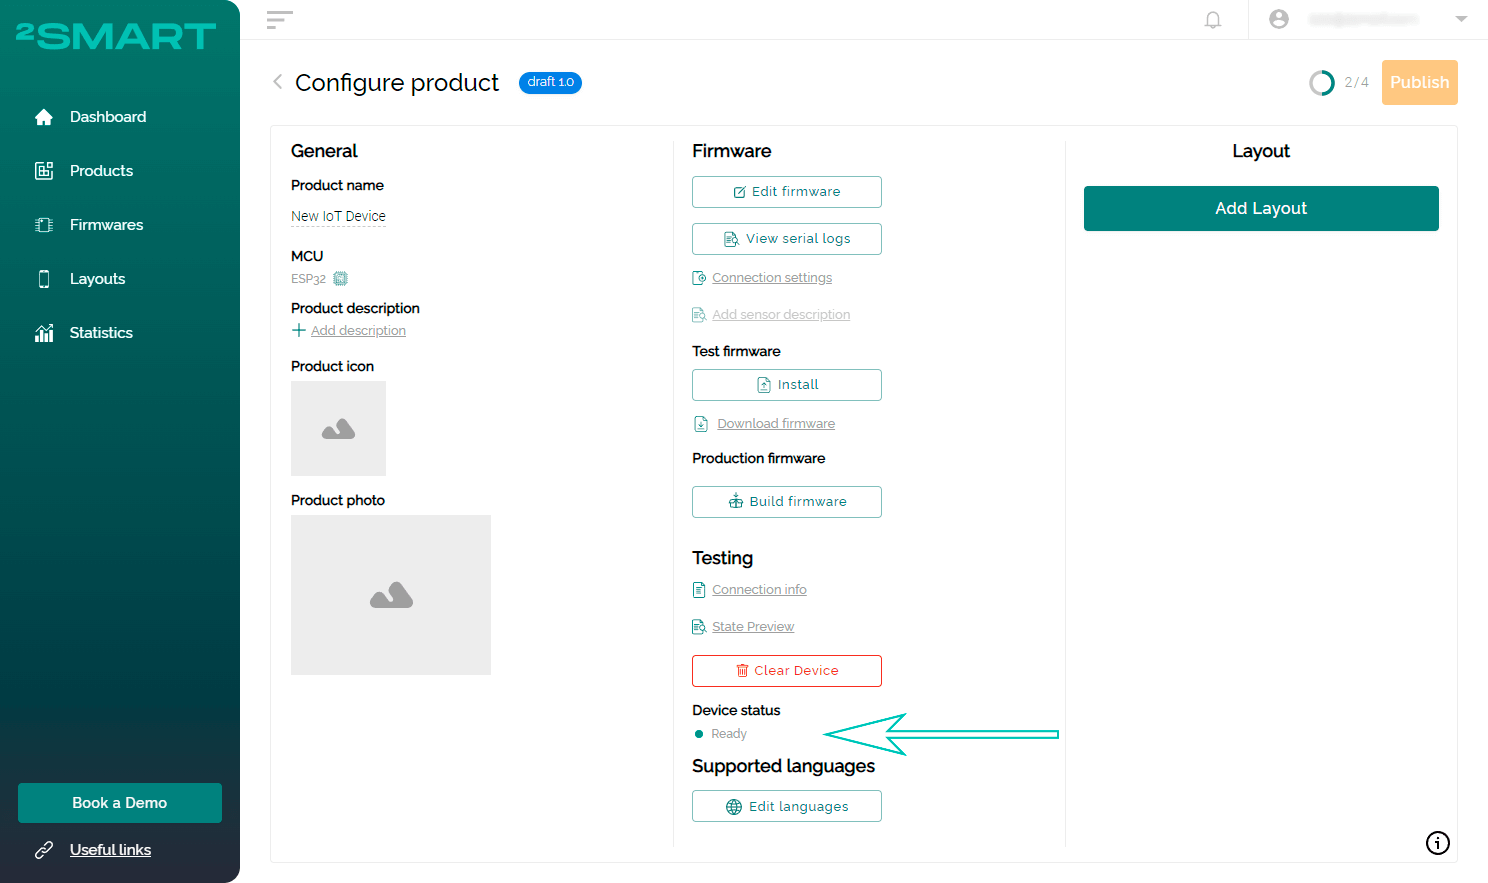
- After flashing is completed, return to your 2Smart Cloud account and wait until the device is detected by the platform. If this does not happen within one to two minutes, unplug your device and plug it back into the Mac.
The device’s “Ready” status indicates that the prototype has been successfully connected to the 2Smart Internet of Things software.

- After flashing is completed, return to your 2Smart Cloud account and wait until the device is detected by the platform. If this does not happen within one to two minutes, unplug your device and plug it back into the Mac.


When getting confirmation that your connection to the prototype platform with test firmware was successful, you can continue working on your product. A similar approach (steps 5 and 6) is used to install the production firmware on finished devices.
Don't forget to share this post!
Read Next


Let’s dive into your case
Share with us your business idea and expectations about the software or additional services.
