Table of contents:
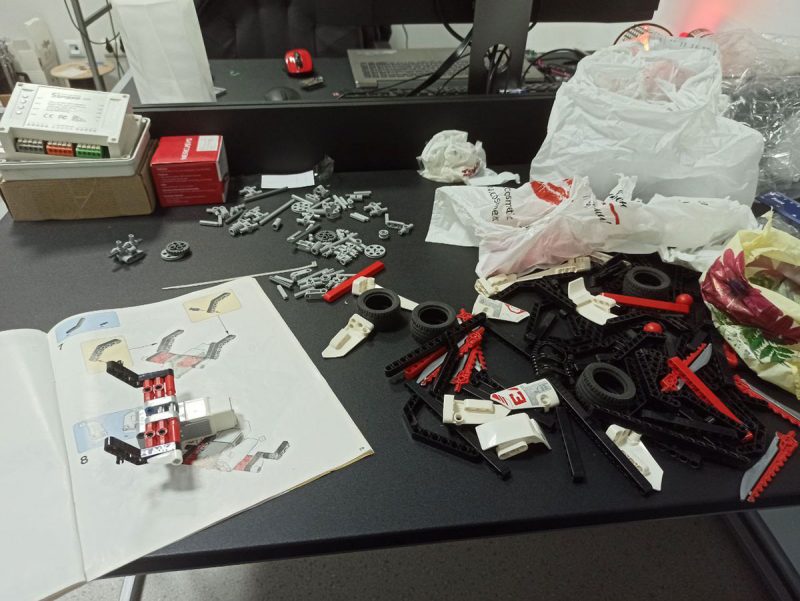
We continue the epic about developing a robot guard who will one day replace Uncle John as a watchman. In the previous post, we told you about mobile security systems (MSS) requirements – what tasks a robot will solve and what we wanted to test at the first practical stage – when creating a Proof of concept prototype. We settled on ordering the Lego Mindstorm set – this children’s construction kit has everything to assemble a simple robot on wheels.
The main problem of the Lego constructor (for us) and how we solved it
The Lego children’s robotics kit has a decisive advantage – its mechanics are excellent for such designers. Servomotors, various sensors, wheels, body parts, etc.
But we didn’t take a microcomputer – it’s really cool, but it doesn’t suit us. It’s complicated to develop any integrations with other than LEGO software. We need to control the robot from a Docker container, and Lego’s “brains” are not designed for this.
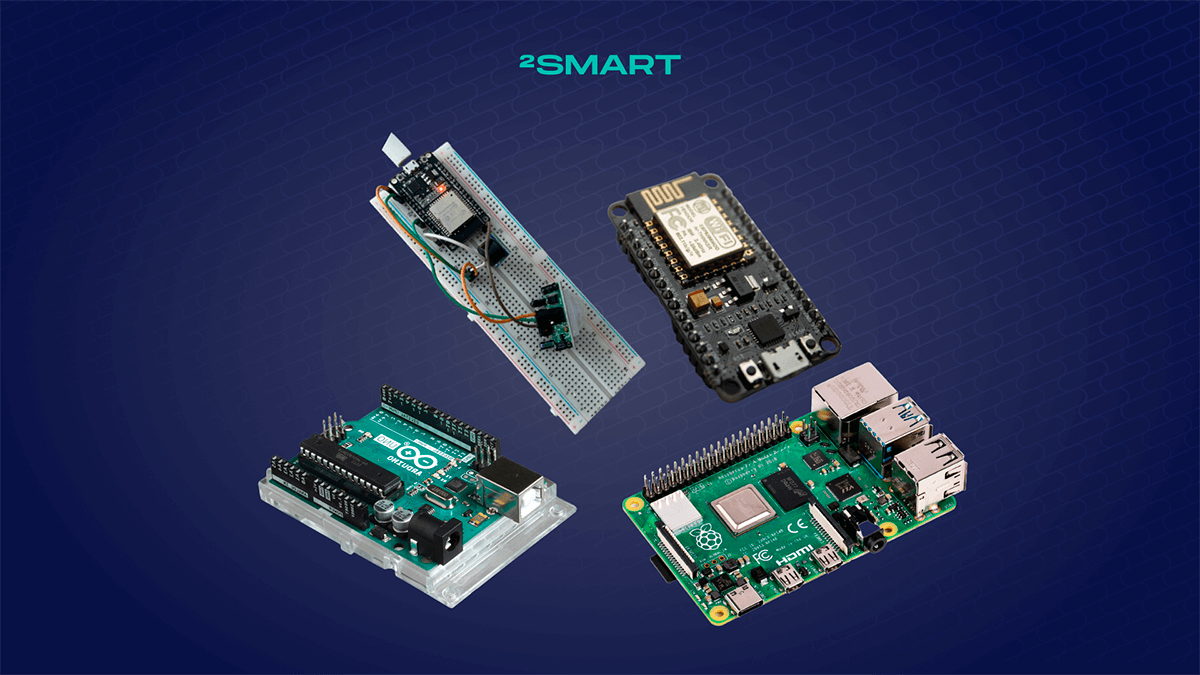
We started thinking about what to do. Of course, making friends with a Lego kit with a conventional ESP32 microcontroller is a solvable task. But at the same time, it will take a lot of time to implement essential functions in the firmware for managing standard constructor parts. It would be ideal to find a ready-made solution to minimize the routine.
We decided to see what robotics kits are on the market based on standard solutions. For example, the Raspberry Pi microcomputer, which we have been working on for a long time, has native integration with our IoT platform. And… bingo! The solution was found, and it turned out to be well, not at all obvious.
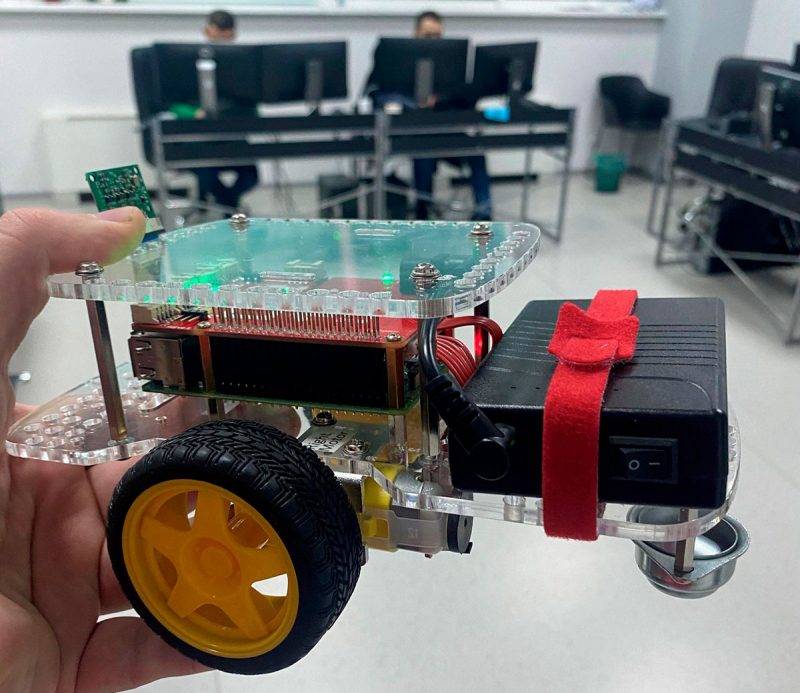
In search of a robot on Raspberry Pi, we came across a GoPiGo constructor. This kit turned out to be one of the most potent raspberry-based projects. So pay attention – it’s a fantastic platform for robotics classes!
Of course, we can connect a Raspberry Pi to a Lego kit without GoPiGo. Why did we bother at all, spend money and wait for the delivery of this kit? It’s just that a microcomputer is not at all the raisins that we extracted from this bun. The highlight was the set’s firmware – the code written for Raspberry Pi allows you to control the robot on wheels via a smartphone remotely. Exactly what we need! Adapting the ready-made solution saves time and effort in developing the first iteration of PoC.
In the kit with the GoPiGo constructor, there is a flash drive with software for robotics schools. There, among other software, was what we needed – a firmware for Raspberry Pi with a description of the robot control logic. We were interested in one specific library – for controlling servos to manage the movement.
In fact, we took only a microcomputer from the hardware in GoPiGo. We refused its expansion board – we screwed our bridge to call the servo control library. We supplemented the circuitry with their control boards, a voltage divider, and a power supply battery.
Subsequently, we will not use someone else’s; we will write our firmware completely for later iterations. Moreover, the tasks will be more complicated than working with standard Lego parts.
Let’s collaborate
We’re empower your business with our technology expertise
Making the robot “smart”
If it has become customary to call the Internet of Things devices “smart”, let’s stick with it. However, we are sure that a “stupid” robot not connected to IoT may be smarter than many “smart” light bulbs and kettles. Although… there may still be questions for him.
Like Lego, the GoPiGo kit implements only local control of the assembled robot – via the nearest laptop or tablet. These sets do not imply creating Internet of Things devices that can be controlled remotely. Therefore, the GoPiGo firmware had to be made friends with our IoT platform.
This task is solved by standard means – for custom firmware for Raspberry Pi, we have written SDK (Software development kit). For those far from development and programming, this is ready-made code that already implements essential functions for connecting and turning any device into an Internet of Things device with 2Smart Cloud.
The task of developers when using the SDK is to describe only the device’s logic. In our case, part of the work was done by GoPiGo developers – the logic of controlling the robot’s movements was already described. On our own, we added the camera control logic – after all, the robot will have to observe what is happening as an actual security guard. But we’ll talk about this a little later. There are a lot of exciting things there.
In the meantime, we needed to make friends with the modified version of the GoPiGo firmware with our SDK, flash the Raspberry Pi microcontroller with this code, install it on the Lego set and see if this monster starts up.
Spoiler alert – we did it. We’re great.
Controlling a Frankenstein robot from a smartphone
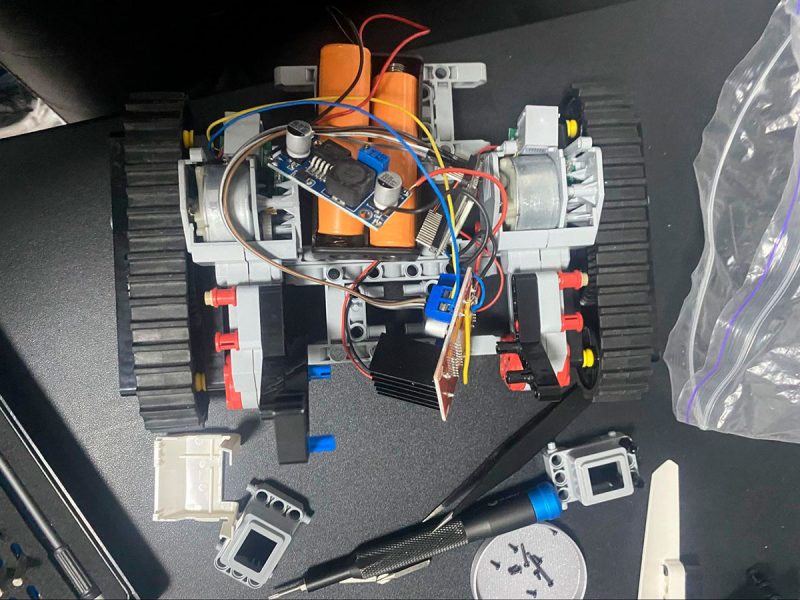
The security robot for home really turned out to be a little Frankenstein. The body, wheels, and motor are from Lego. The microcomputer is from GoPiGo. And a few other boards and a battery.
But even so, you can imagine how the child inside each of us rejoiced when we launched the robot and began to control it remotely from a mobile application.
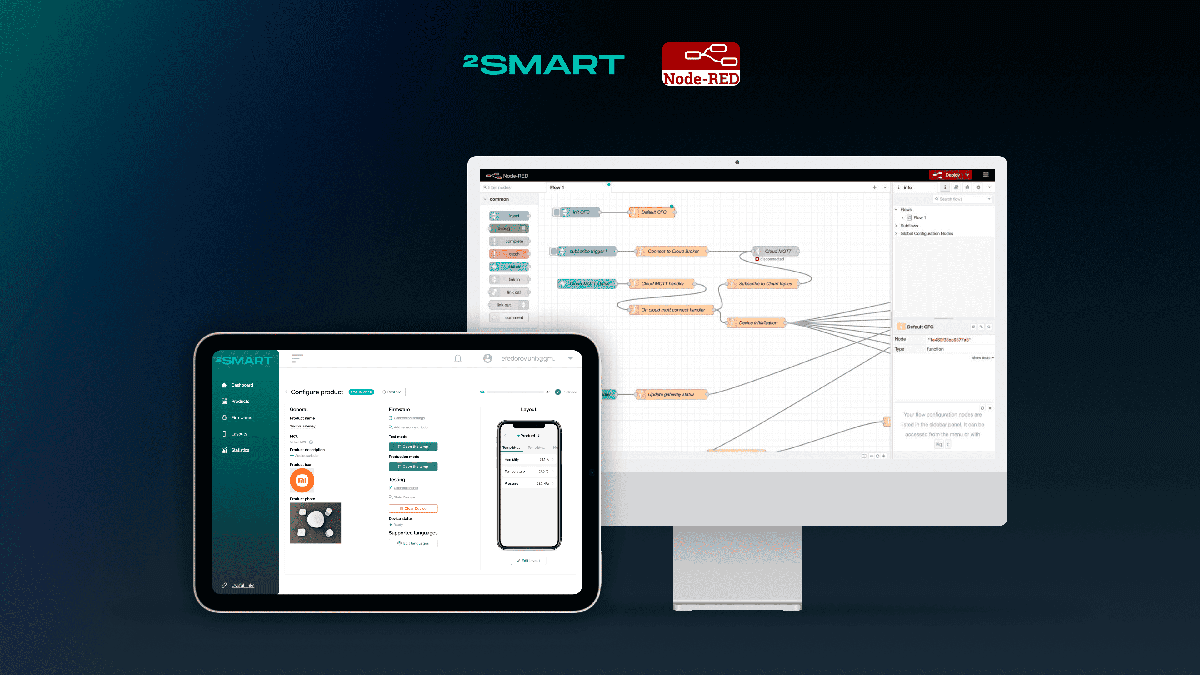
More precisely, not quite so – the robot made its first “steps” by executing commands from the computer screen. We have just set up the mobile application interface and tested it in the browser. But since one of the features of 2Smart Cloud is a real-time emulator of a mobile application, the robot has already responded to commands – it moved around the office as we anticipated.
Well, when we added it to an actual application on a smartphone and got such a wireless remote control, it was pure delight. As a child, we only had cars on a wired remote.
So, we tick the first item of the Proof of concept prototype requirements – initially, we were able to create a software platform for remote control of the robot and made friends with our IoT platform without any crutches. Connected the device – everything started up.
Next time we will tell you how we worked on video surveillance – at this stage, there were more severe difficulties. Let’s just say that we started with the fact that the robot, instead of the camera, carried on itself … an ordinary smartphone! Stay in touch, it will be interesting!
P.S. Oh, by the way. If you are interested in the technical details described – visit our Telegram chat, and ask questions. We will try to answer everything! And, of course, you can test your ideas with 2Smart cloud software for free by connecting up to 20 of your devices to the platform!
Don't forget to share this post!
Read Next
Let’s dive into your case
Share with us your business idea and expectations about the software or additional services.

