
Table of contents:
IFTTT.com is probably the most powerful online digital automation platform. The principle of working with this service is elementary. IFTTT means If This Then That – you must specify a condition (trigger) and an action that is performed under this condition. In practice, this makes it possible to link numerous services and products that are usually completely incompatible. Now you can find 2Smart Cloud in the IFTTT services catalog, which means that devices running our platform can be easily linked with other services. Below we will show you how to use IFTTT automation features with 2Smart Cloud devices.
How to set up automation in IFTTT for 2Smart Cloud devices
Automation scenarios in IFTTT are called applets. In applets, the user specifies the trigger and the action performed when the trigger fires. You can read more about working with IFTTT in the platform’s help.
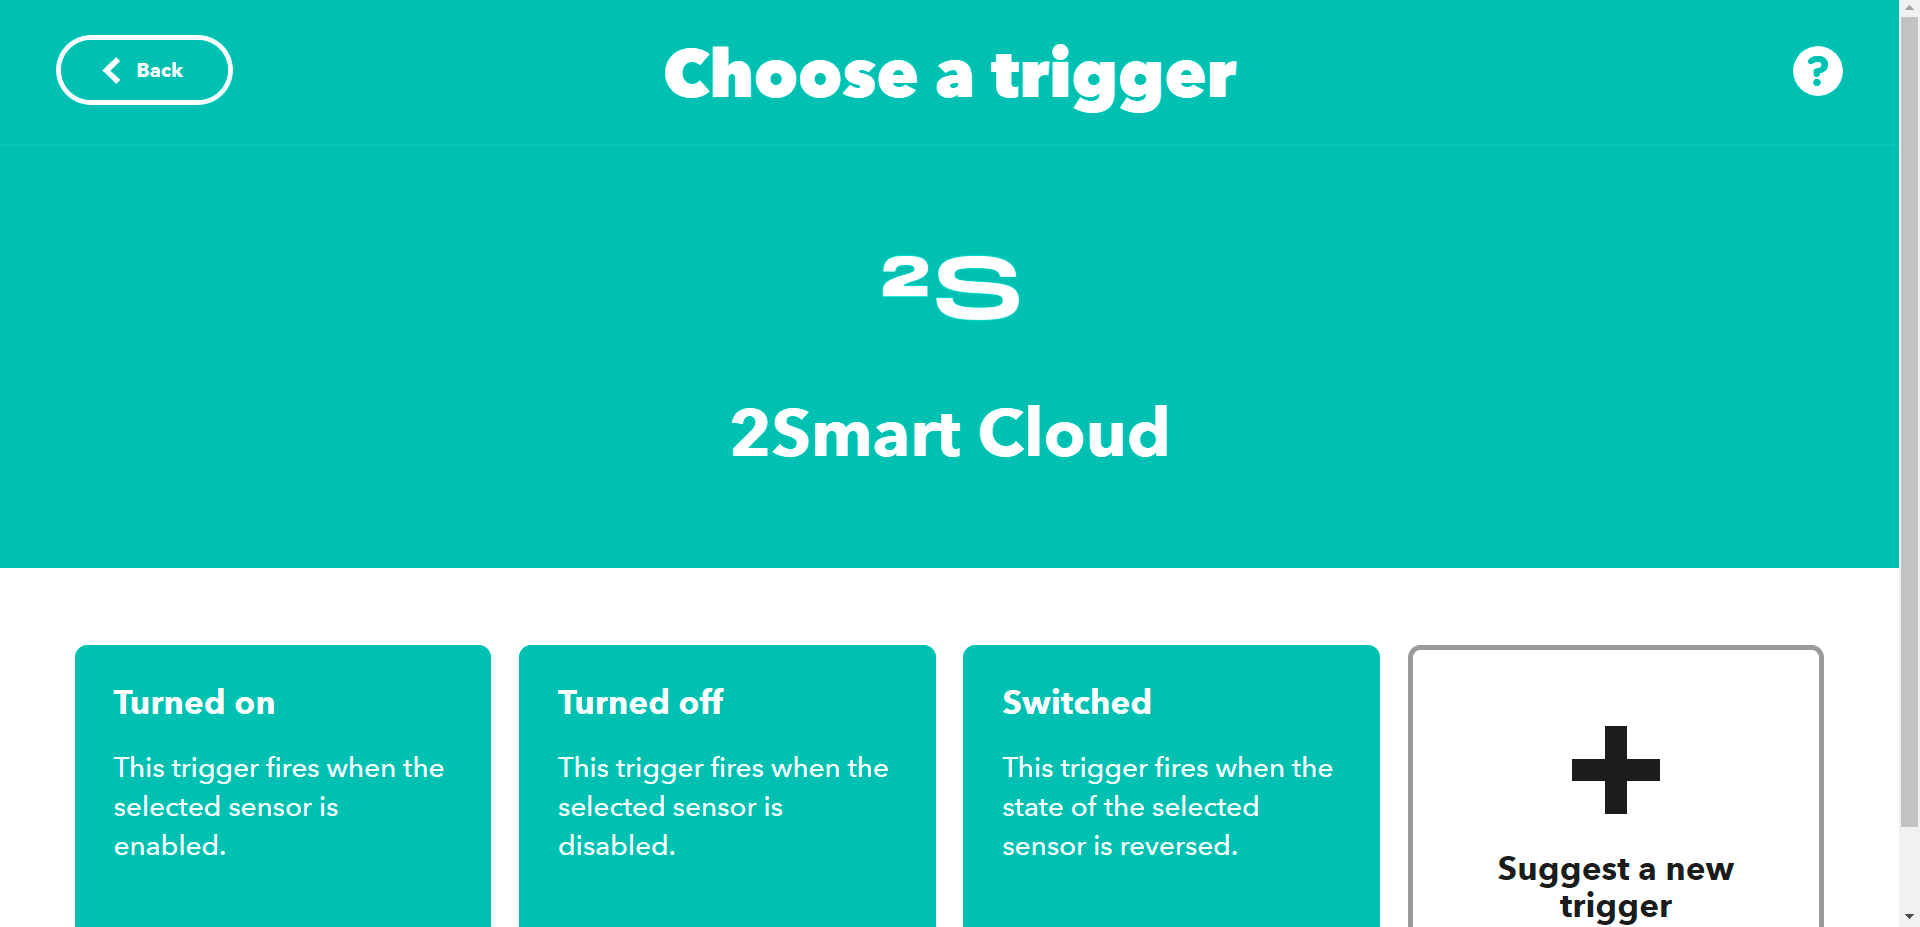
Activation of the selected sensor of the 2Smart Cloud device can be both a trigger and an action in the IFTTT applet. You can choose one of three sensor trigger conditions:
- turned on,
- turned off
- switching state.
It doesn’t matter if you select the 2Smart Cloud device’s sensor as a trigger or action. The applet configuration flow will be the same. Both options will be considered below.
But before moving on to the instructions, take a look at the ready-made 2Smart Cloud applets in IFTTT. We may have already set up the necessary automation for you.
2Smart Cloud device in IFTTT applet trigger
- If you don’t have an IFTTT account, sign up for the service: https://ifttt.com/join
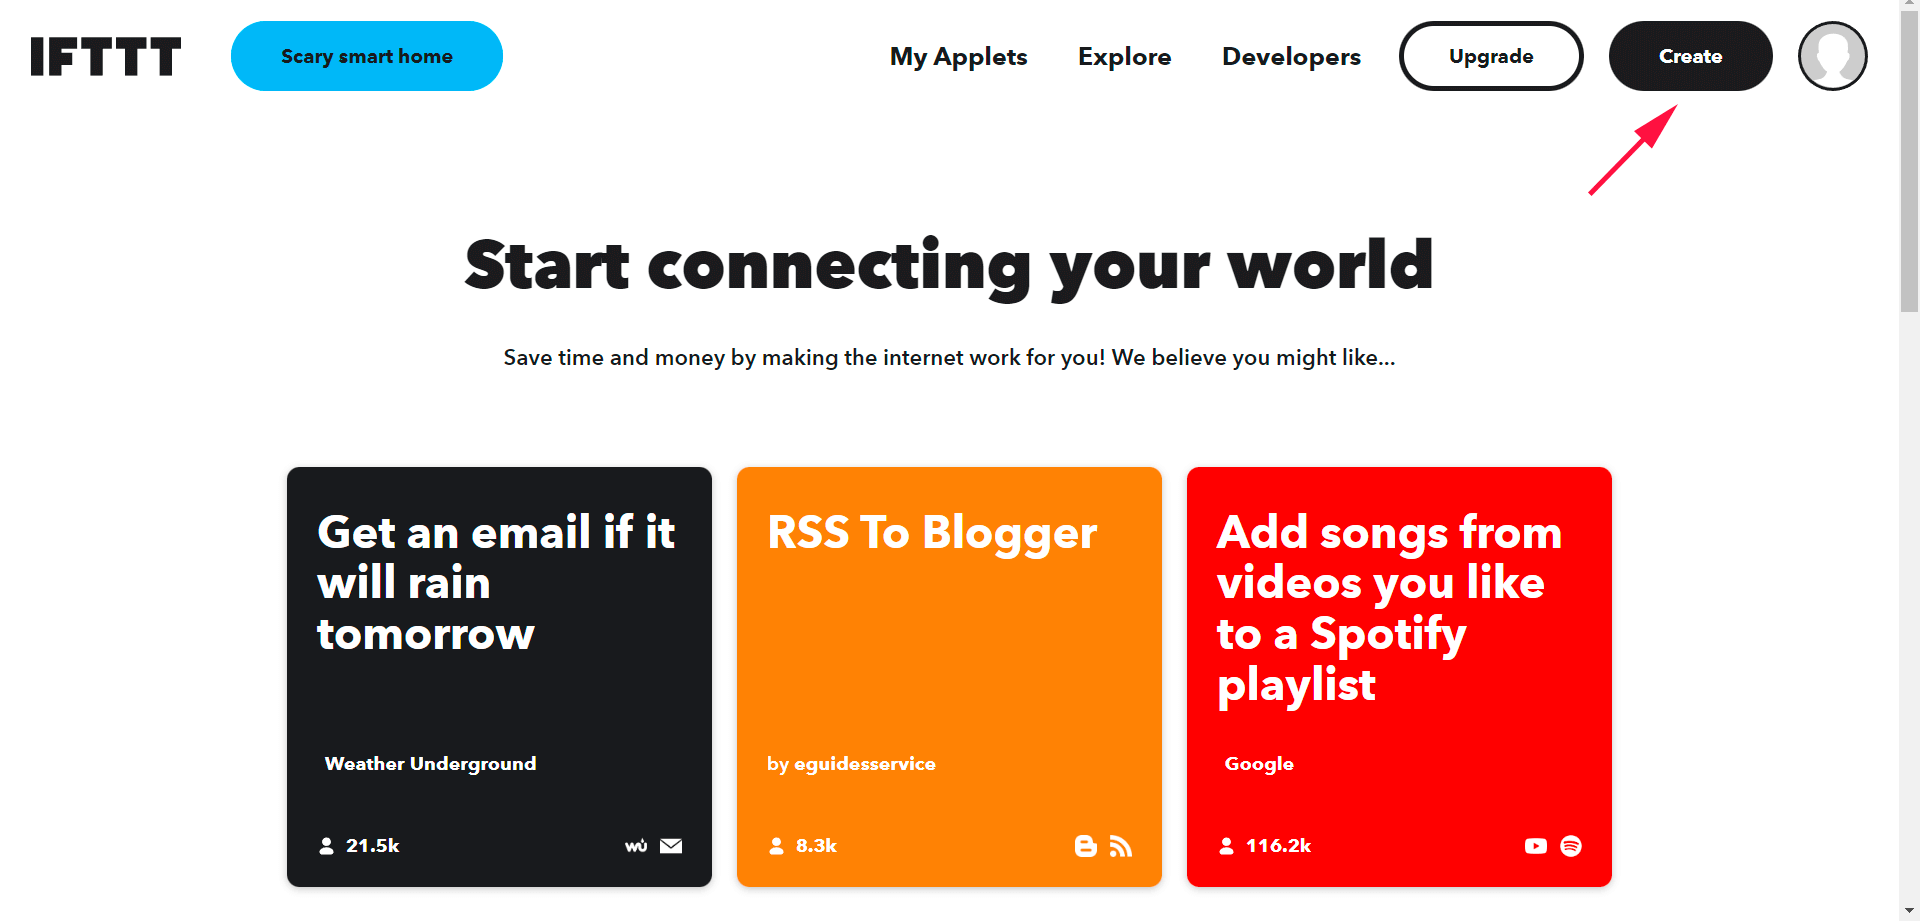
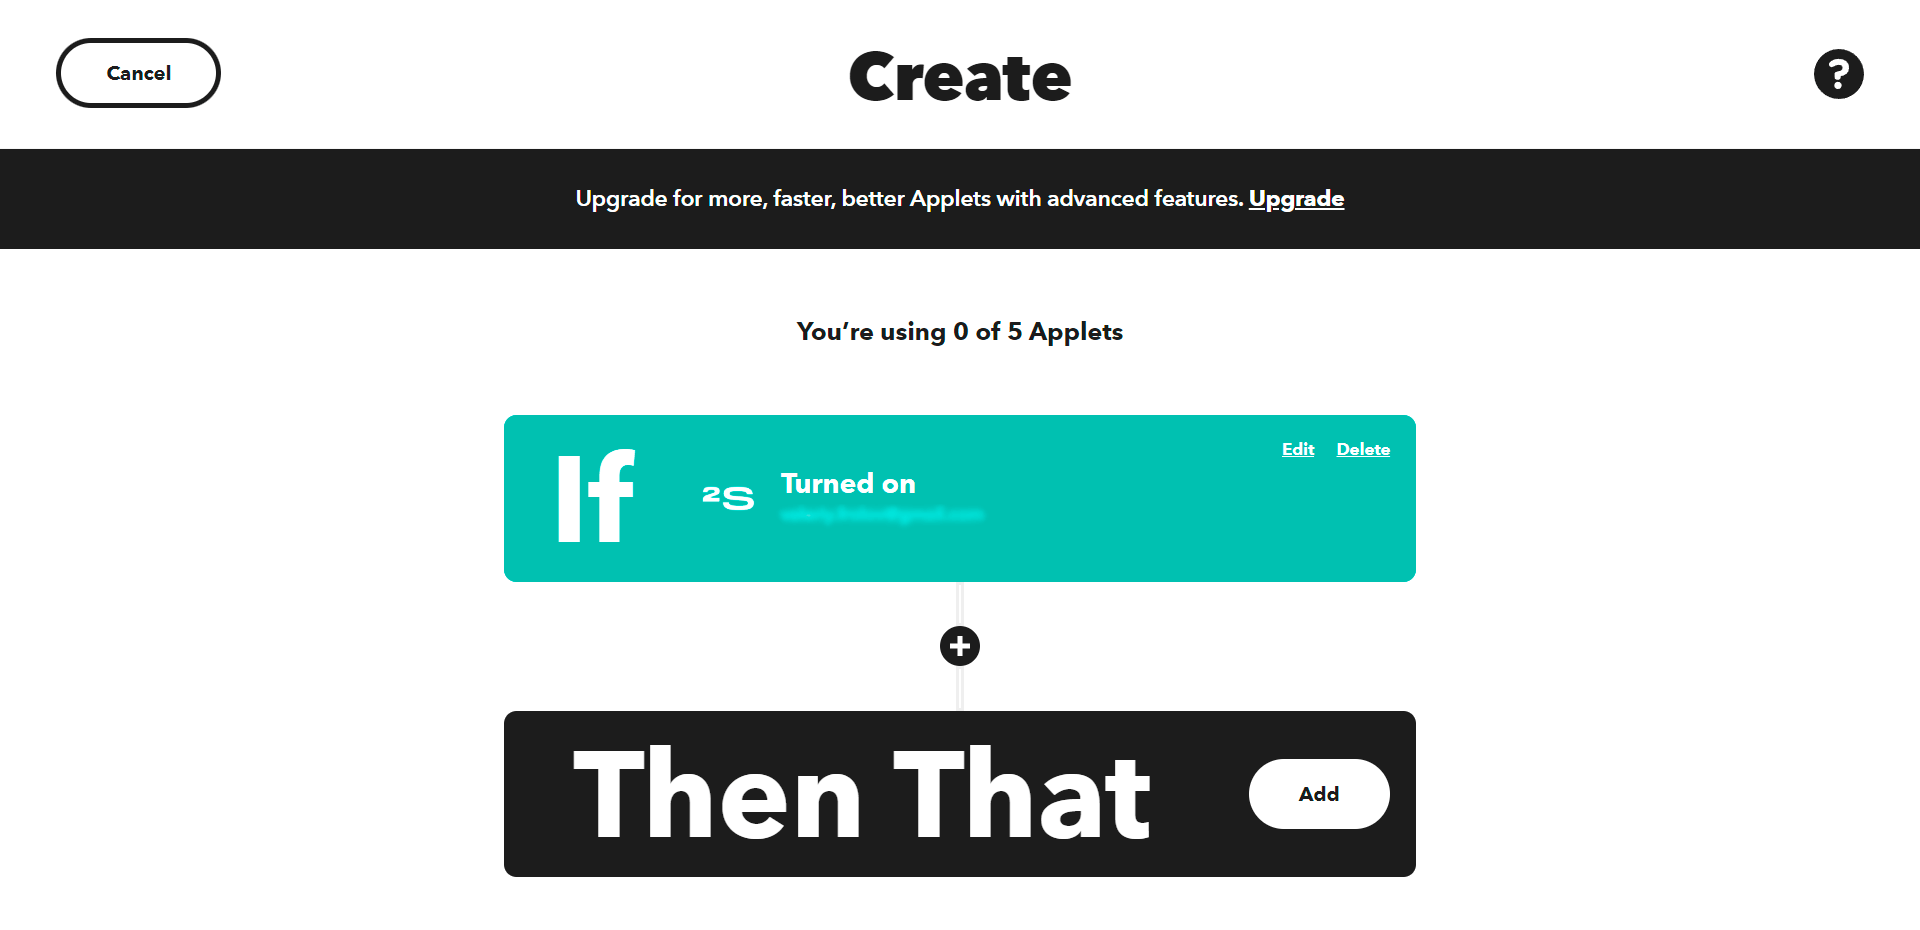
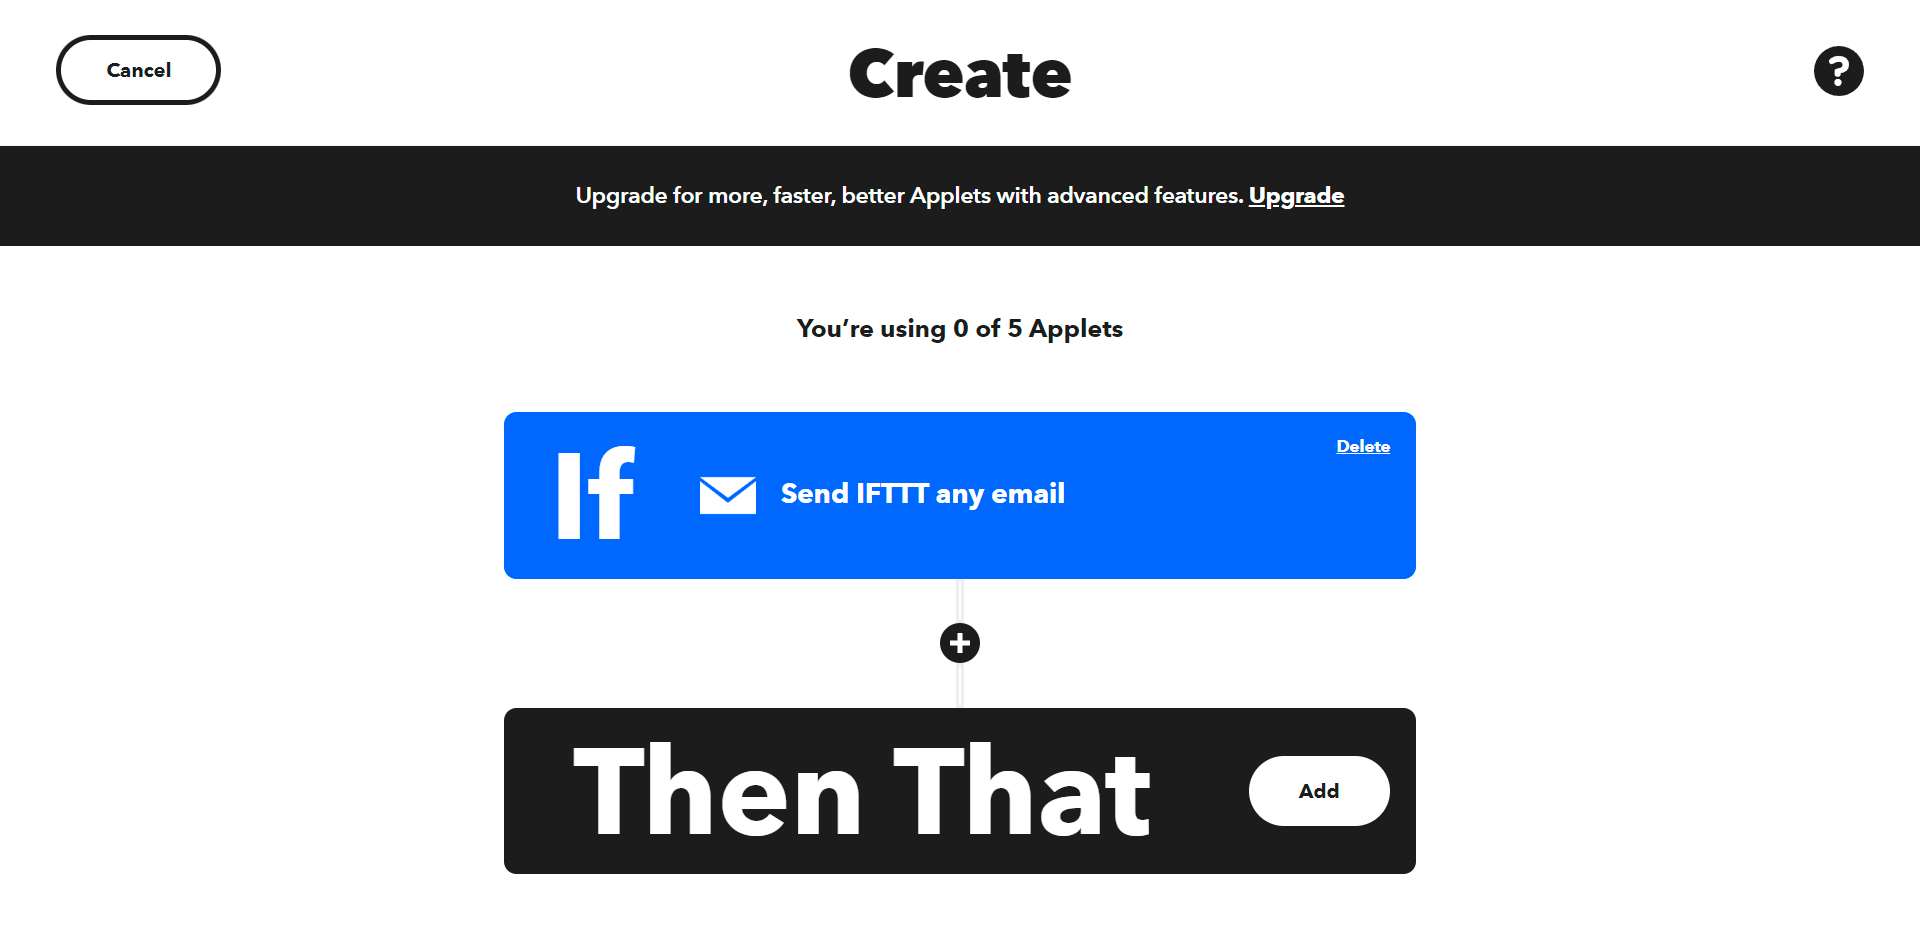
- Click the Create button to set up your first applet. Please note that the free plan includes five simple applets.

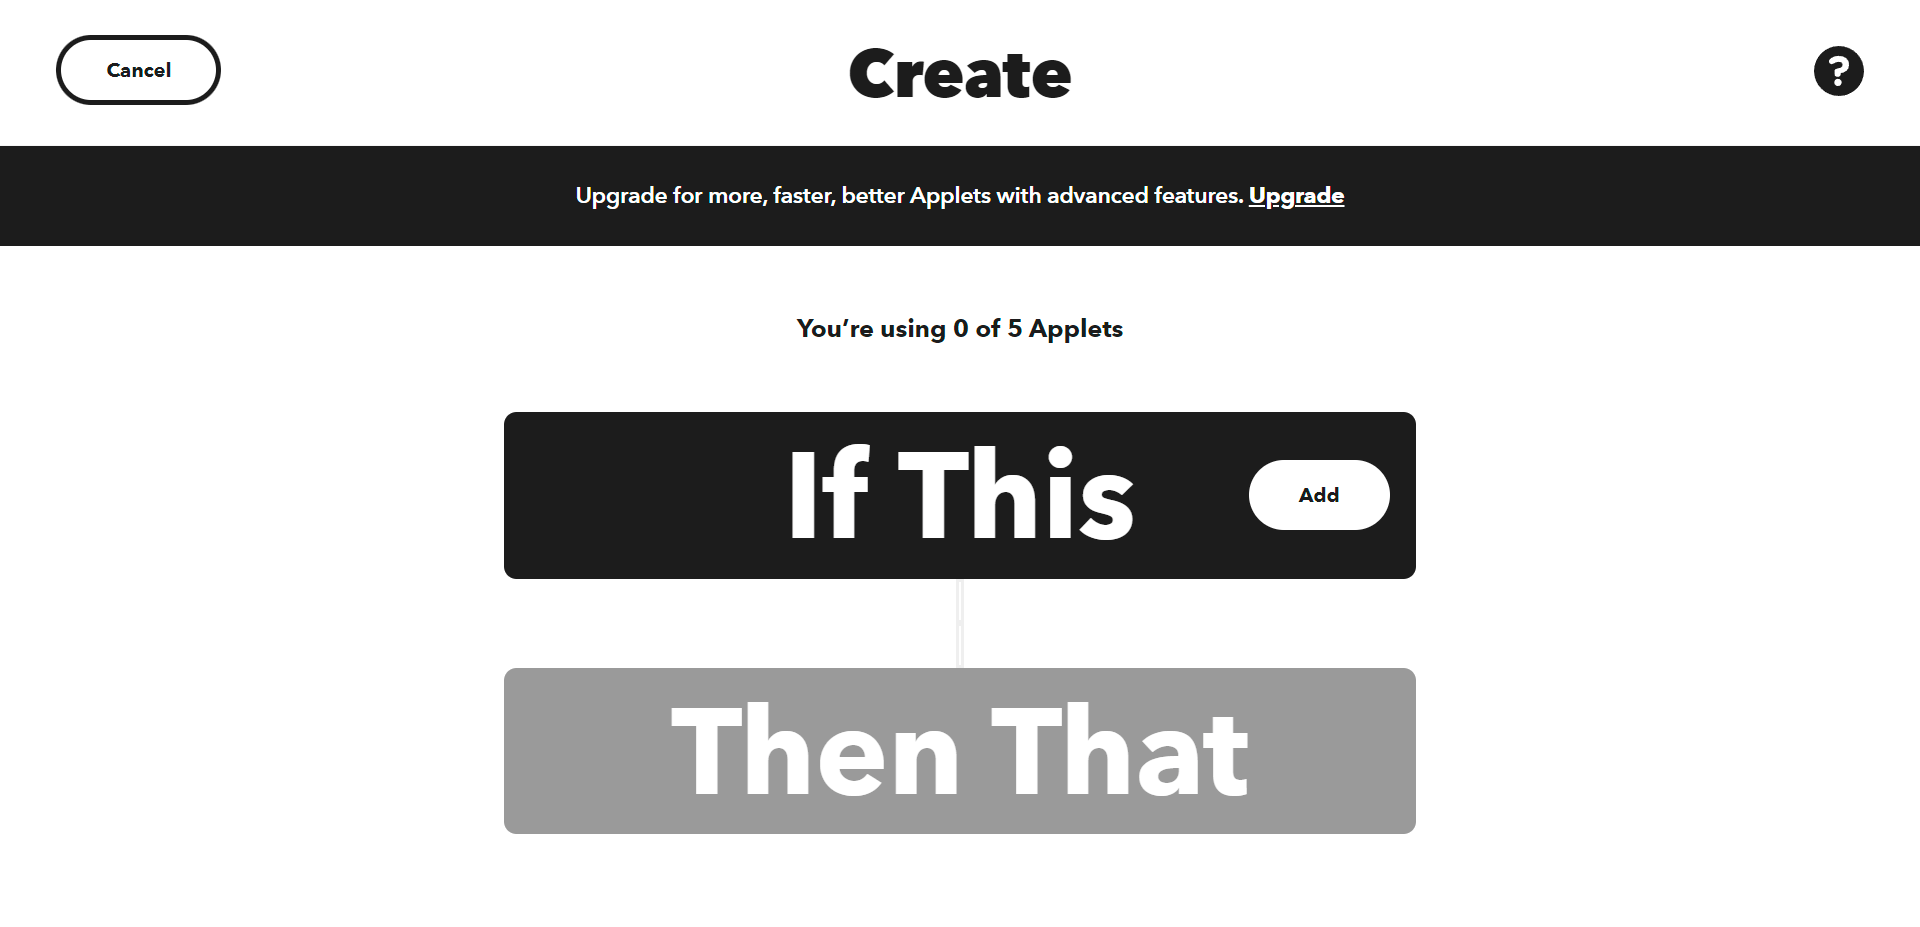
- Click the Add button in the If This box.

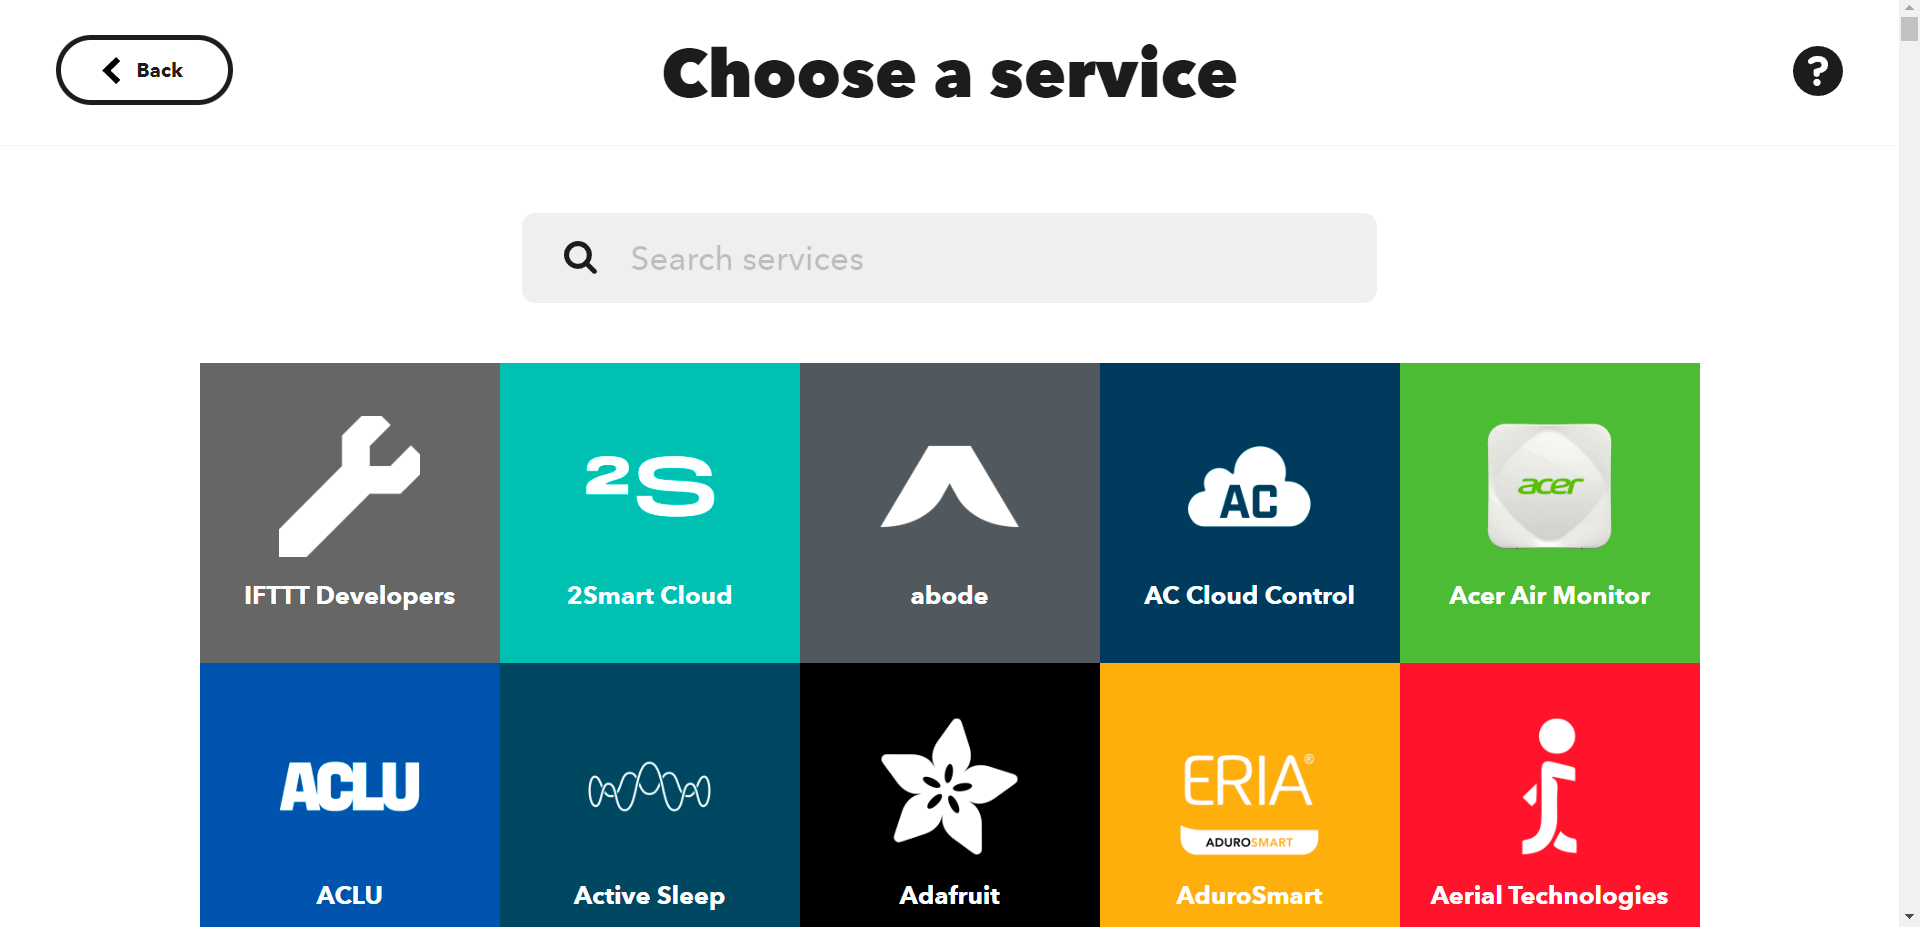
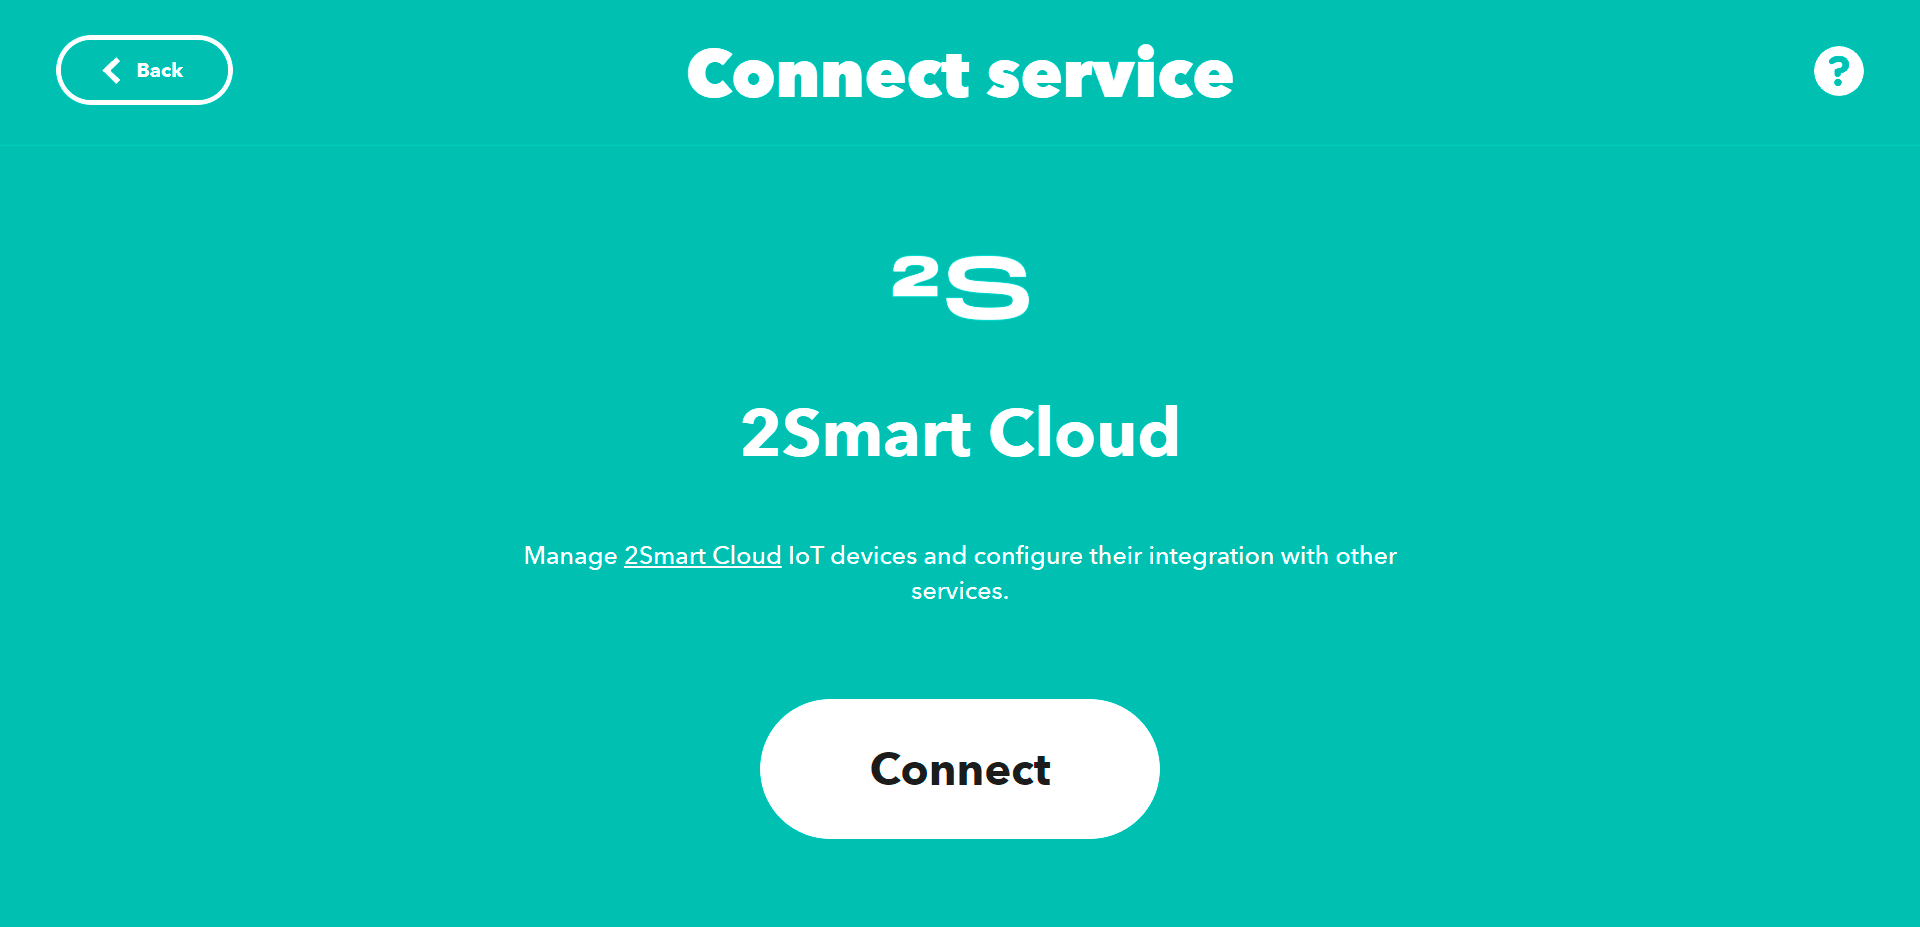
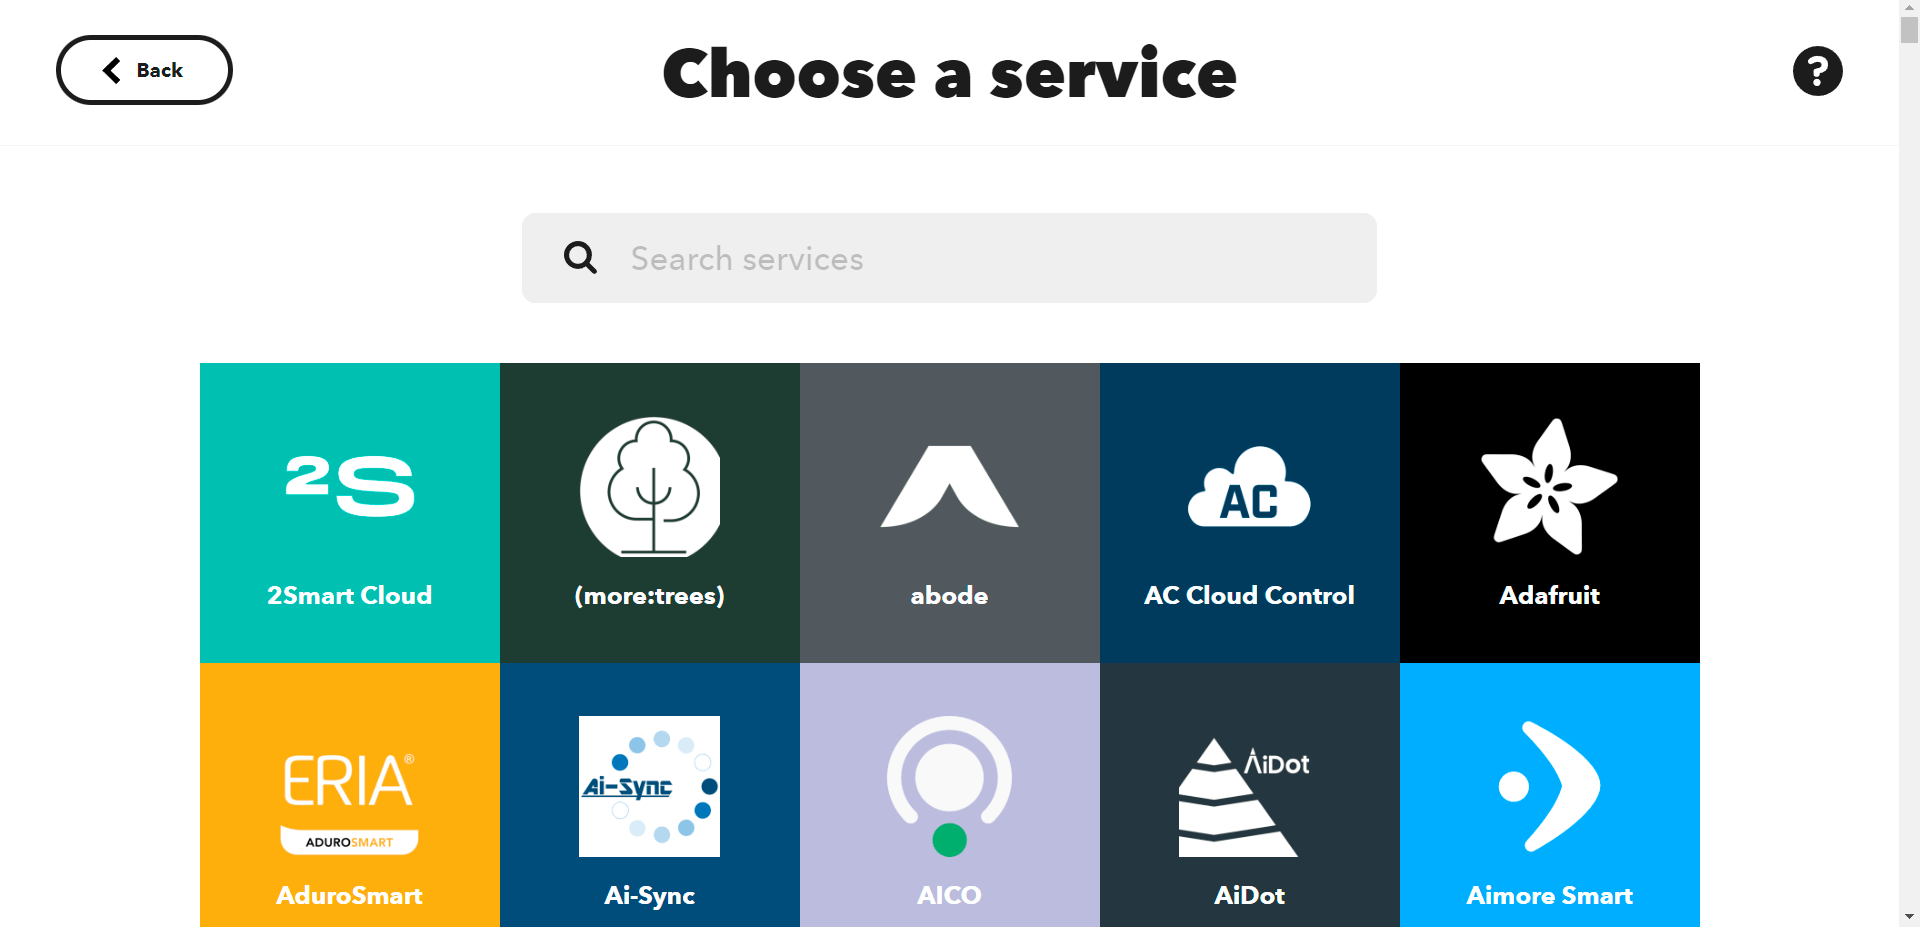
- Choose the 2Smart Cloud service.
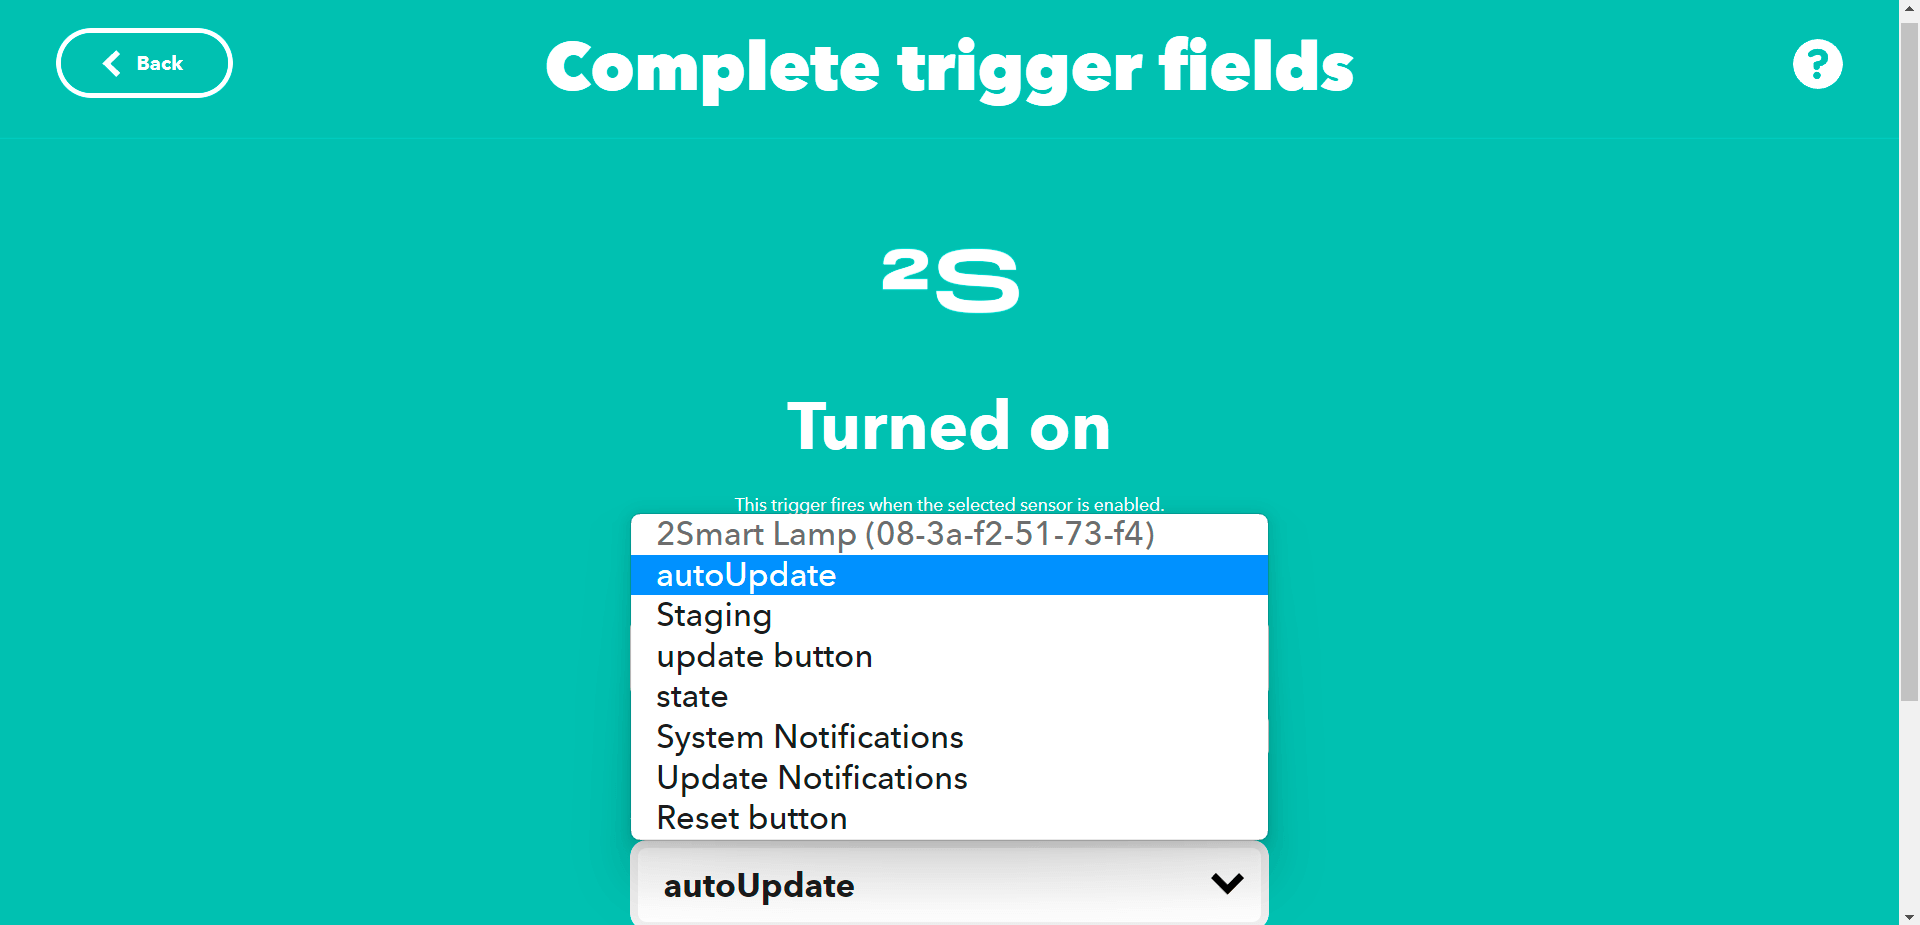
- Choose what will be the trigger for the applet: turning the sensor on, turning it off, or toggling its state. In this example, turning on the sensor will be considered.
- When setting up the 2Smart Cloud service for the first time, you need to connect to it. Click Connect to do this.
- Enter your 2Smart Cloud login and password in the window that appears. These are the same credentials you use to sign in to the mobile app or developer dashboard.

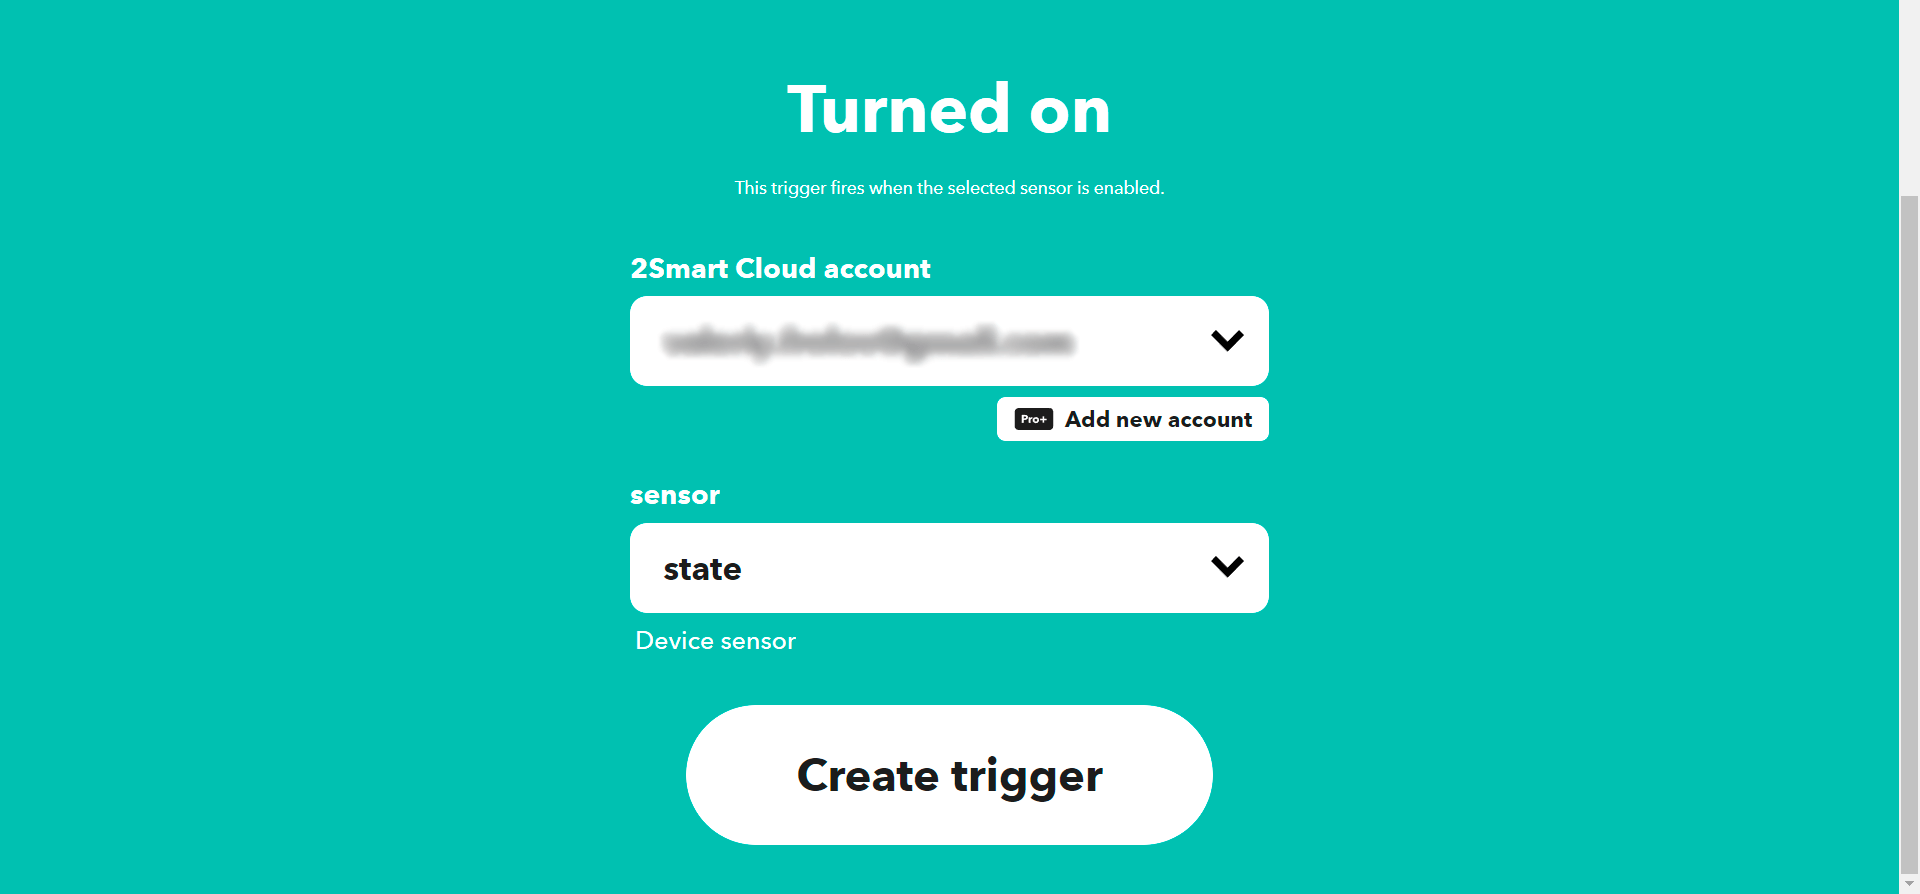
- Now you need to select the sensor that will trigger the applet. Expand the “sensor” drop-down list and select an available sensor of any of your devices.

- Once the sensor is selected, click the “Create trigger” button.

- Now you need to configure the action performed after the selected device sensor is triggered. To do this, click the Add button in the Then That box.

- Choose one of the available services from the extensive IFTTT library and configure the action.
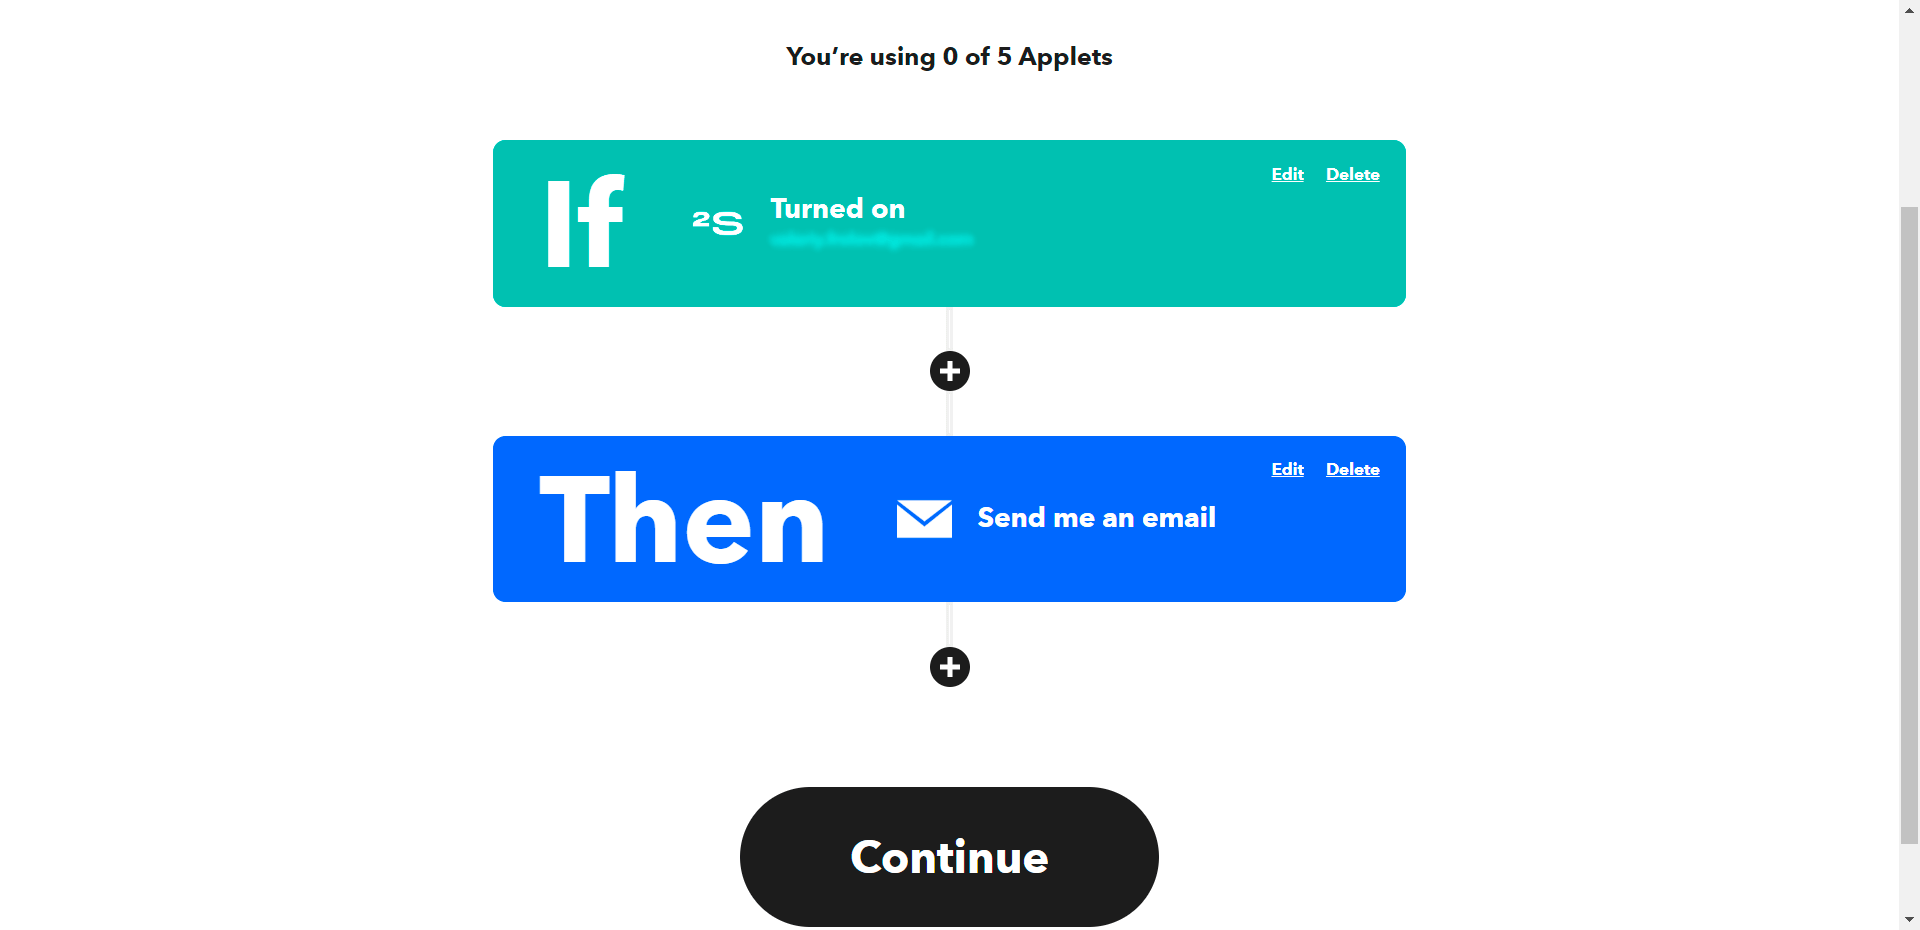
- In this example, we have configured to send an email notification each time the 2Smart Cloud device is turned on. After completing all settings, click Continue.
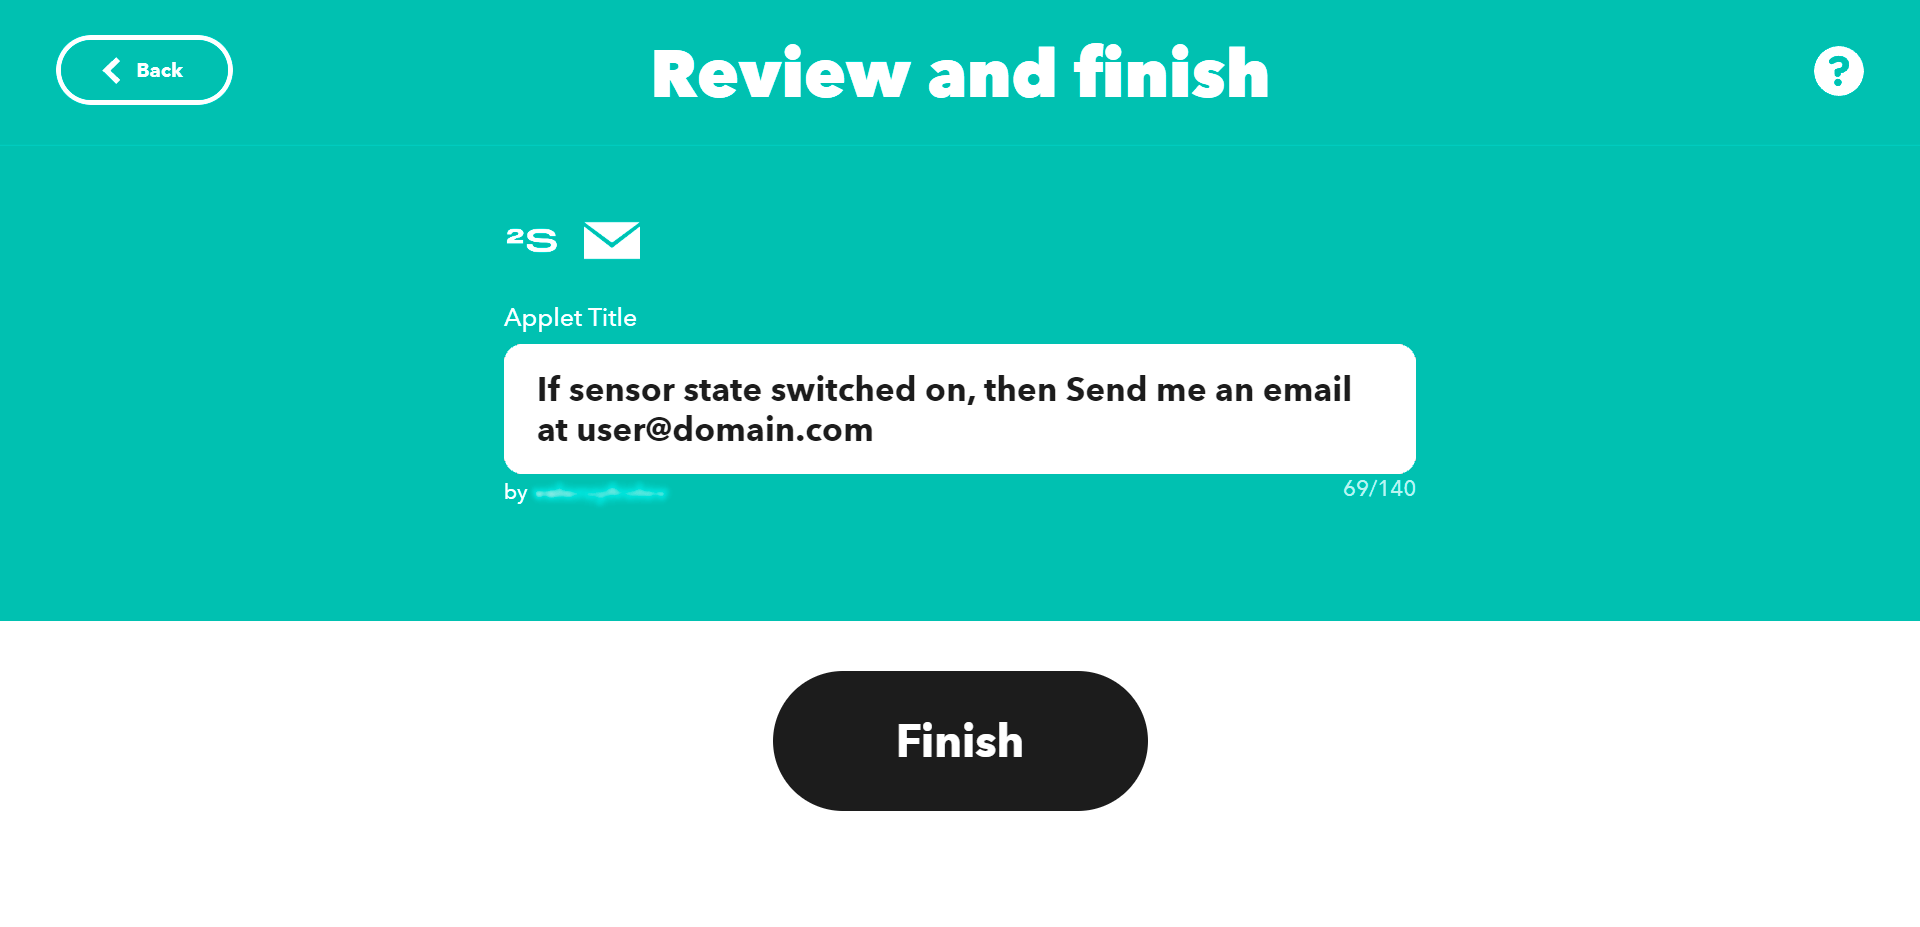
- Edit the Applet Title if desired and click the Finish button to complete the applet configuration.
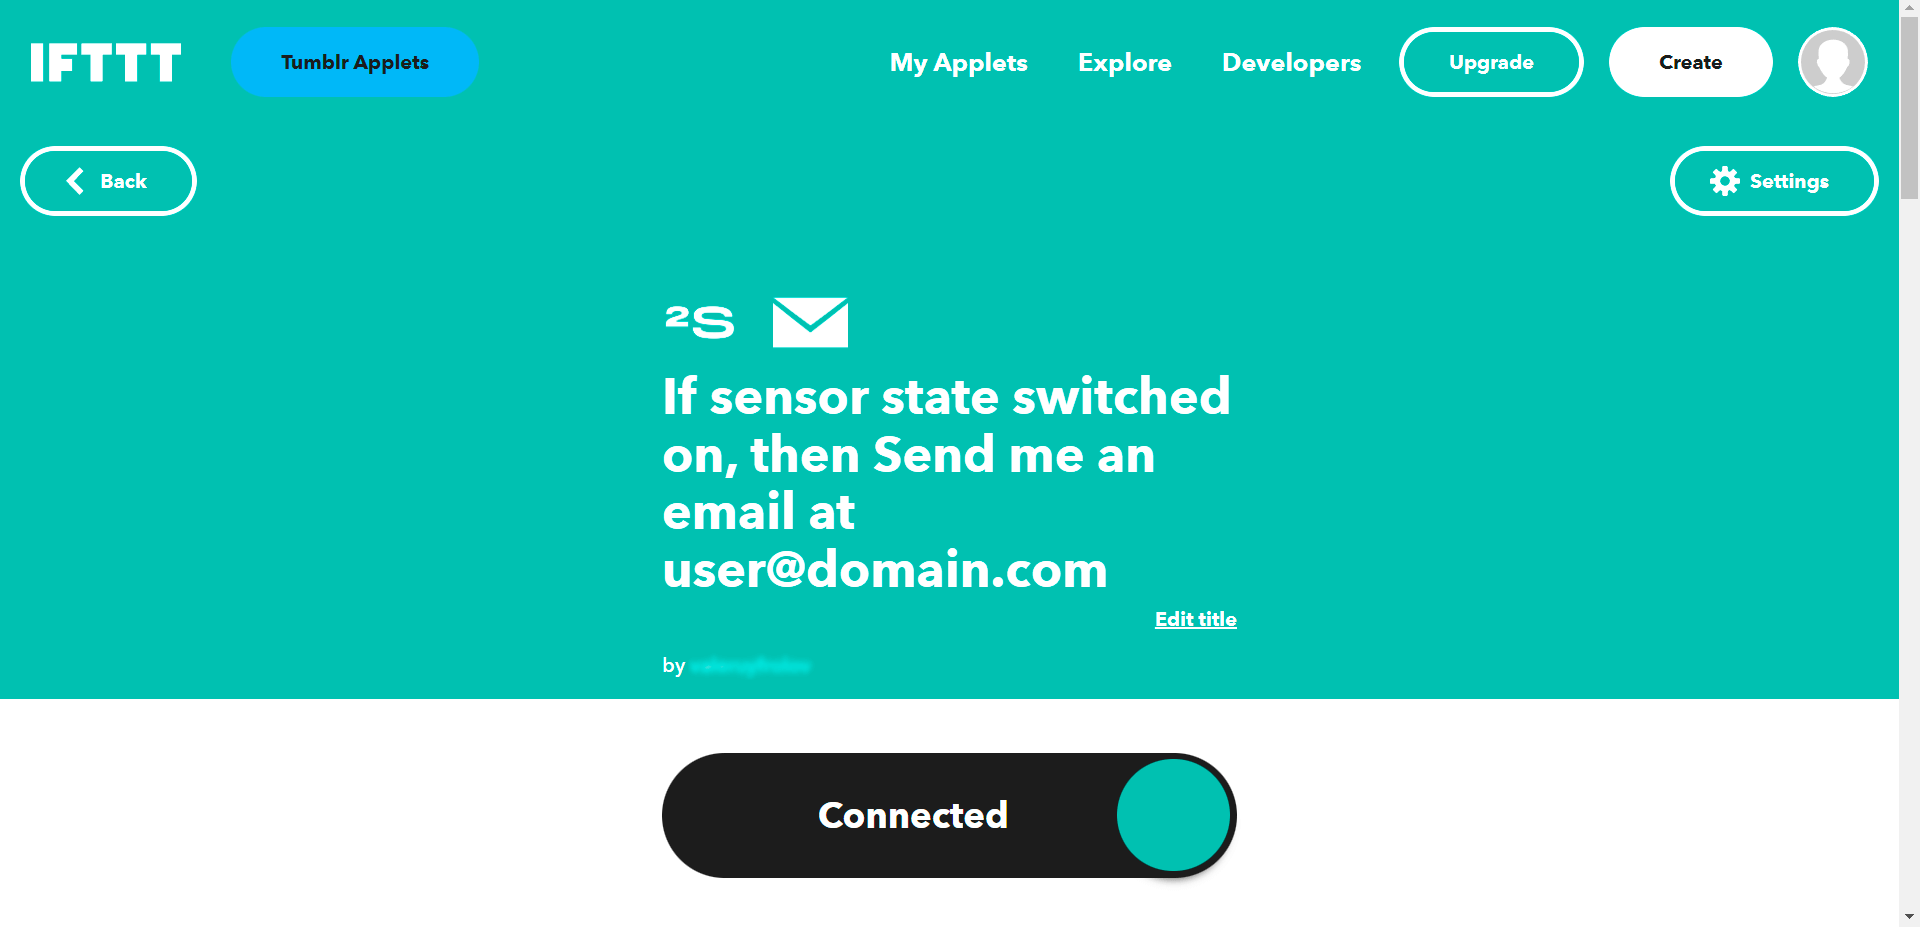
- Ready! Your applet is created. Now you can test it out.
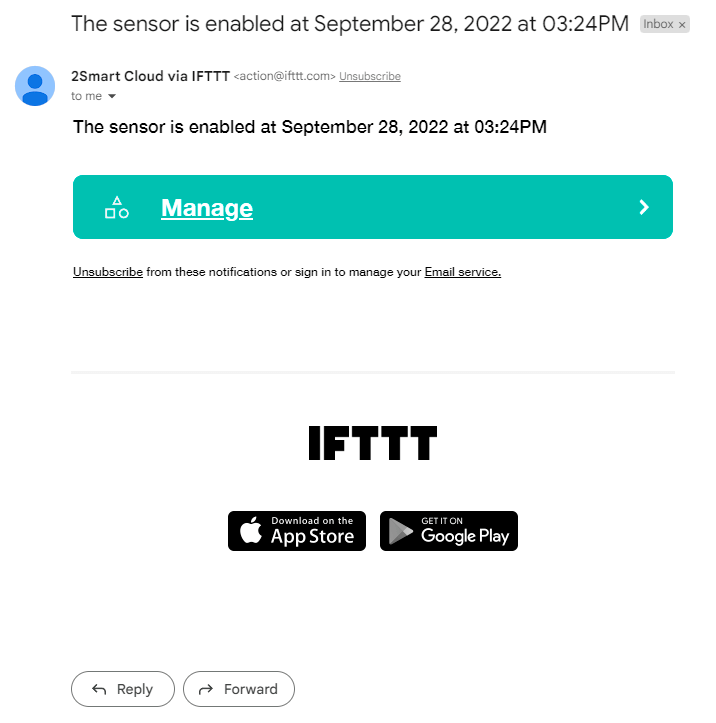
- In our case, the applet works correctly. Each time the device is turned on, the following notification is sent to the e-mail:


Let’s collaborate
We’re empower your business with our technology expertise
2Smart Cloud device in IFTTT applet action
- If you don’t have an IFTTT account, sign up for the service: https://ifttt.com/join
- Click the Create button to set up your first applet. Please note that the free plan includes five simple applets.
- Click the Add button in the If This box.
- Choose one of the available services in the extensive IFTTT library and set up a trigger.
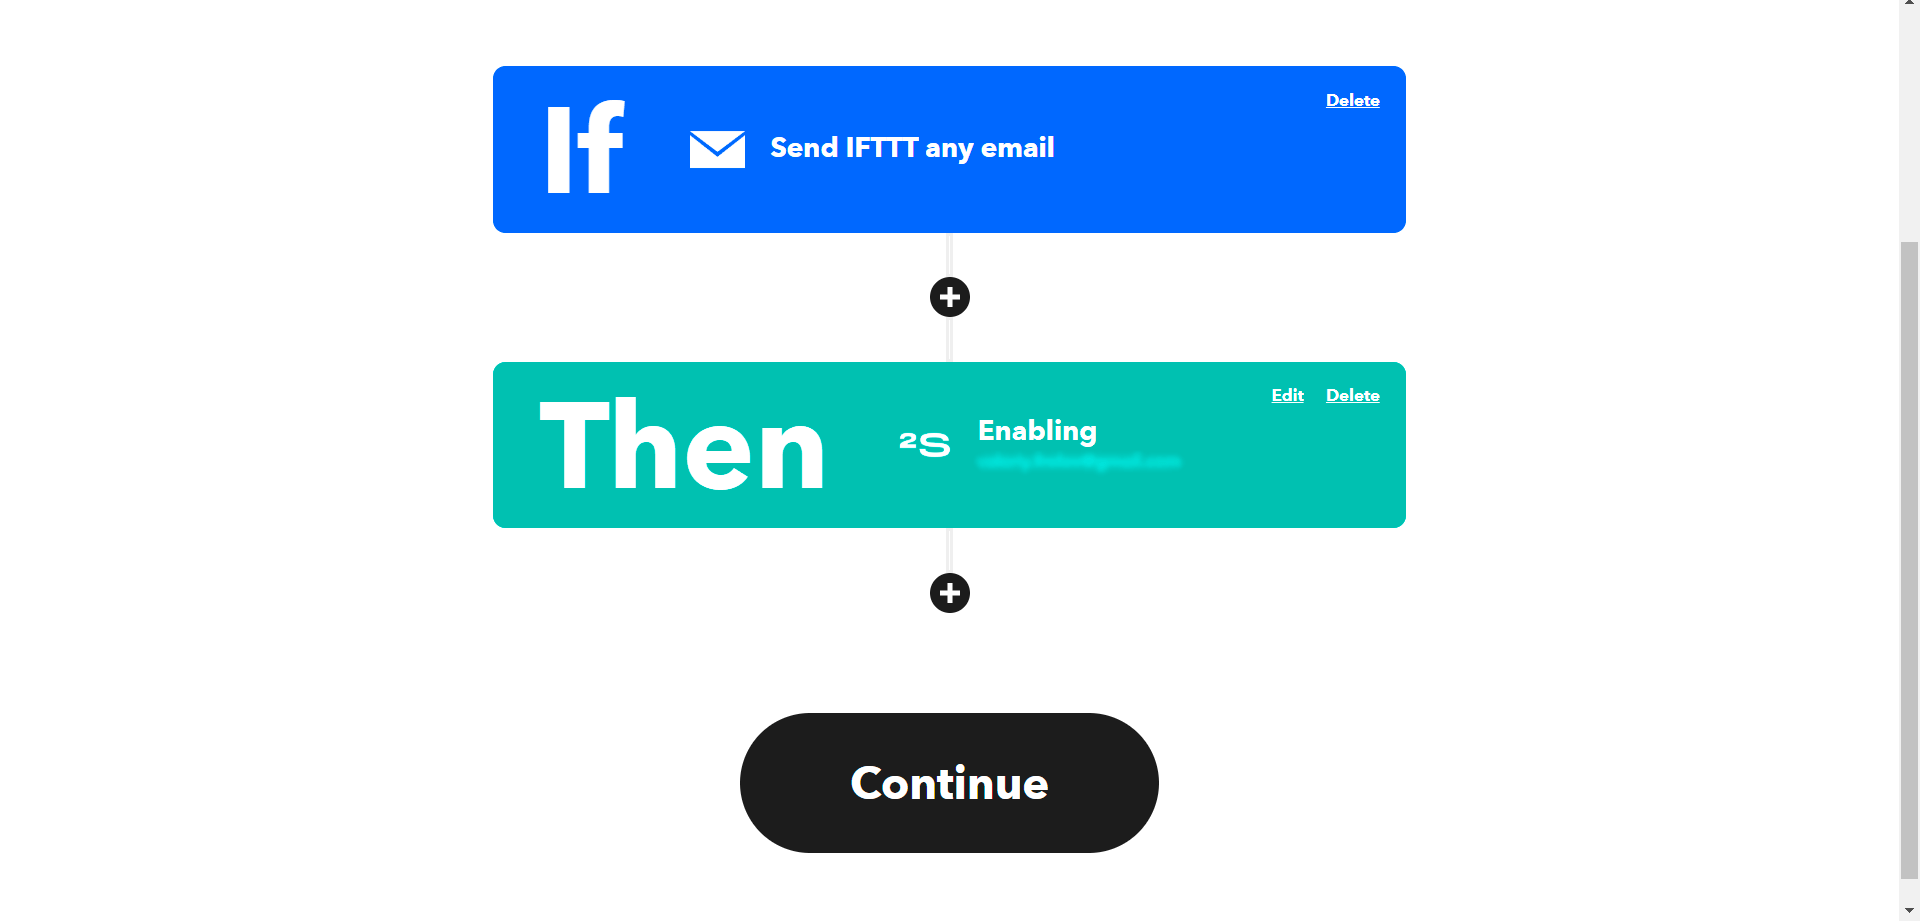
- In this example, the Email service was also used. The 2Smart Cloud device will turn on after sending our email to the IFTTT server.
- Click the Add button in the Then That box and choose the 2Smart Cloud service. You need to log in if you are setting up the 2Smart Cloud service for the first time.
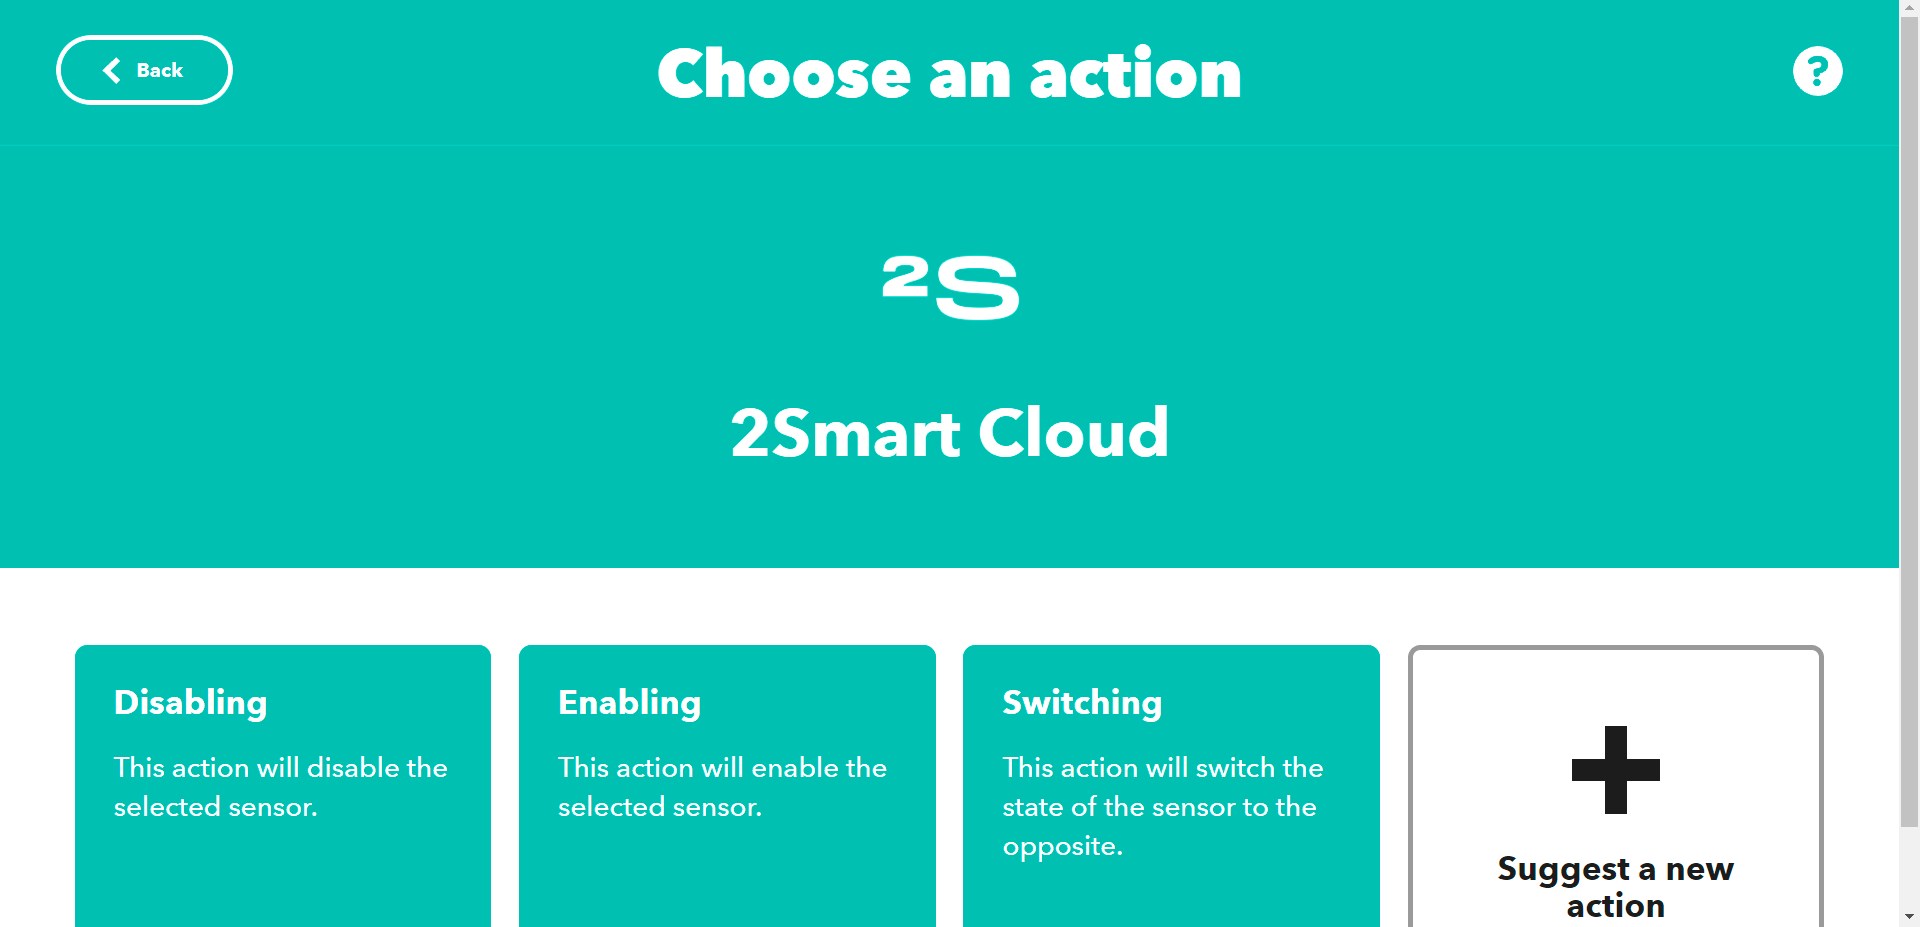
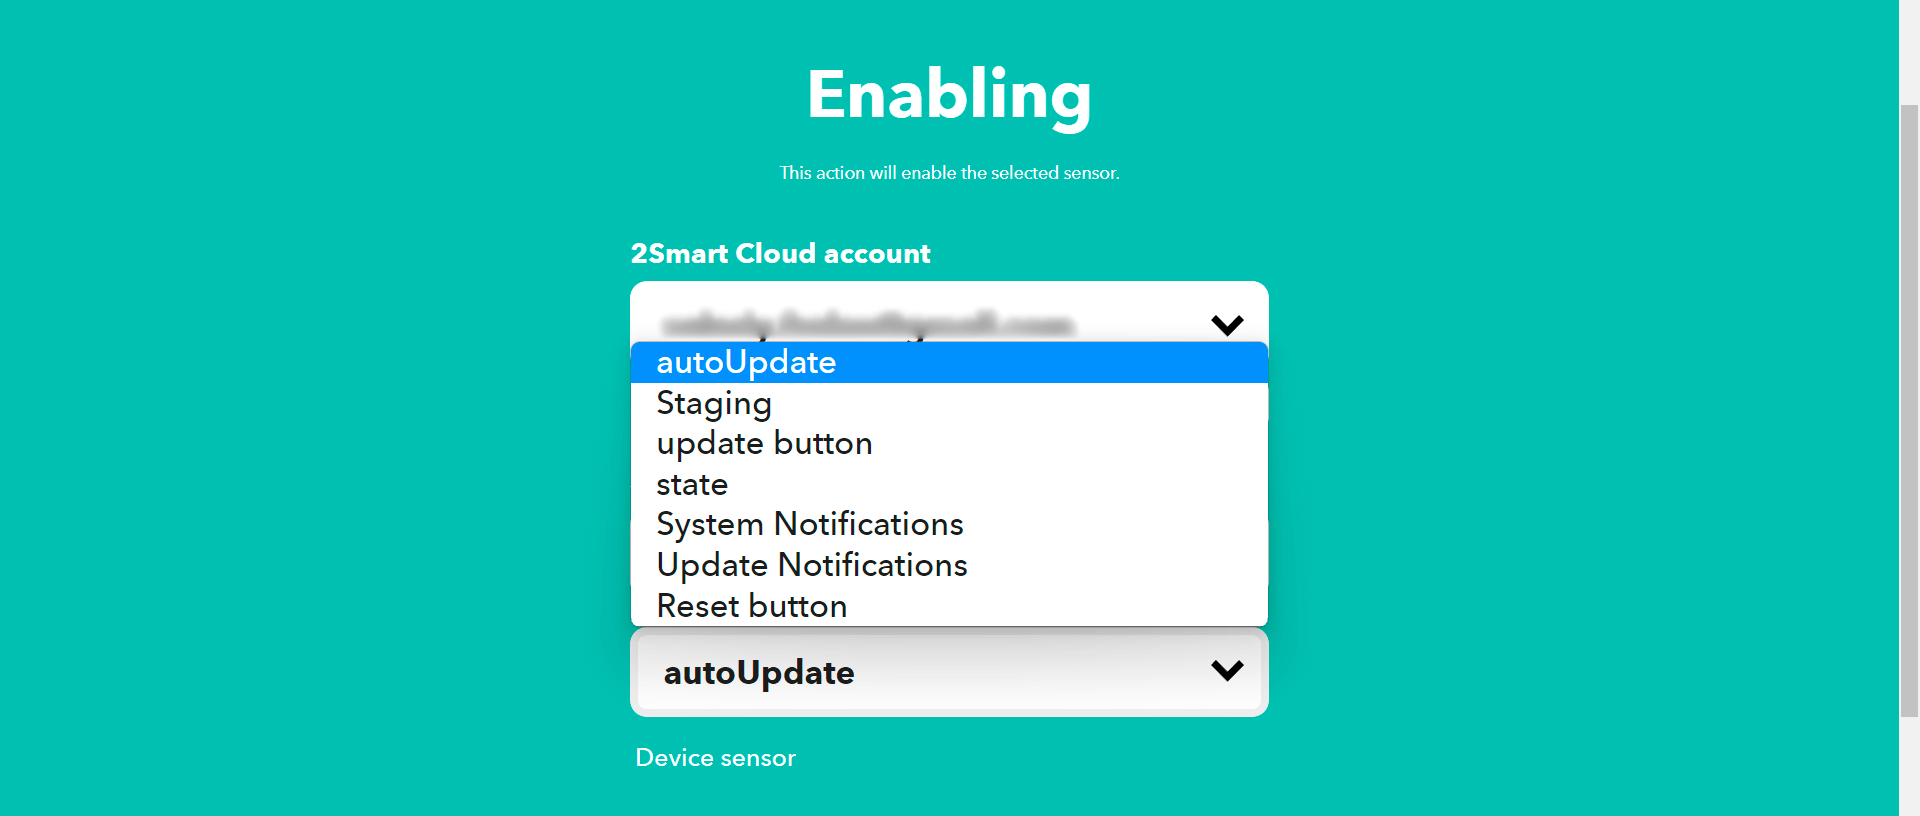
- Choose the desired action: enabling, disabling, or switching the sensor.
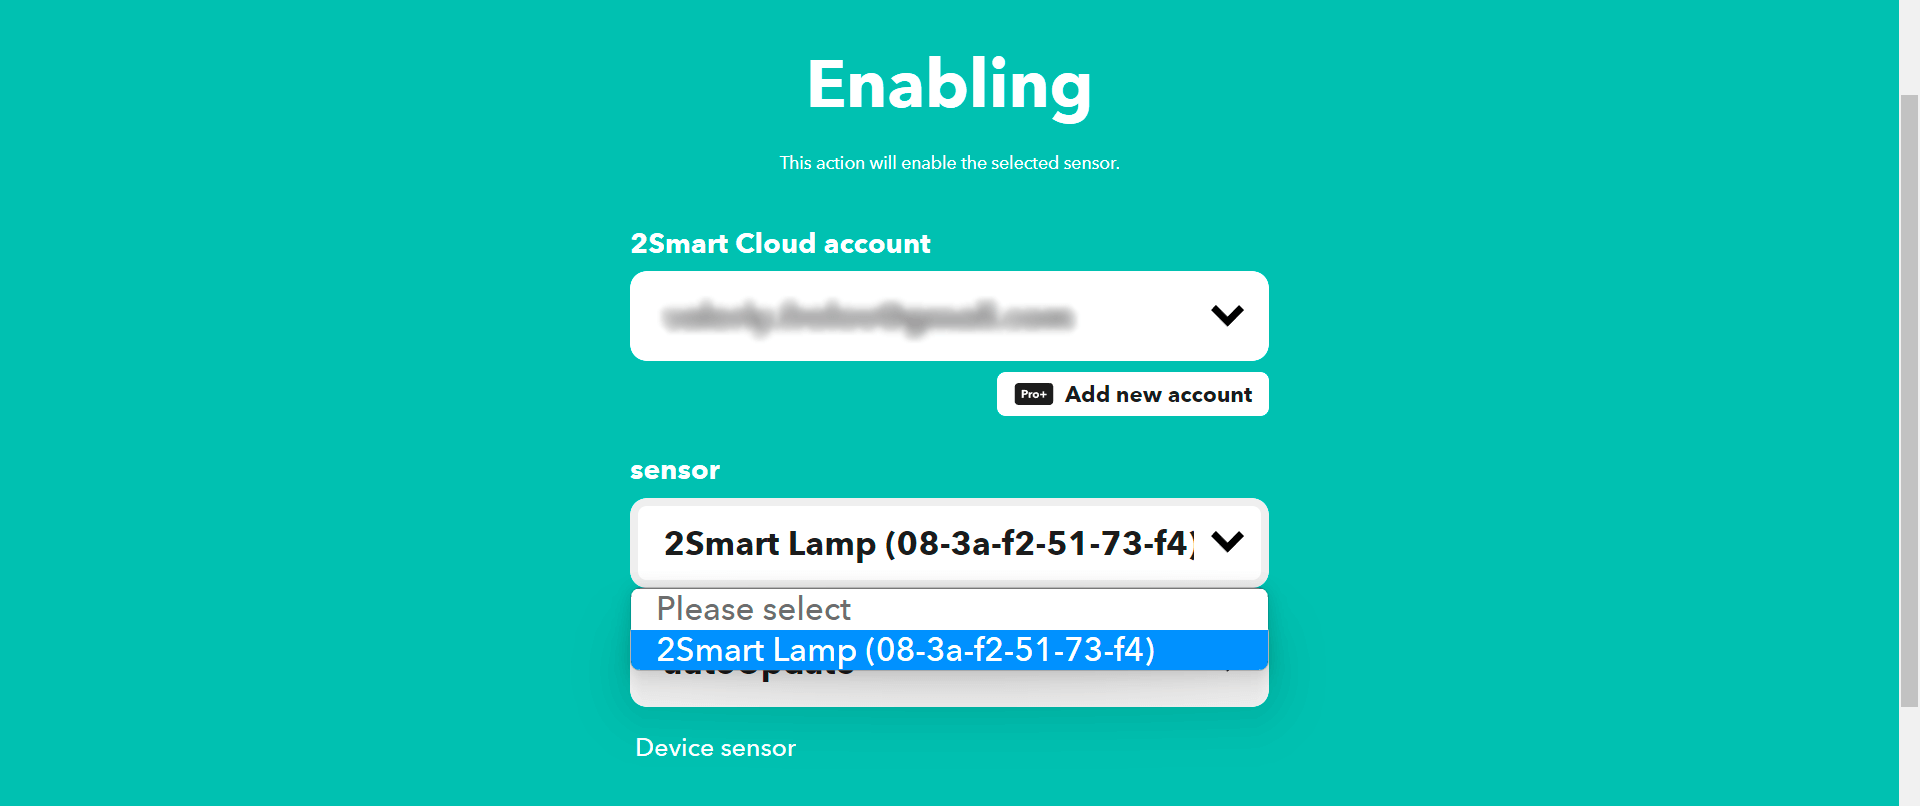
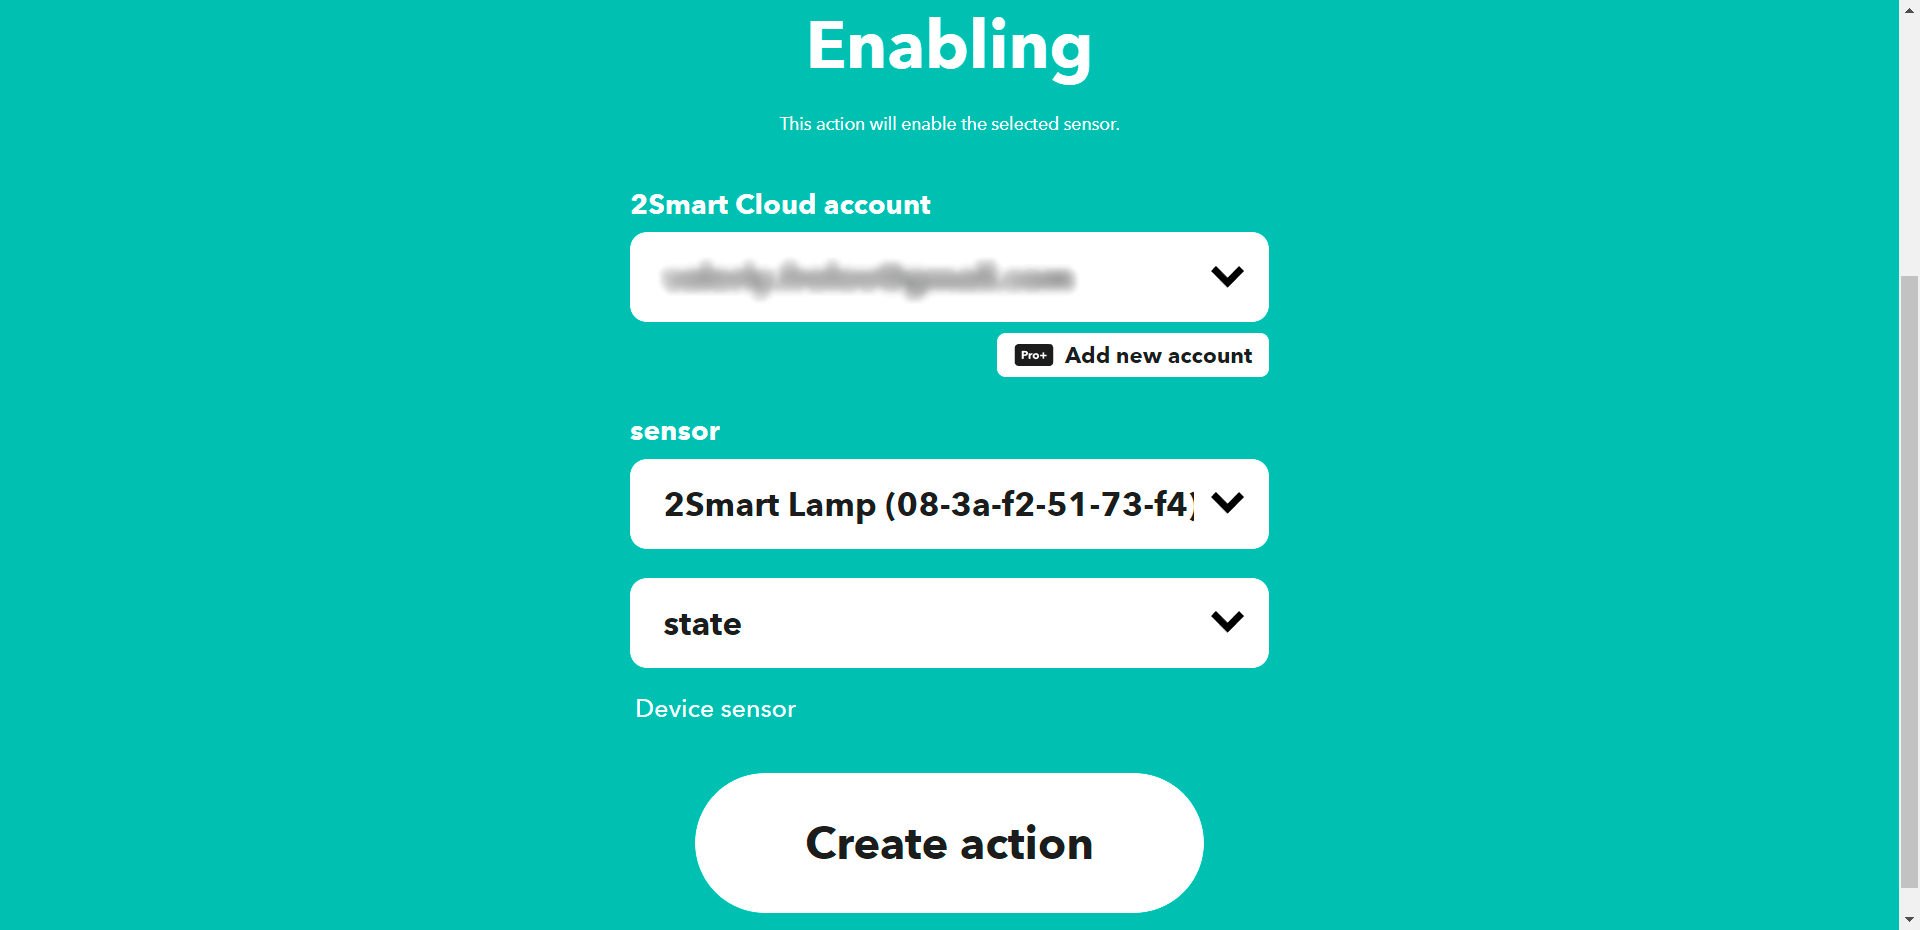
- Now you need to select a sensor that will fire as an applet action. Expand the first “sensor” dropdown and select one of your devices.

- In the second drop-down list, select the device sensor whose state will change when the trigger fires.

- After all settings are done, click the “Create action” button.
- Check your settings and click Continue.
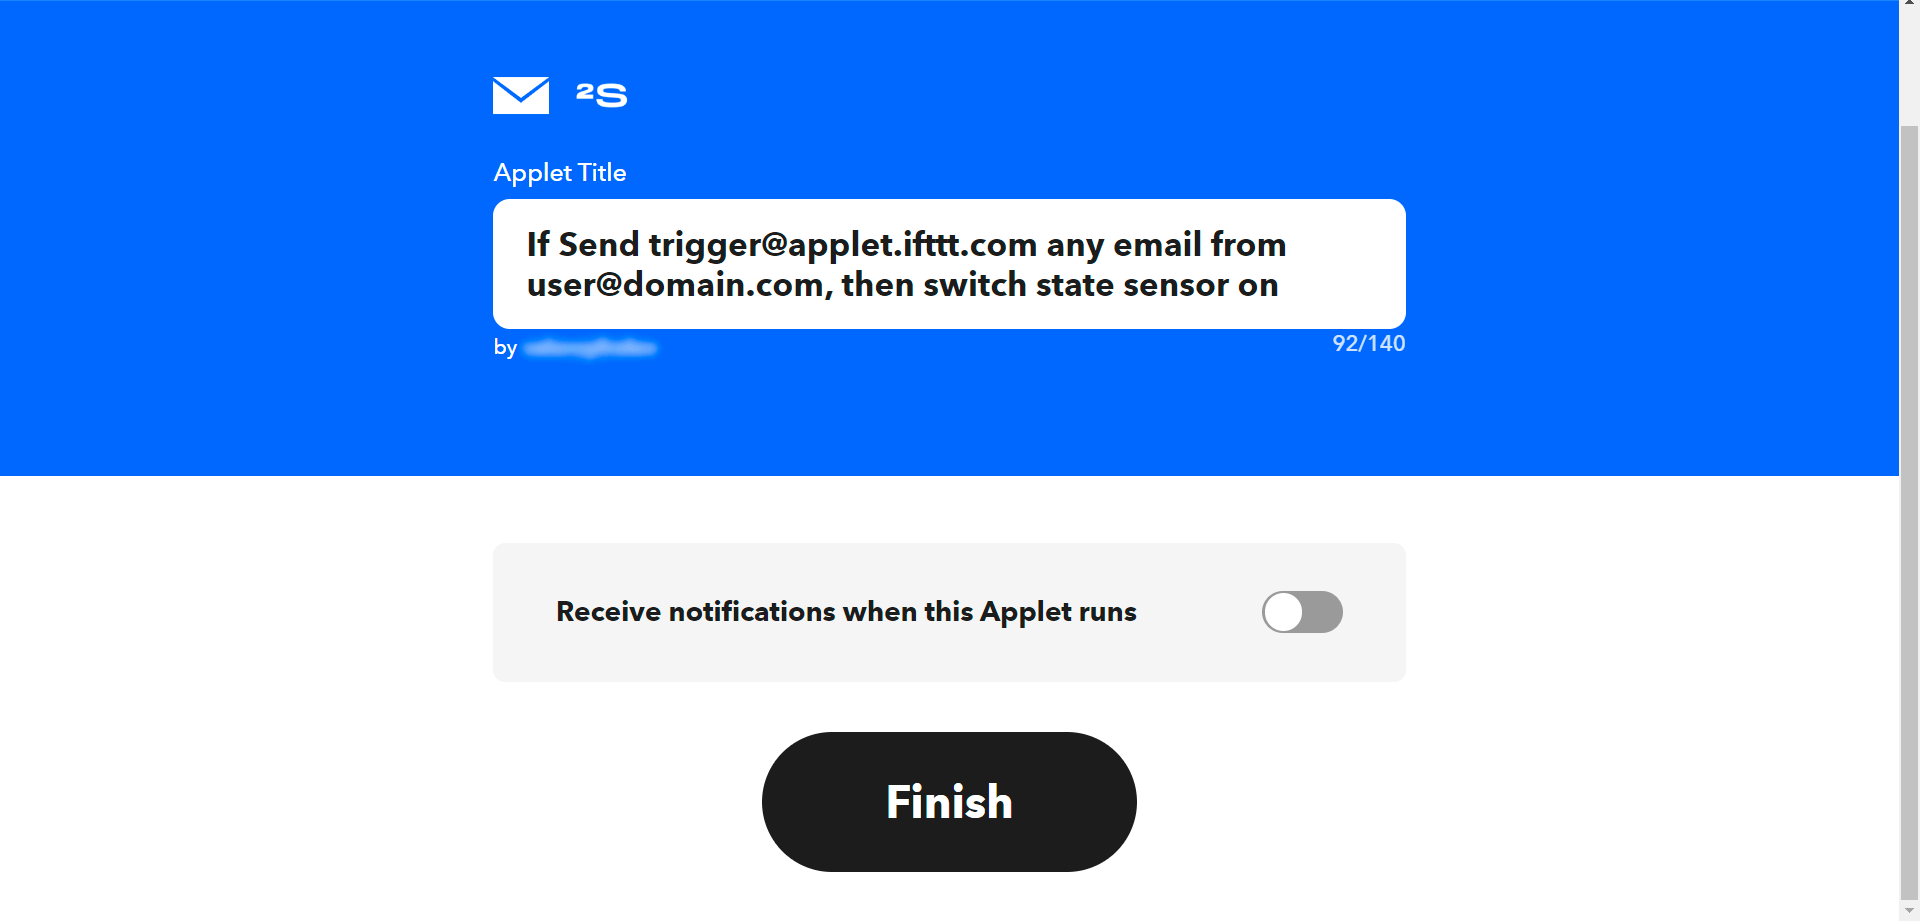
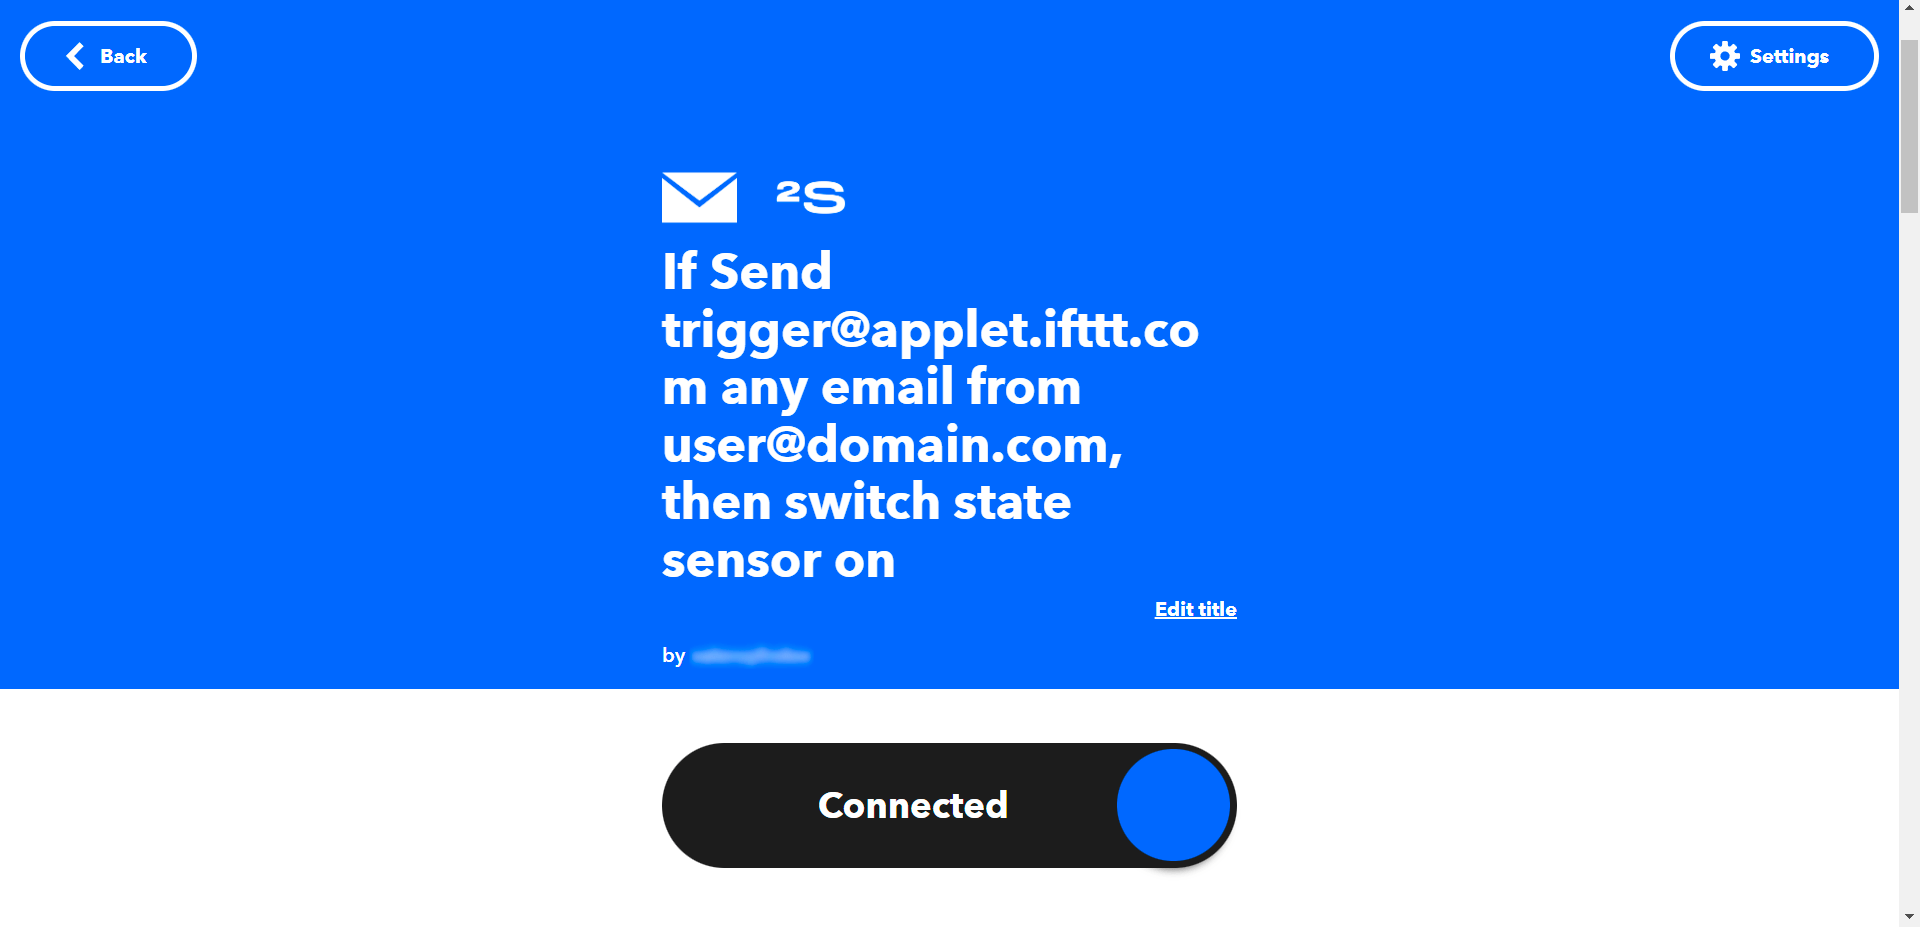
- Edit the Applet Title if desired and click the Finish button to complete the applet configuration.
- Ready! Your applet is created. Now you can test it out.
- In our case, the applet works correctly. After sending an e-mail to the address specified in the applet name, the device turns on.
What else to know about working with IFTTT
Above, we showed you how to set up IFTTT applets on the desktop version of the service. You can also install the IFTTT mobile application, where the same functionality is available, and configure applets using it.
We recommend studying the experience of IFTTT users on the network. You can even find examples of setting up flexible home automation using this platform.
Ready-made 2Smart Cloud applets already now allow you to link devices from different developers. For example, you can set the light in the hallway to turn on when the electric door lock is opened using the Propuskator controller. We also have applets that allow you to control any device using an Aqara wireless switch or brightness sensor.
Also, take a look at the Webhooks service of the IFTTT platform. With it, you can often set up integration with other services not represented in the IFTTT catalog.
The free IFTTT plan allows you to create five simple applets with one trigger and one action. You can access more applets if you upgrade your account to IFTTT Pro or Pro+. In addition, you will be able to set up multi-action applets with more complex automation.
Don't forget to share this post!
Read Next


 2Smart Cloud for ESP32 microcontroller: functionality and operating instructions")


")

Let’s dive into your case
Share with us your business idea and expectations about the software or additional services.
