Sharing a device via email
How to share devices via email
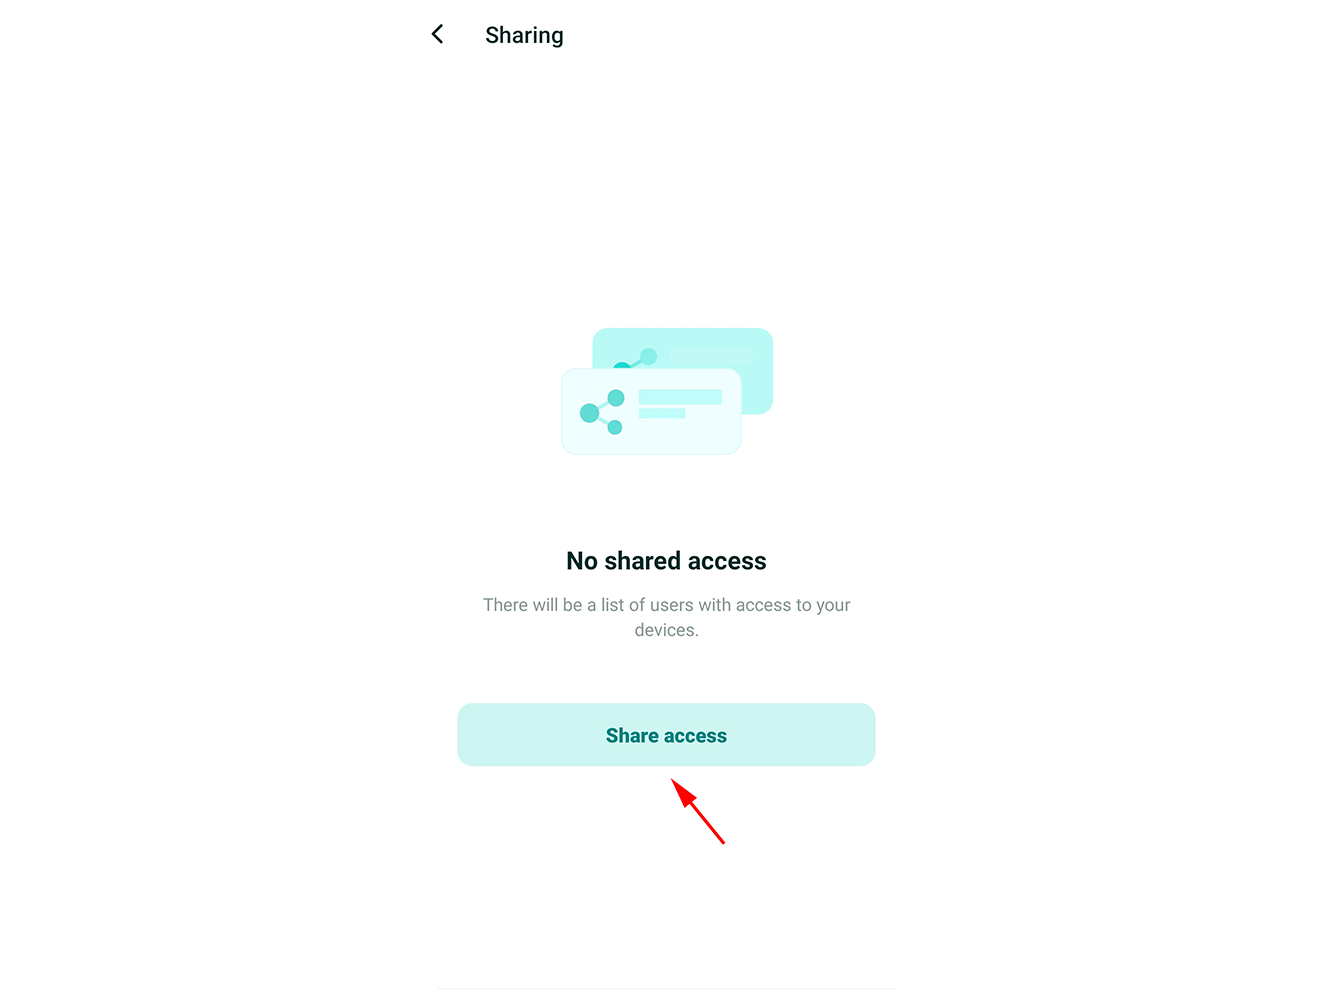
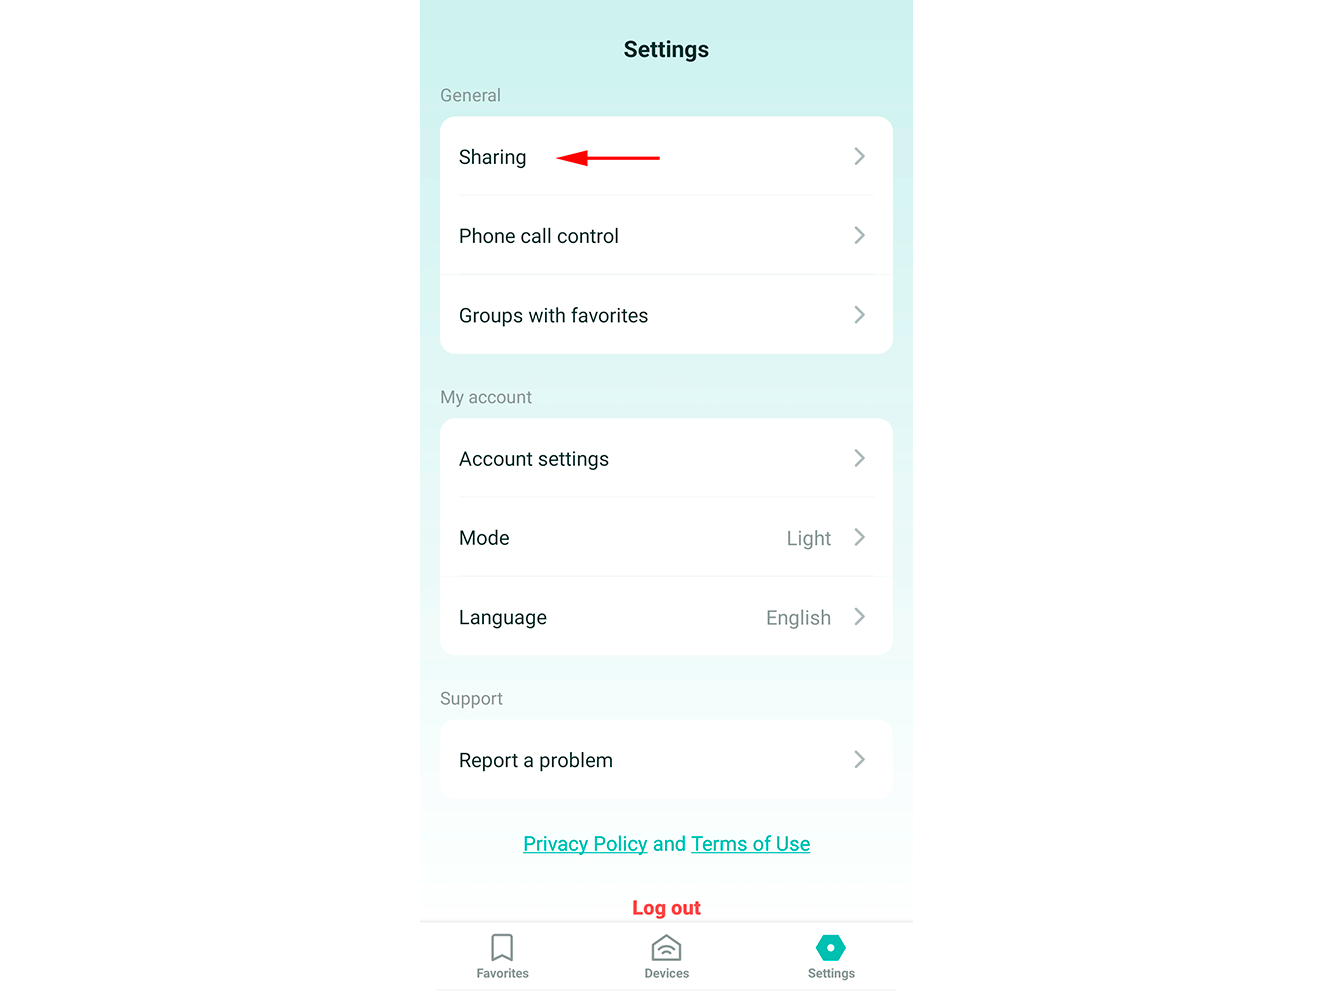
1 - In the 2Smart Cloud mobile app, open the "Settings" screen and select "Sharing".

2 - Click the "Share access" button.
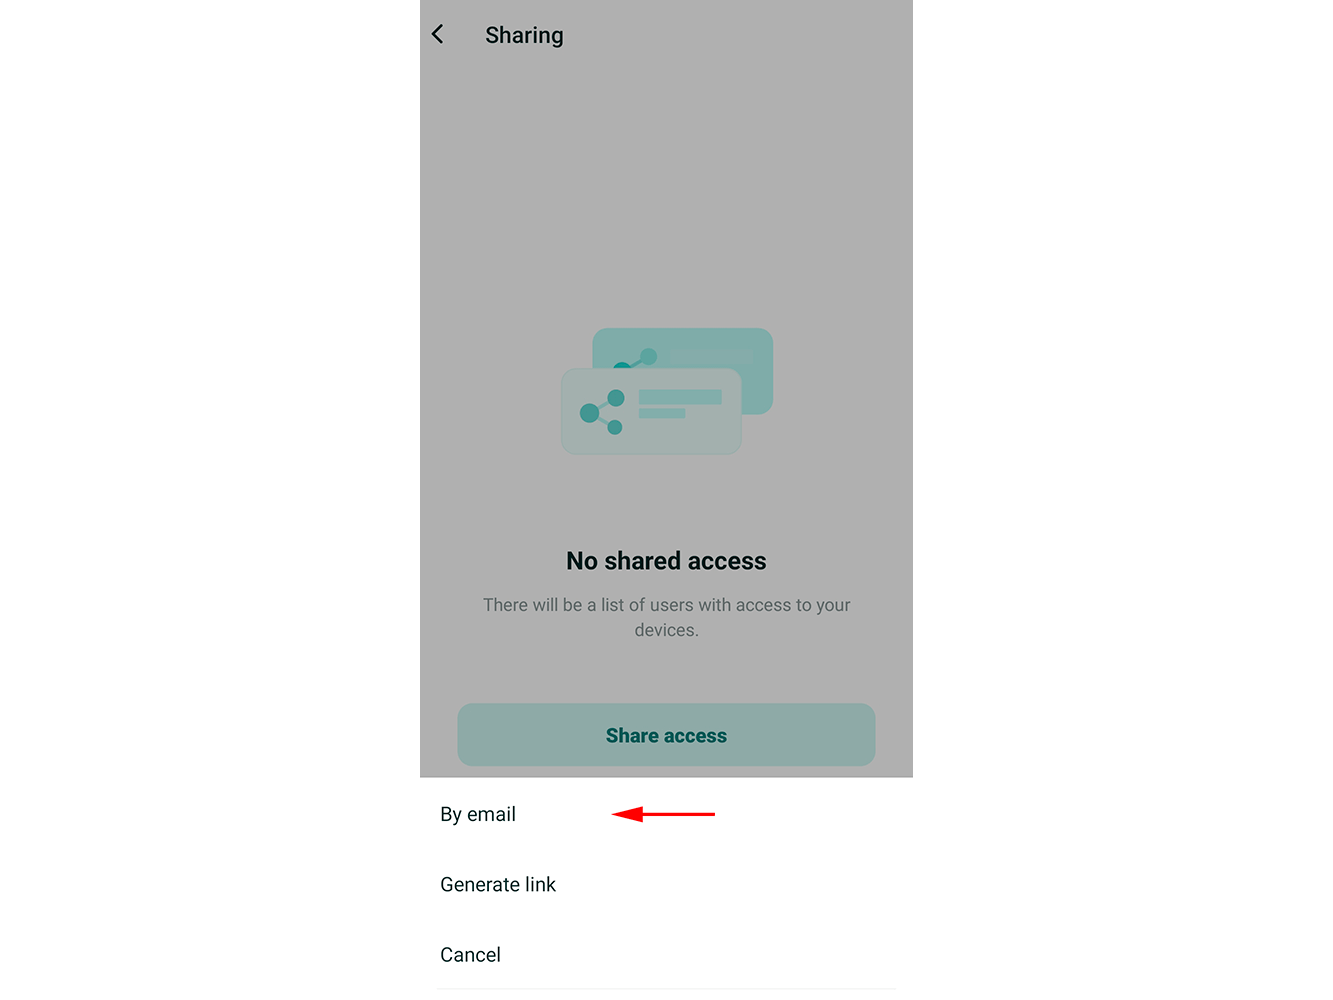
3 - In the menu that opens, select "By email".
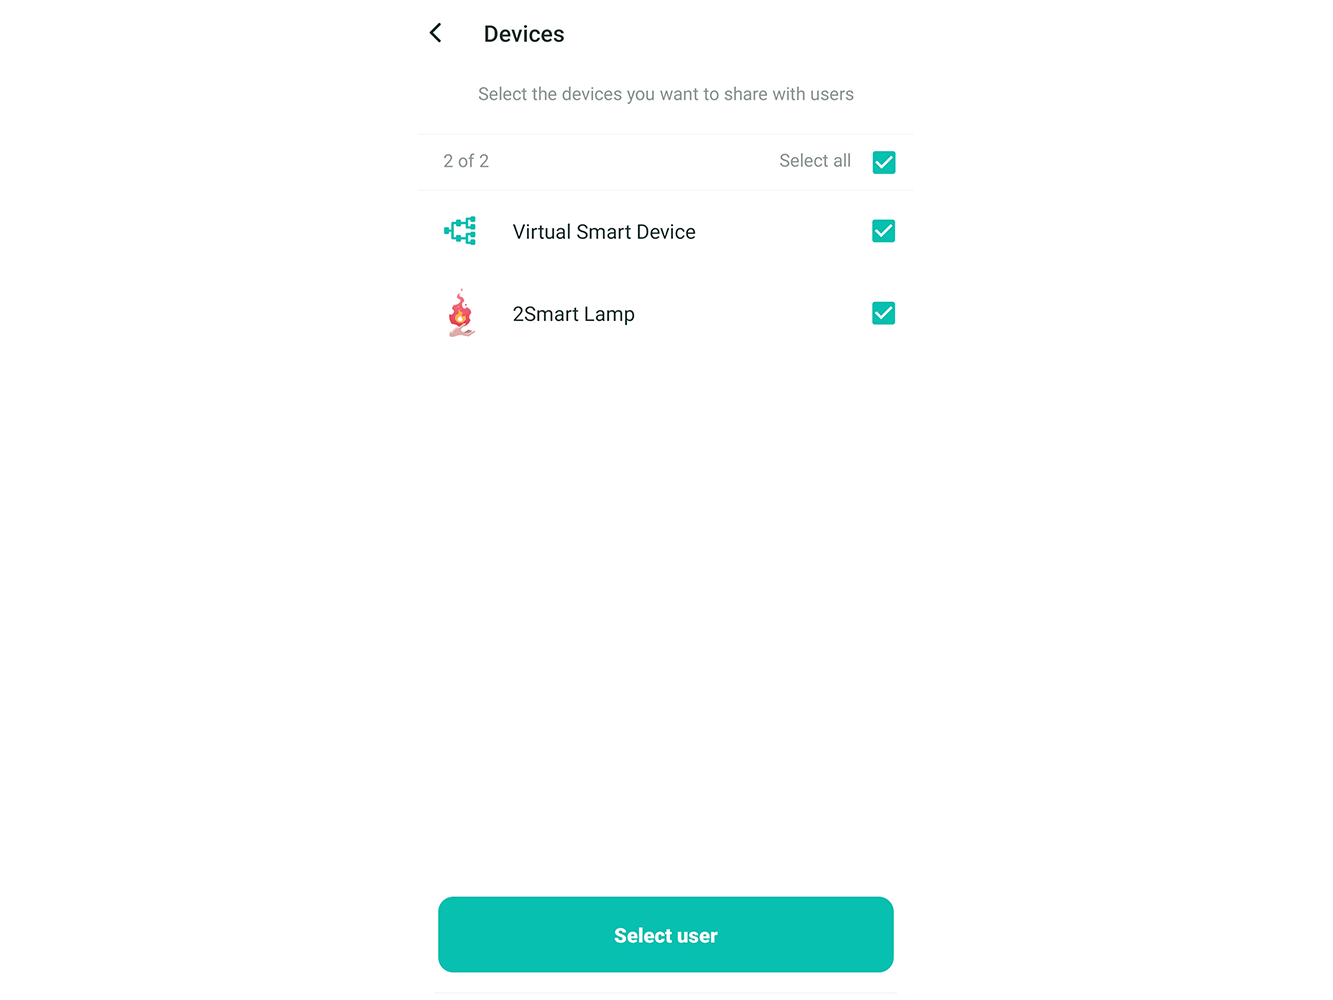
4 - Select one or more devices you want to share access to and click "Select user".
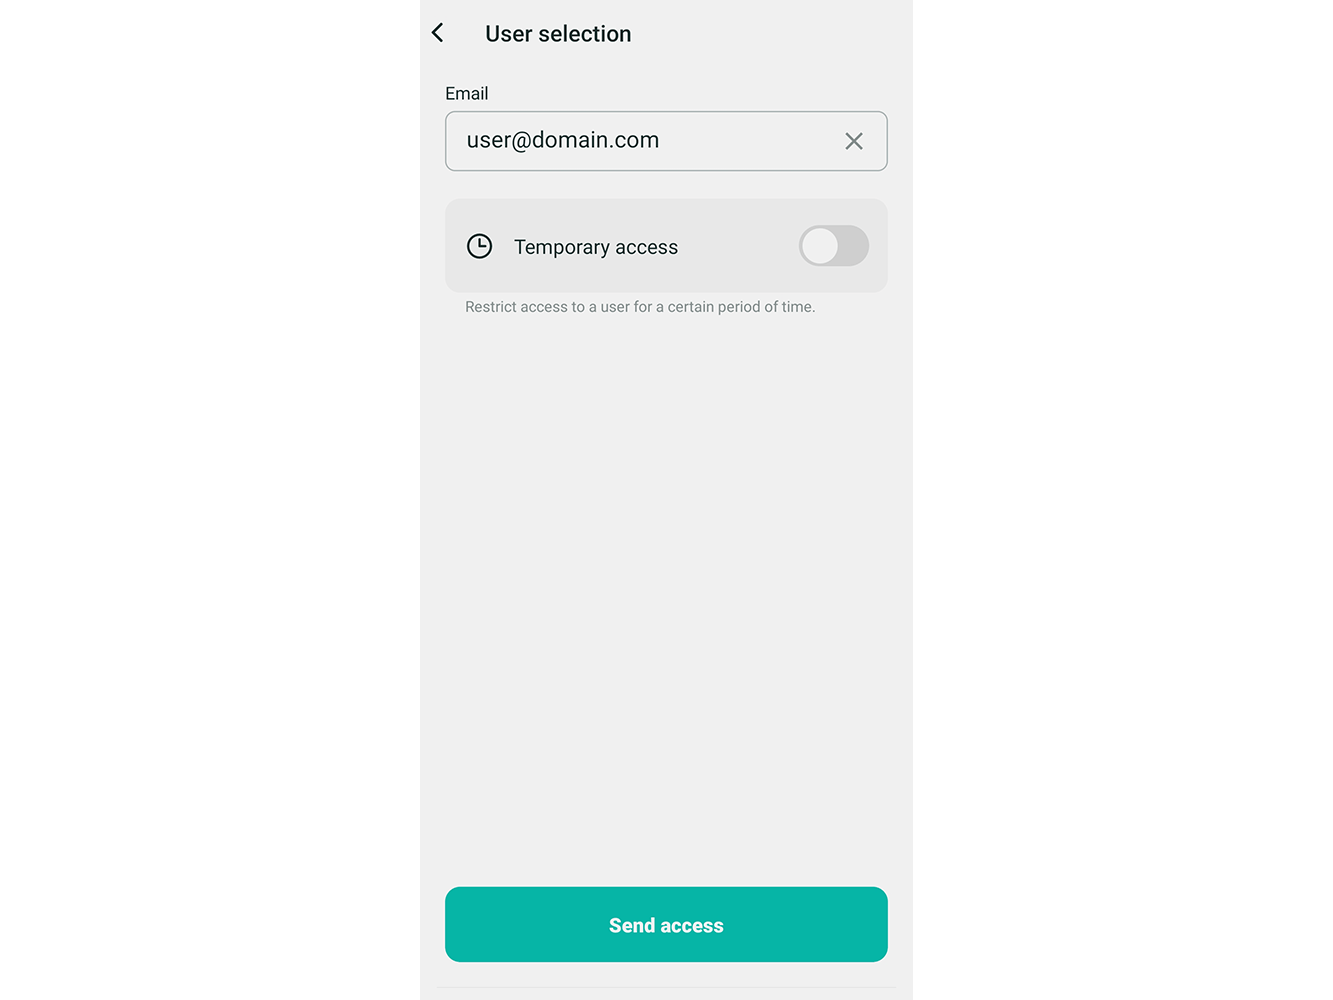
5 - Enter the person's 2Smart Cloud mobile app registration email address.
Note! If the email specified at this step is not registered in the system, an invitation to download the mobile app and register will be sent to it. After that, all devices that you share will appear in the new user's account.
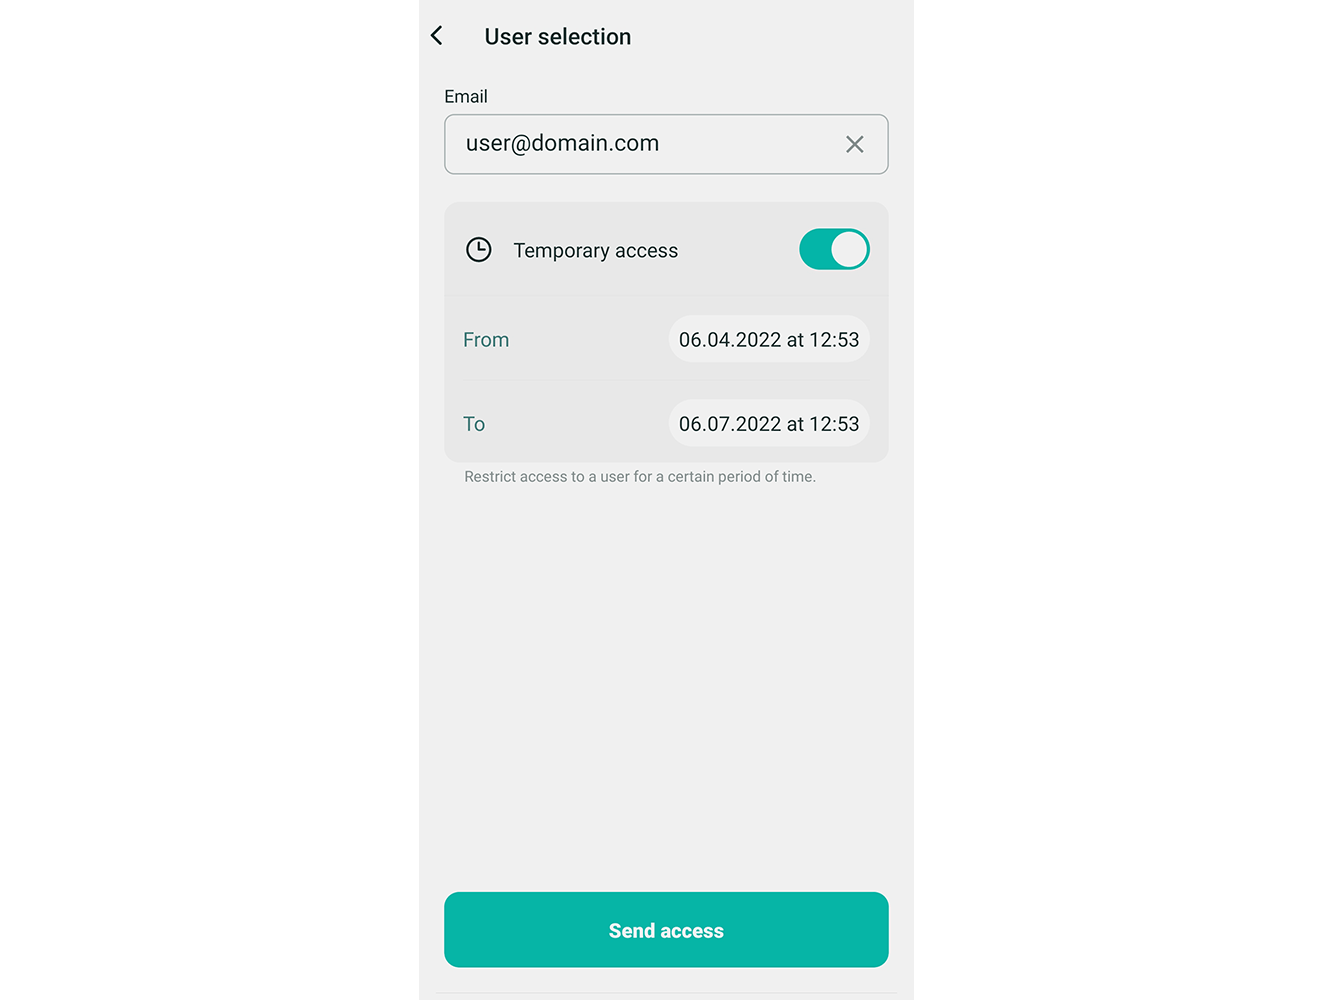
If you need to grant access for a certain period, enable the "Temporary access" mode and set the period.
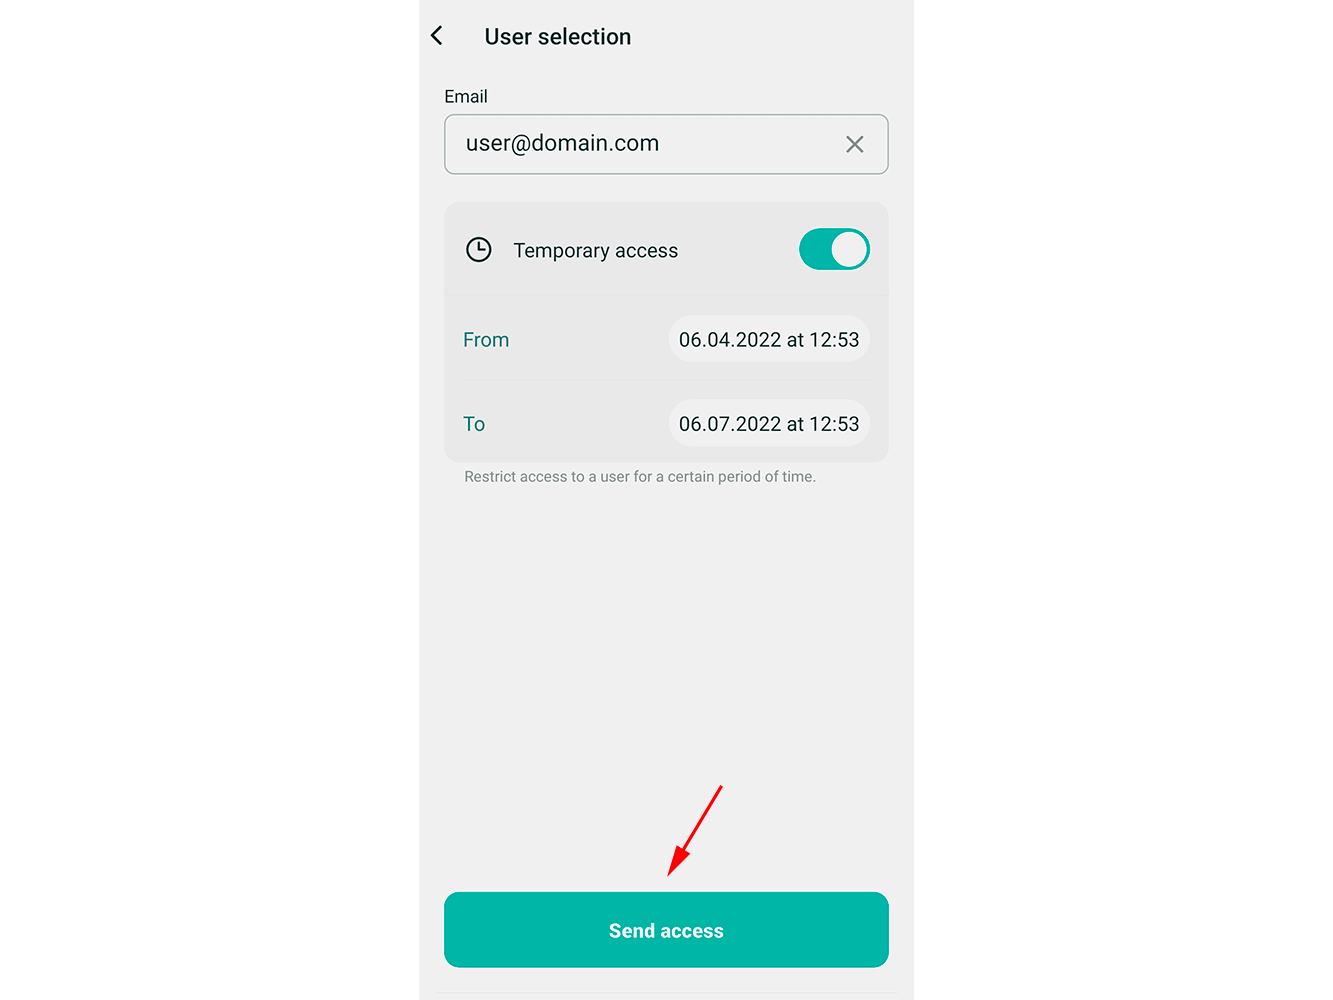
After completing all the settings, click "Send access".
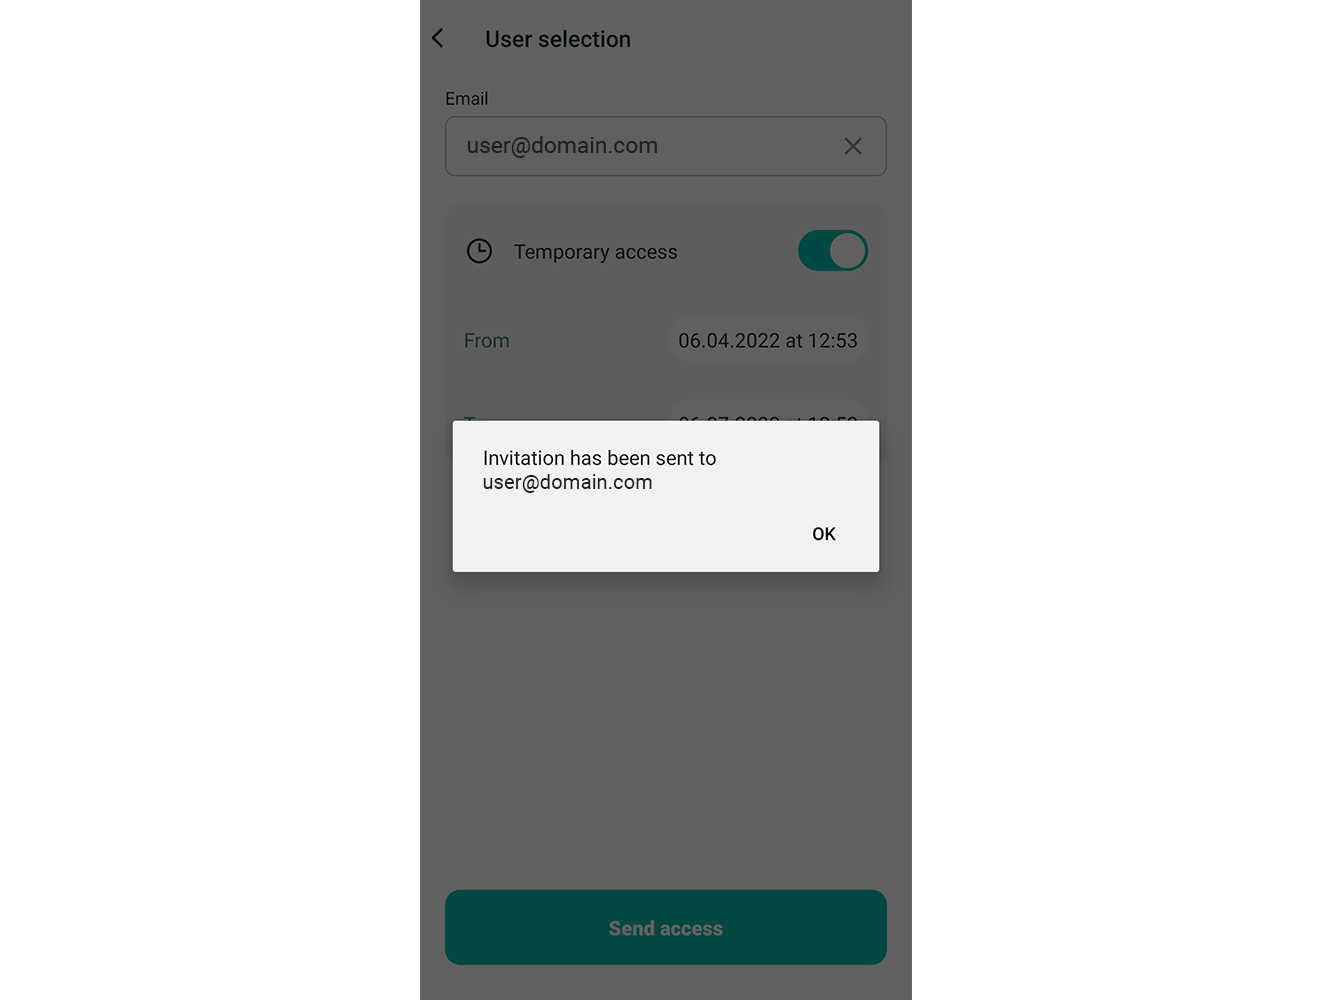
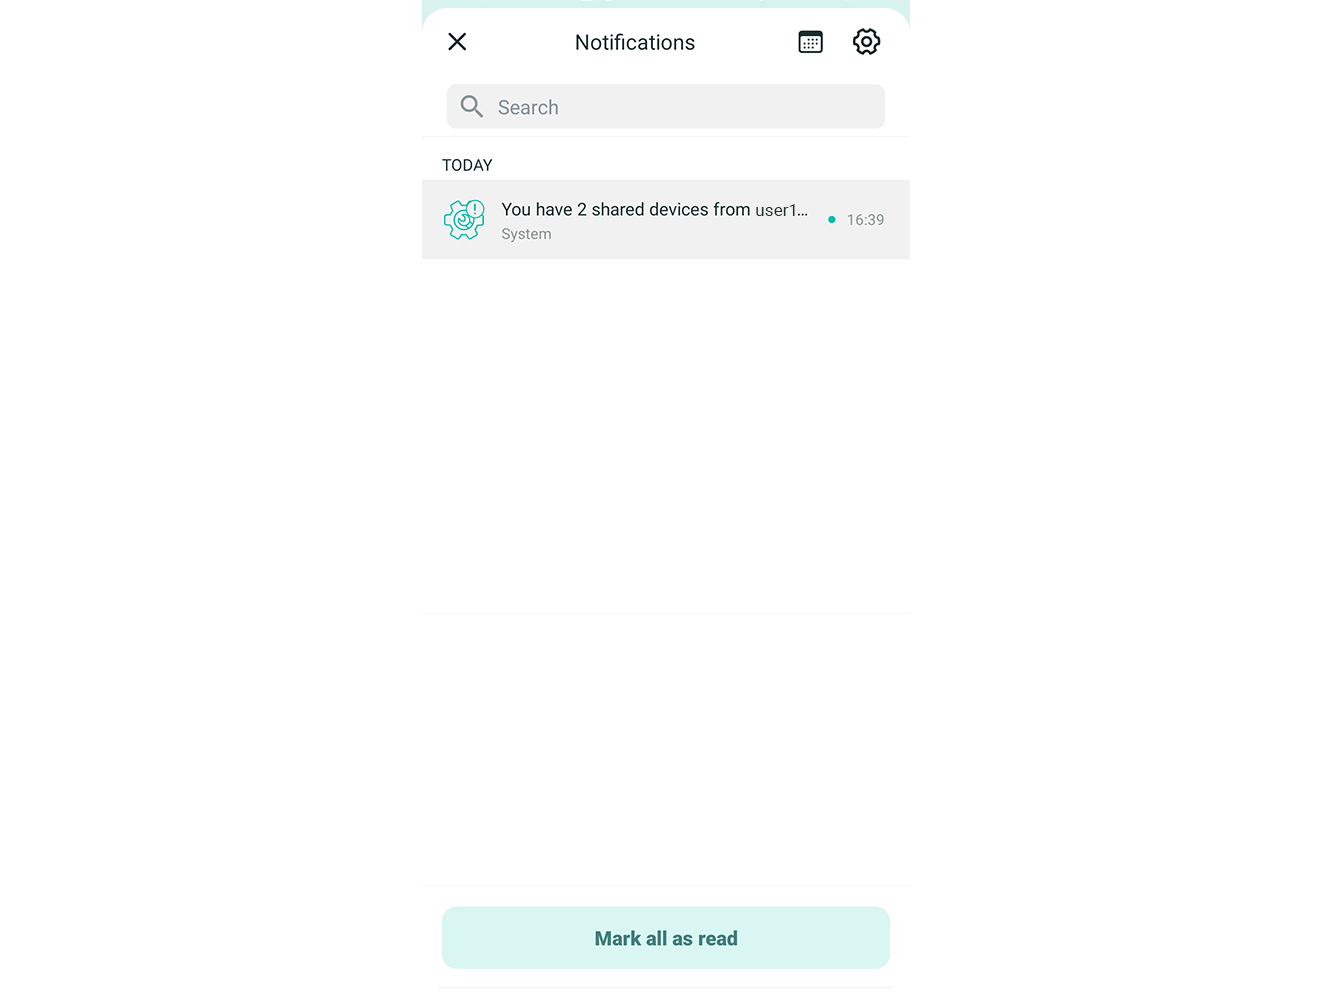
6 - If the user with this email has registered in 2Smart Cloud, you will receive a notification that the invitation was successfully sent.
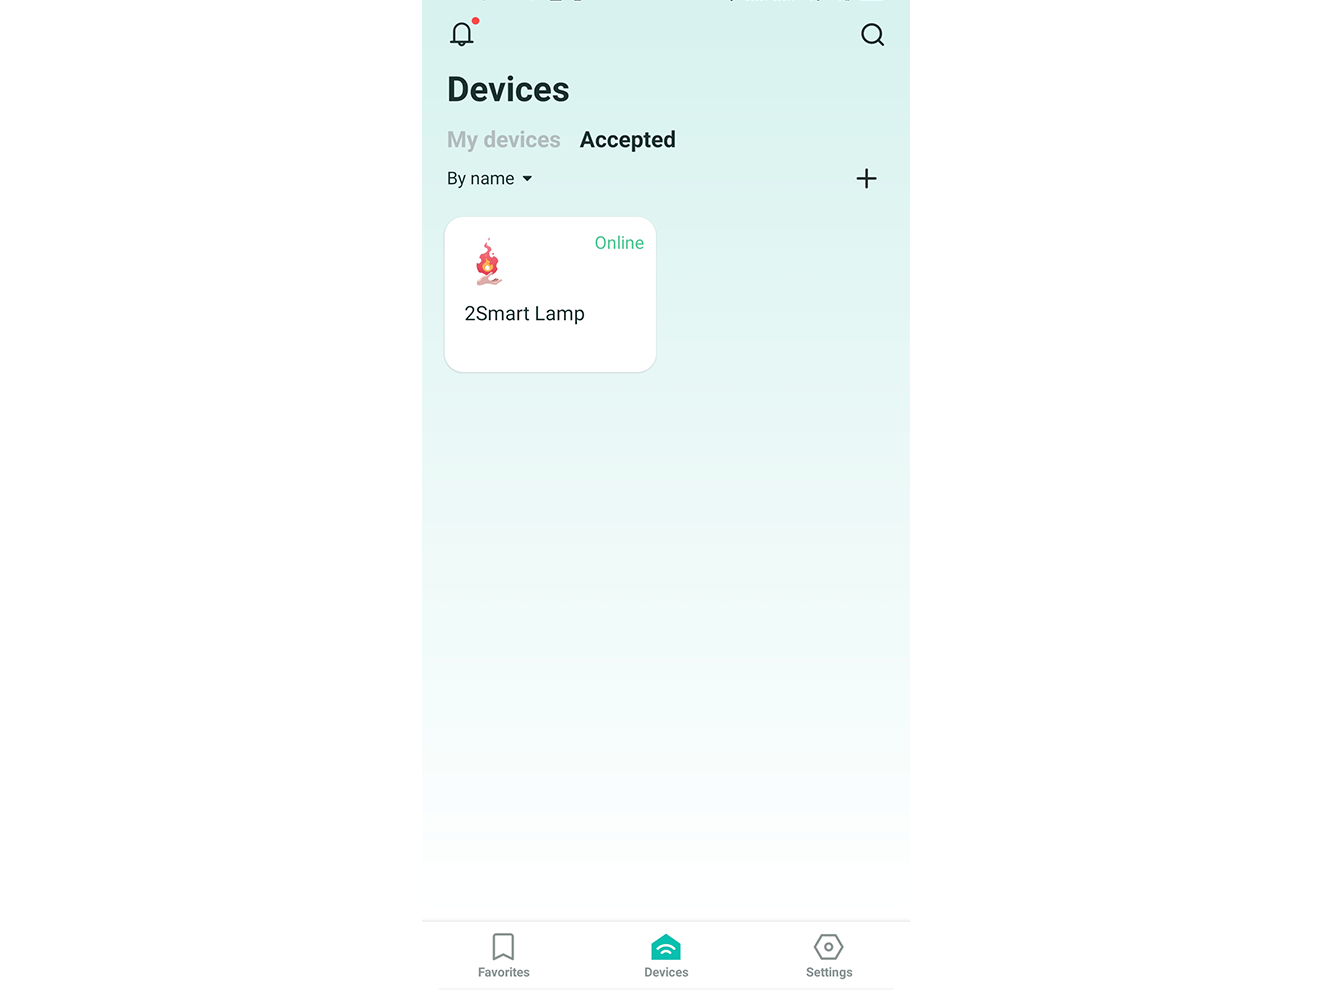
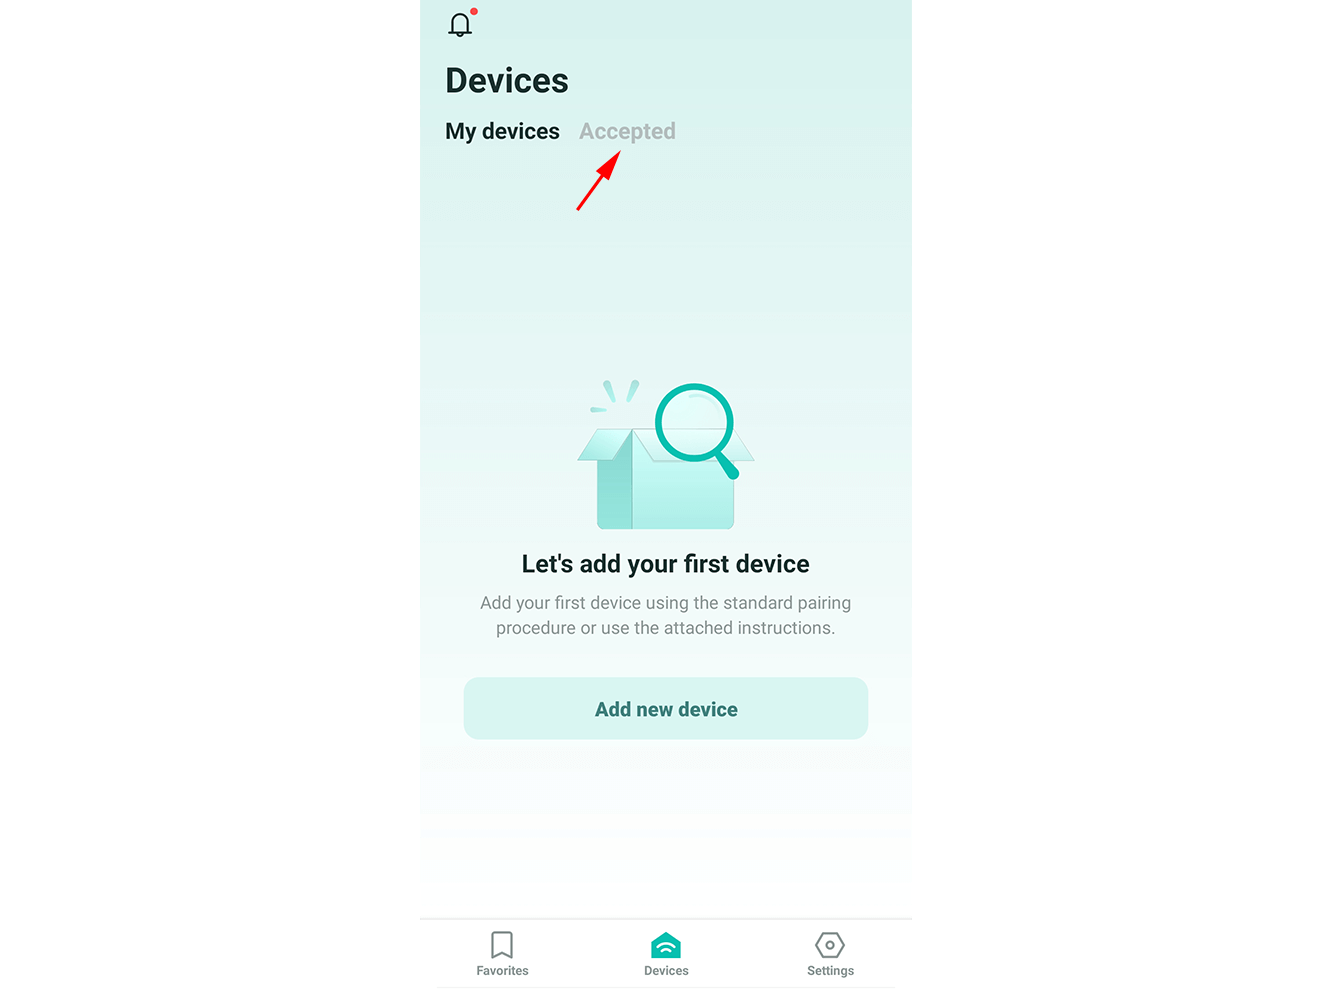
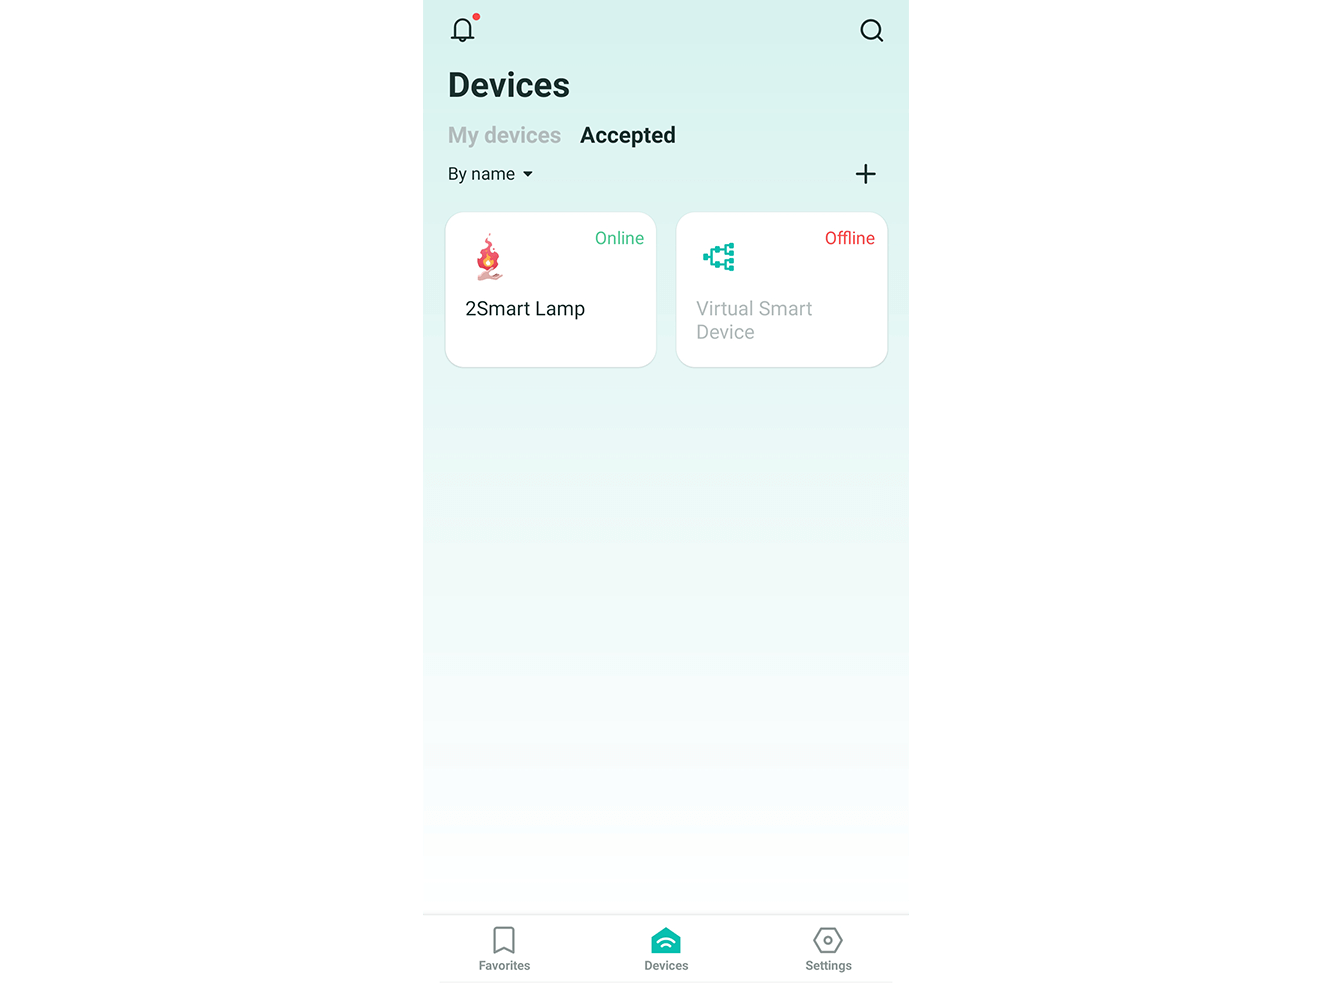
7 - The user who has been granted access will receive a notification in the mobile app. The devices will automatically appear on the “Accepted” tab of the ”Devices" screen.
Managing granted access
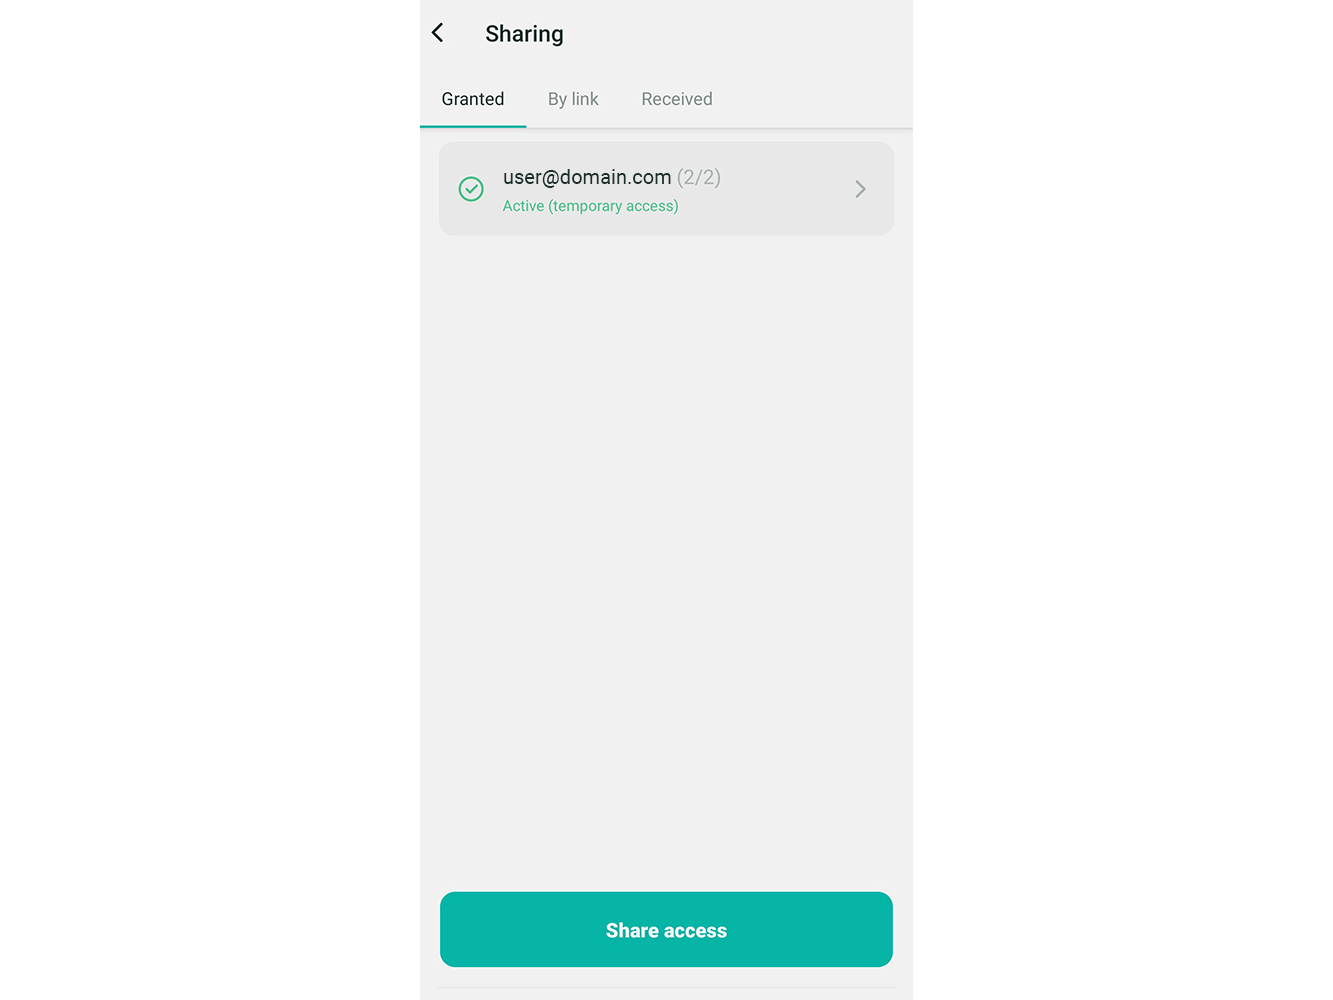
1 - In the 2Smart Cloud mobile app, open the "Settings" screen and select "Sharing".
2 - On the “Granted” tab, click on the name of the access you want to change or completely remove.
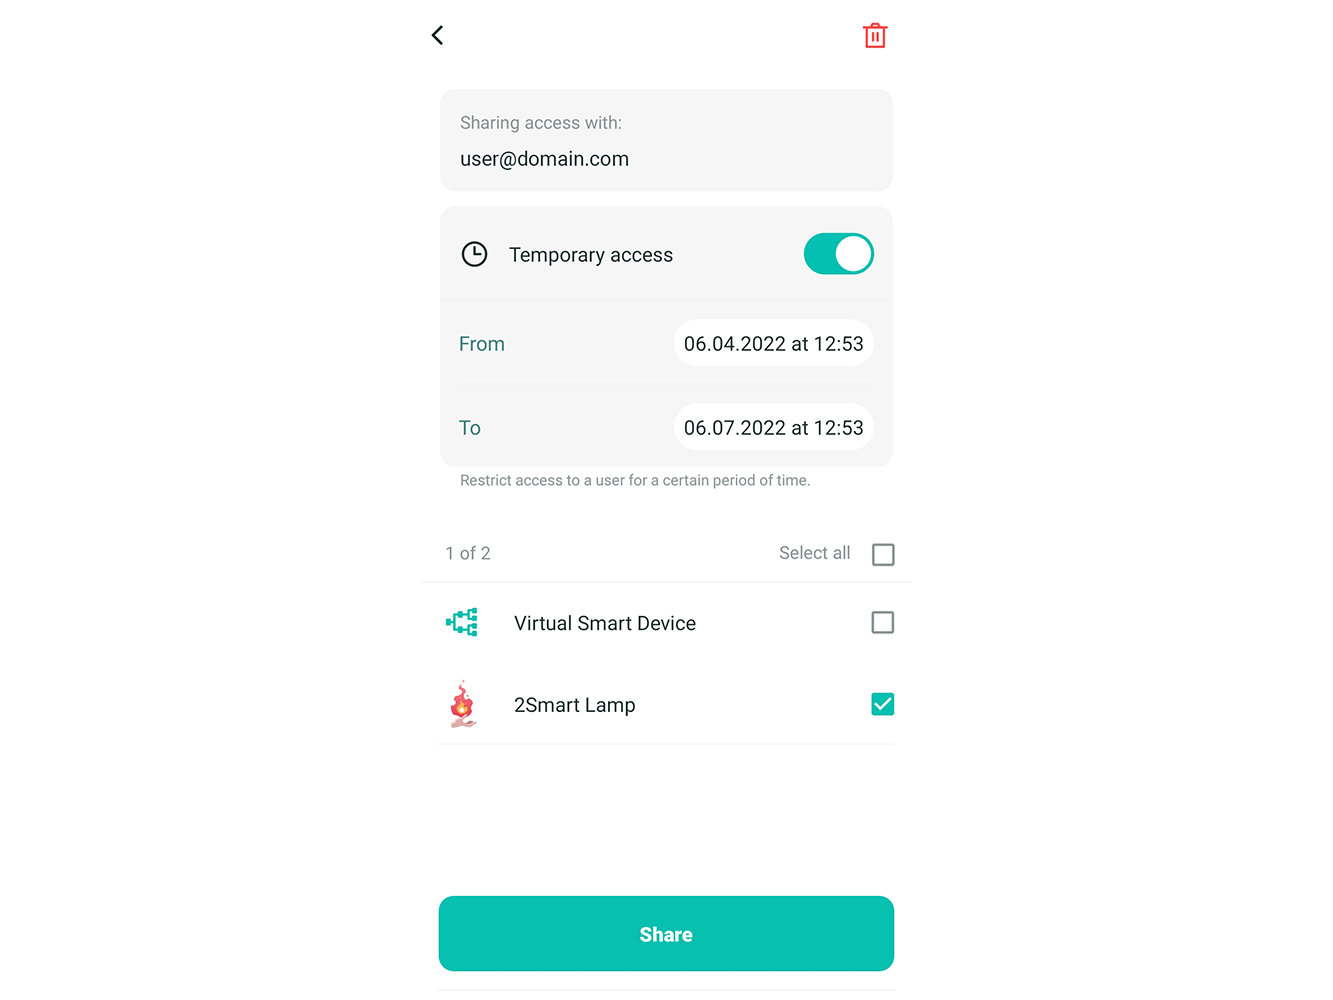
3 - Change the settings for the list of devices to which this user has access. Uncheck the box next to the device you want to revoke access to. Check the box if you want to grant access to a new device.
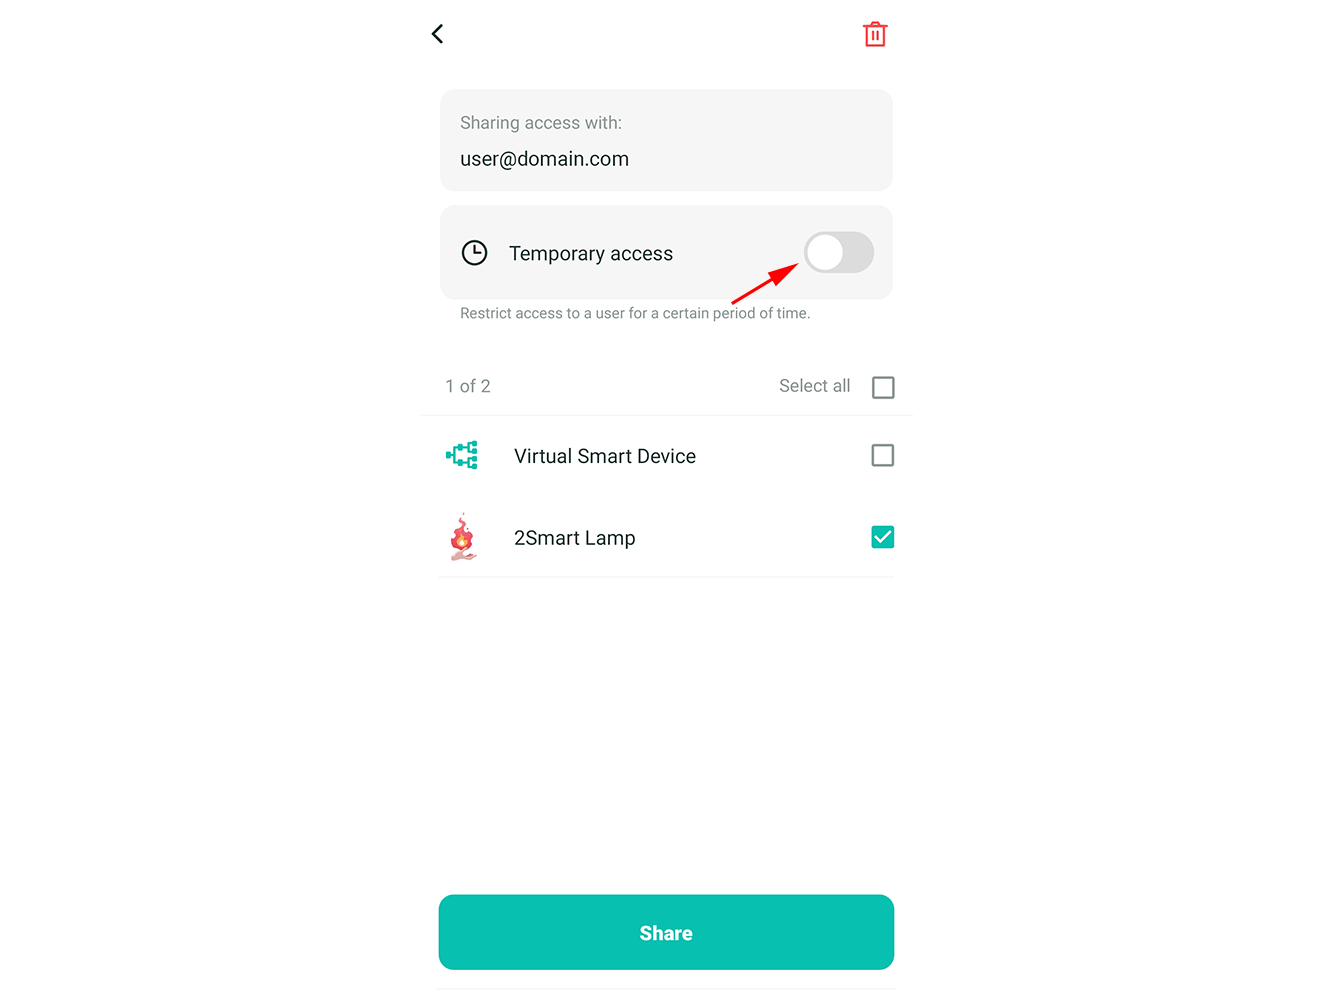
4 - To disable temporary access and make the link "eternal", click on the toggle switch to deactivate this function.
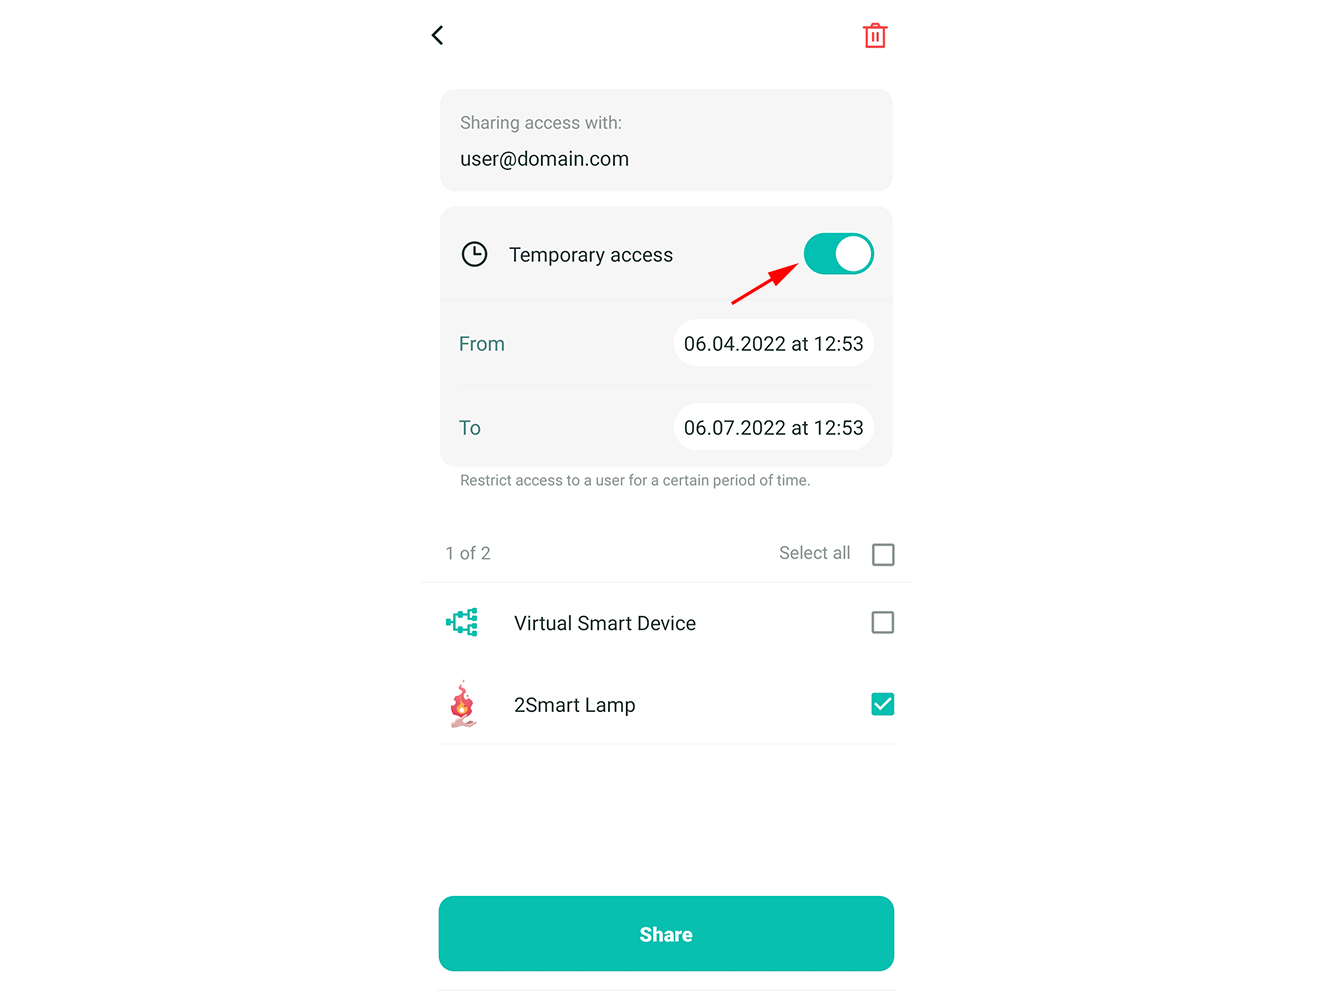
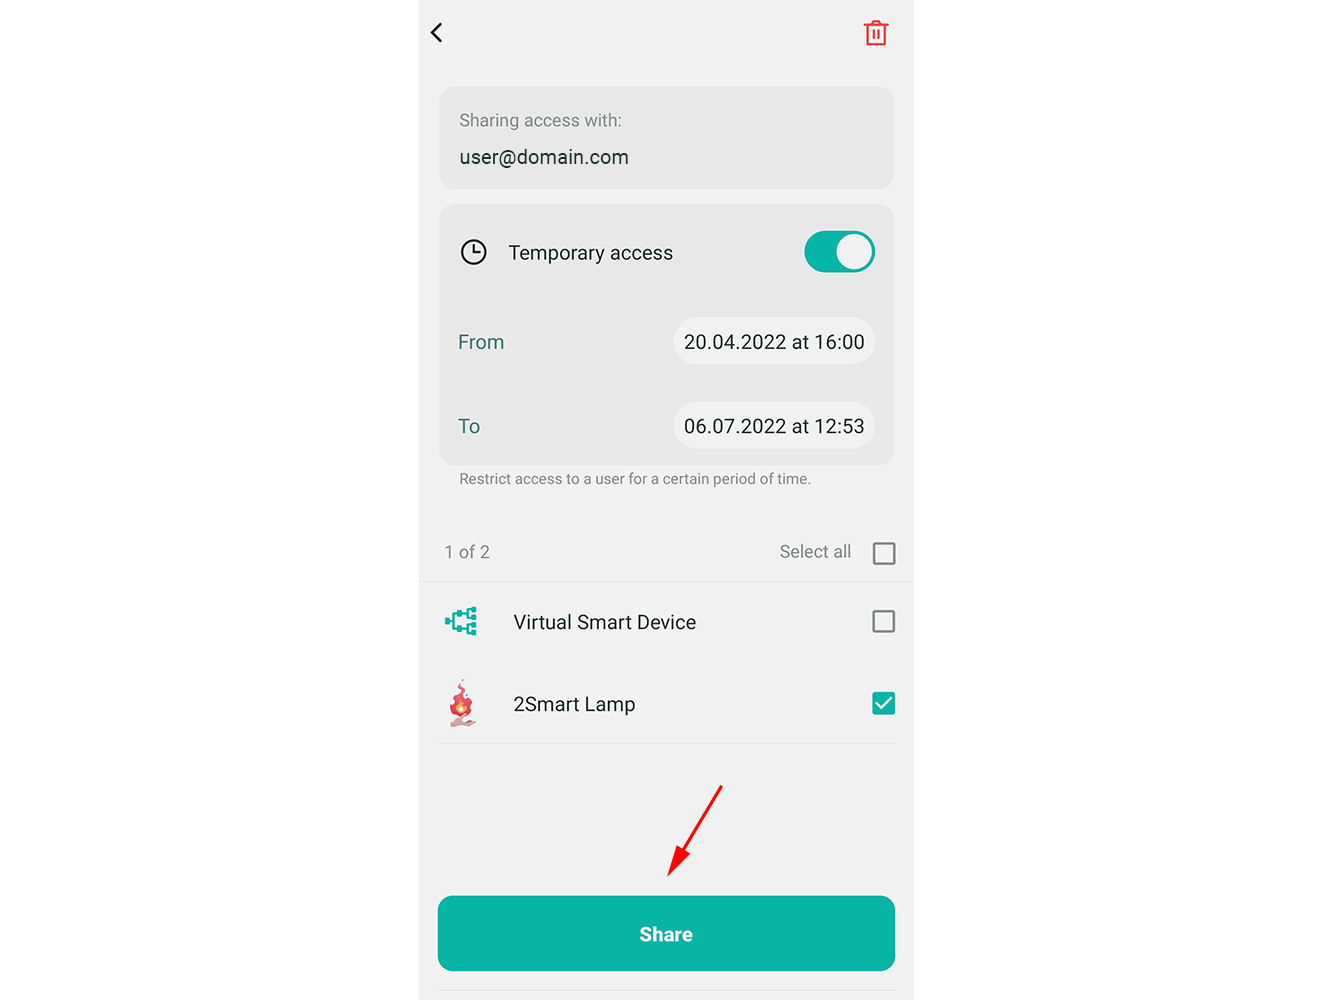
5 - To set up temporary access, turn it on if it's not already enabled.
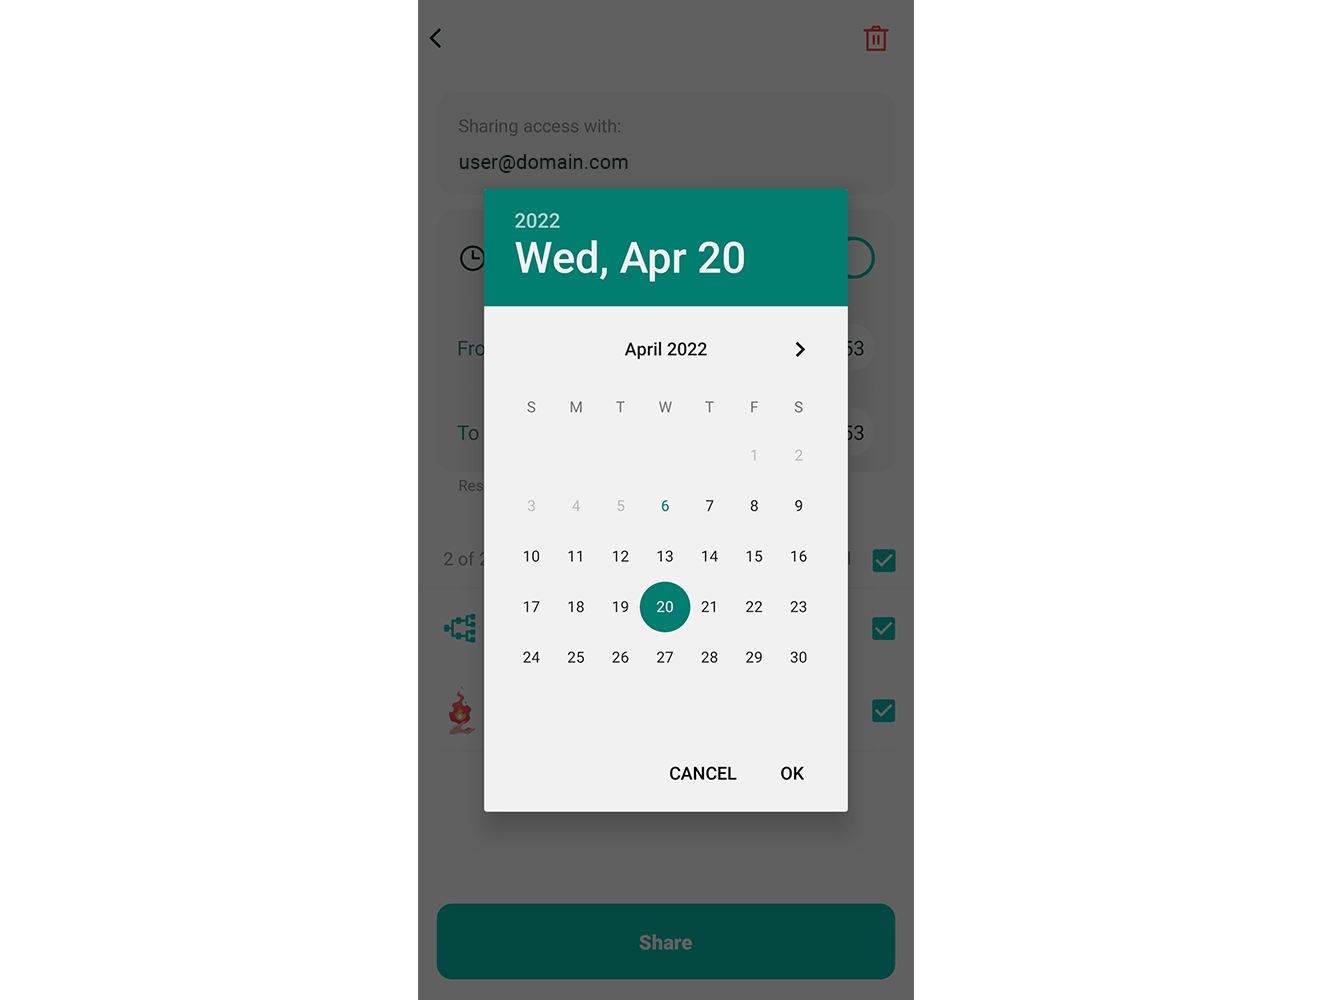
- Click on the start or end date of the access period to set a new date.
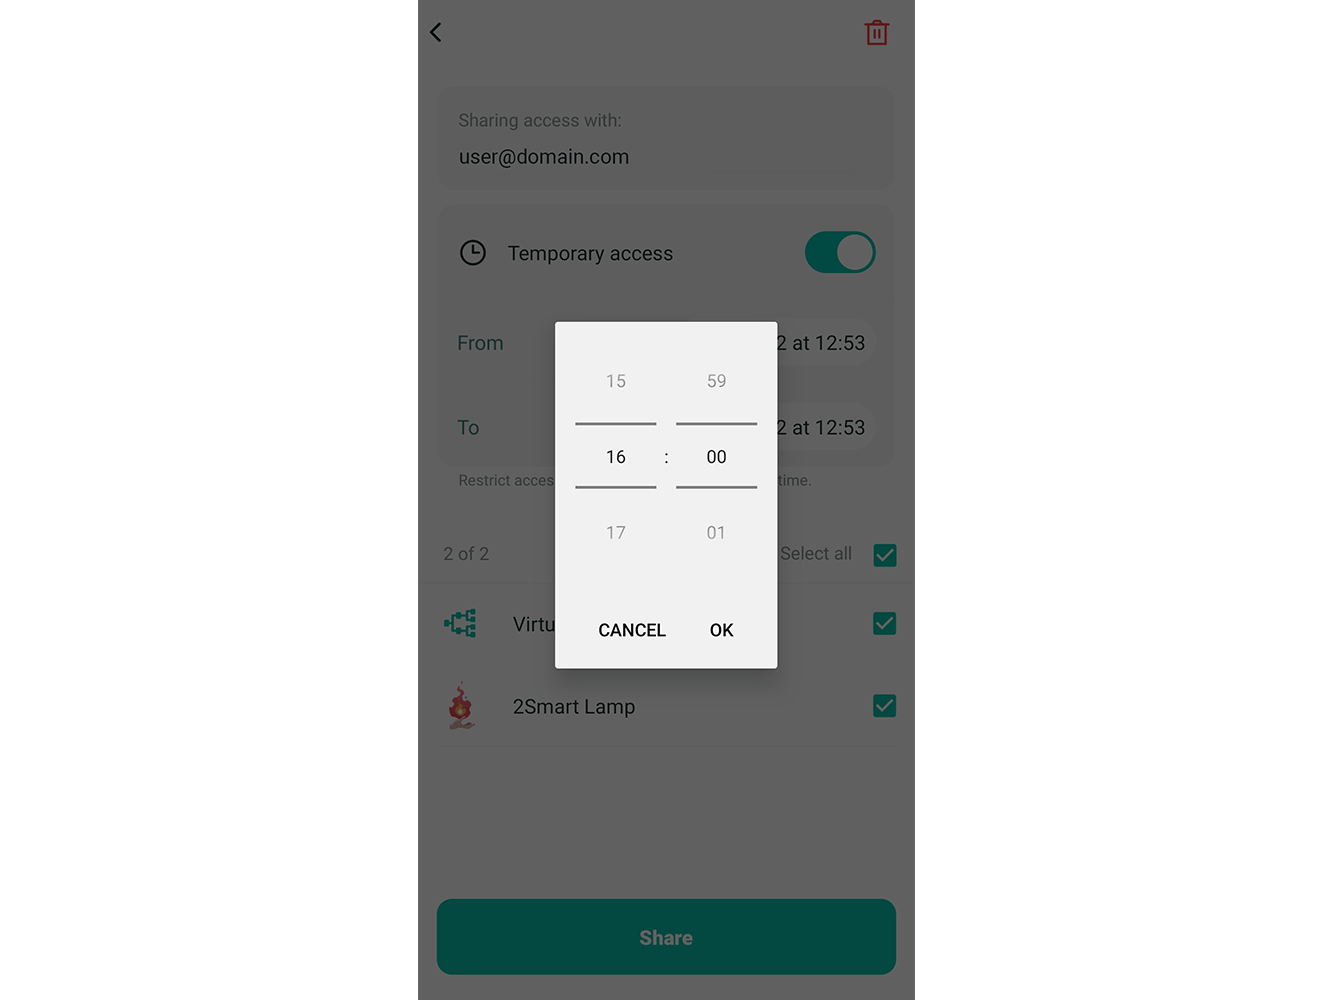
- Click on the start or end time of the access period to set a new value.
6 - Click "Share" after making the settings.
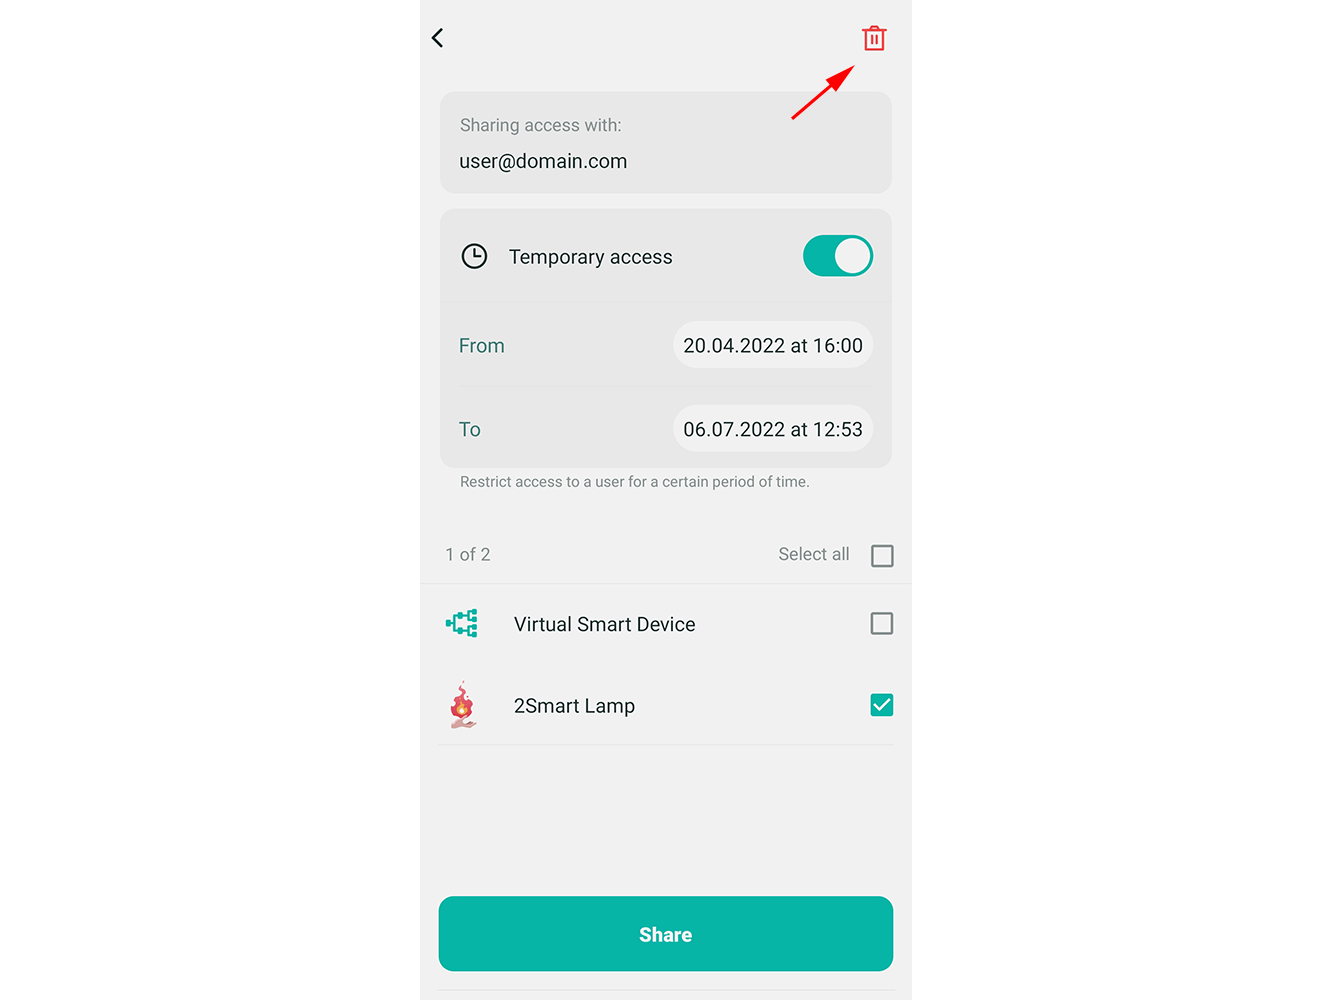
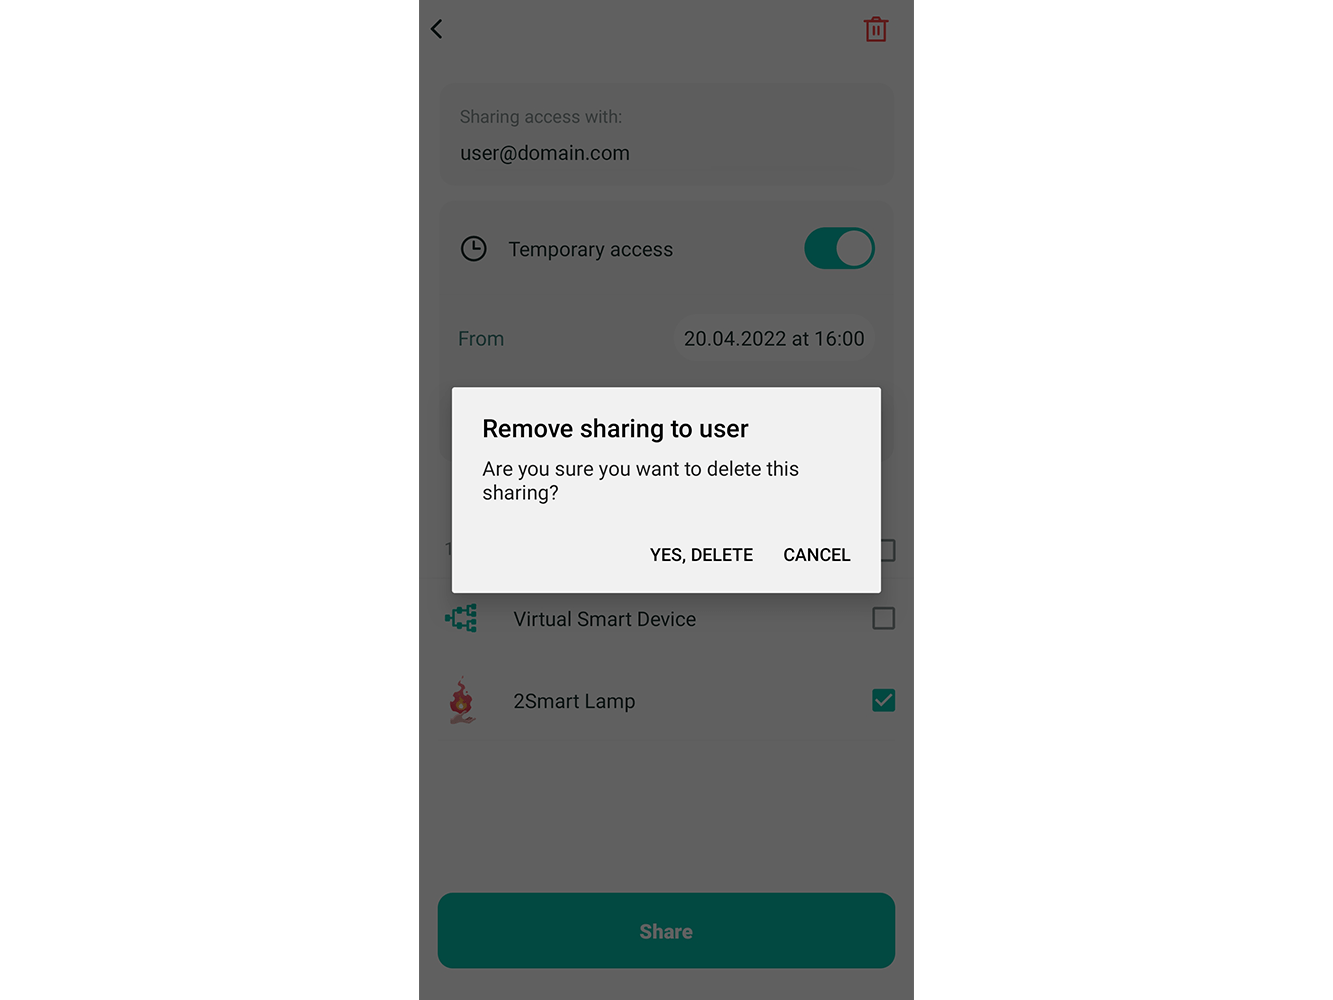
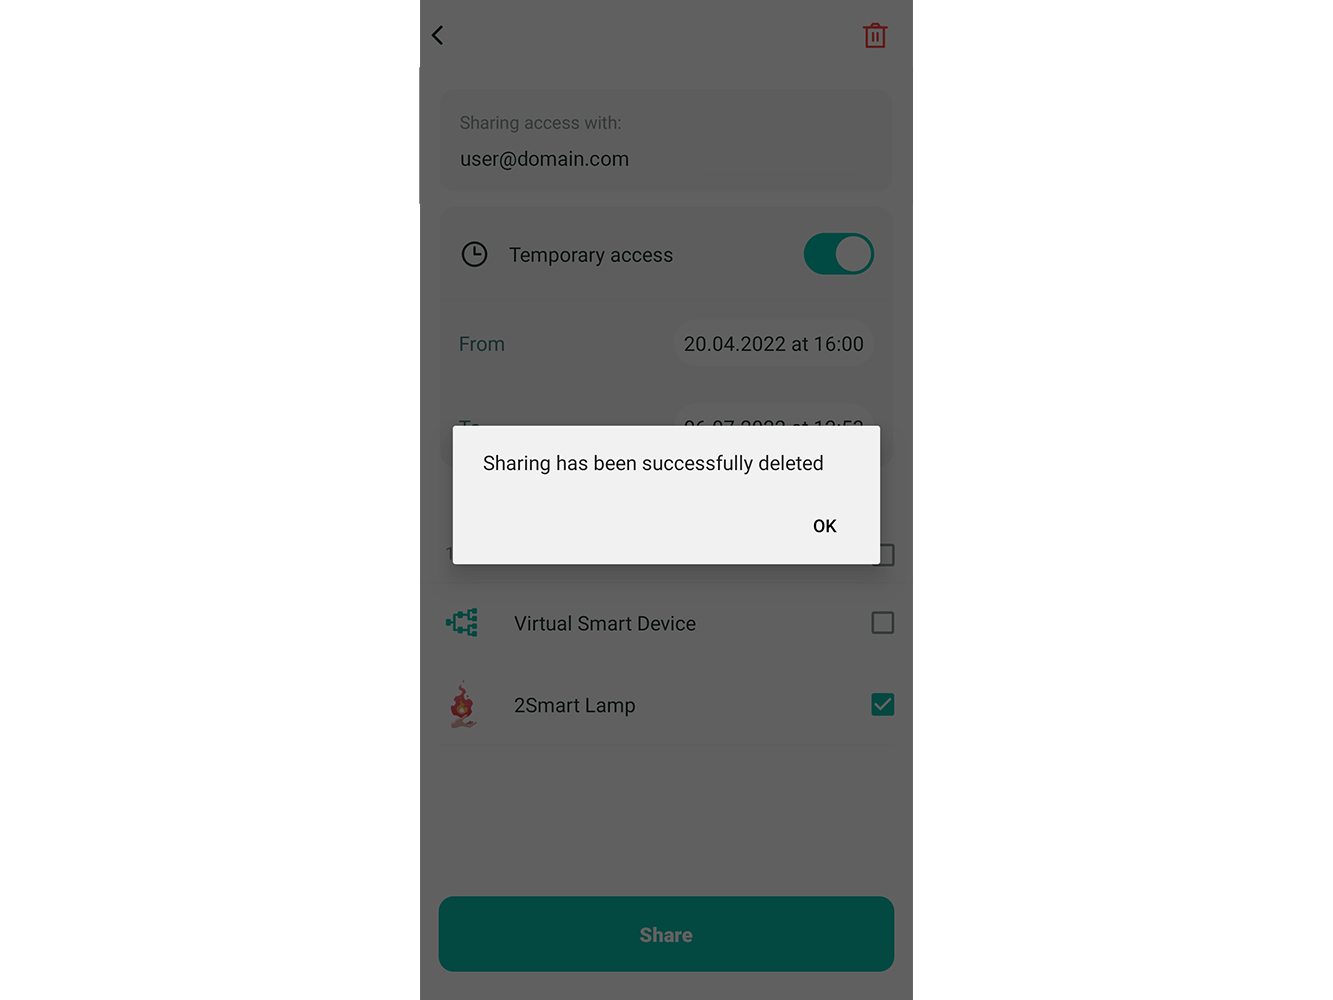
7 - To remove sharing, click on the delete icon at the top right of the screen and confirm that you want to delete all sharing settings.
Managing received access
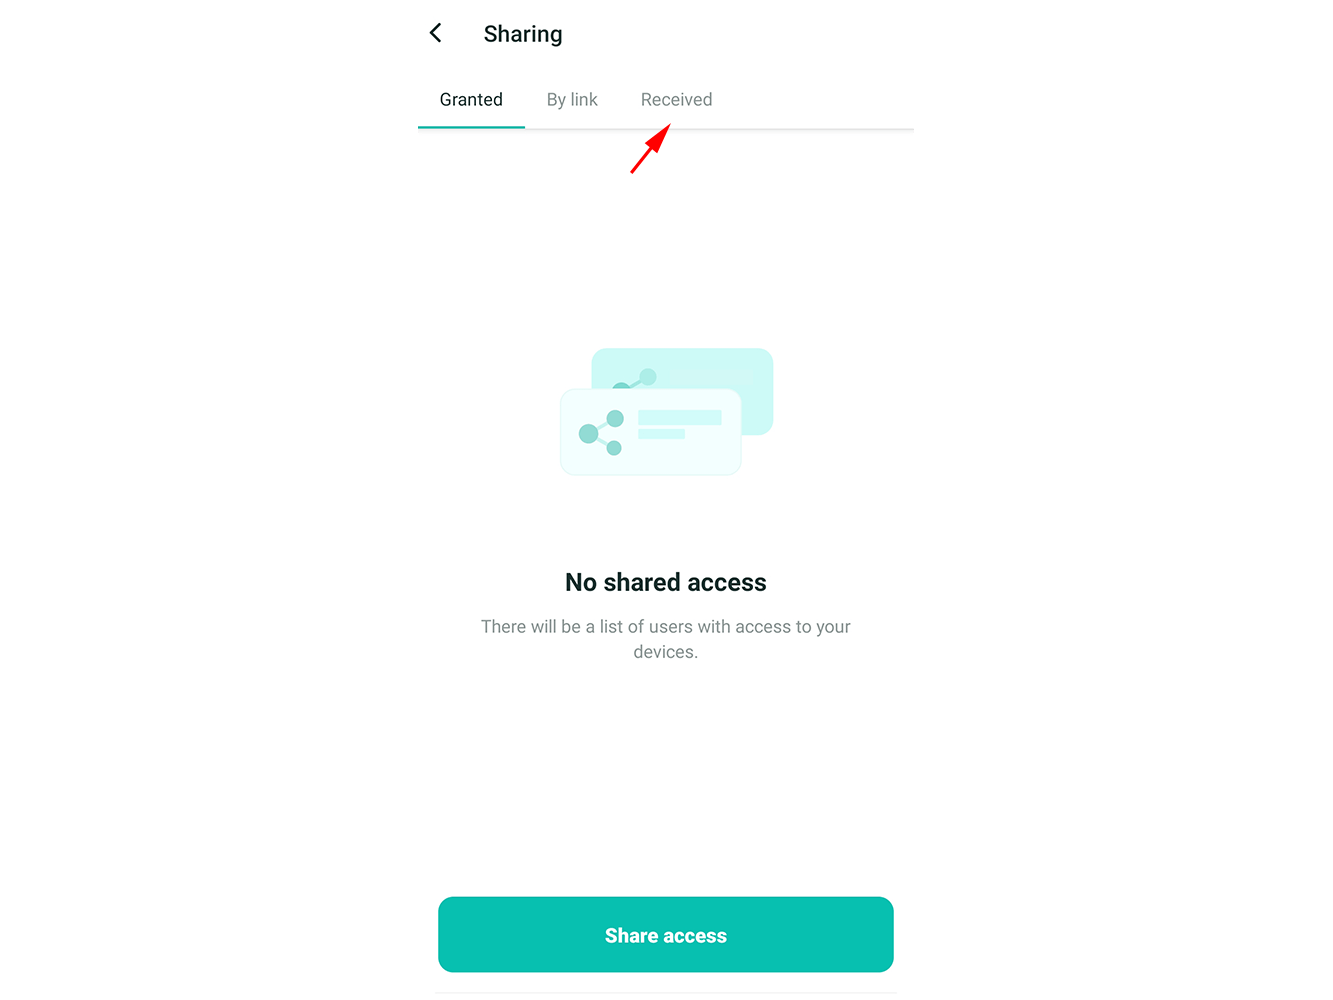
1 - In the 2Smart Cloud mobile app, open the "Settings" screen and select "Sharing".

2 - Go to the “Received" tab.
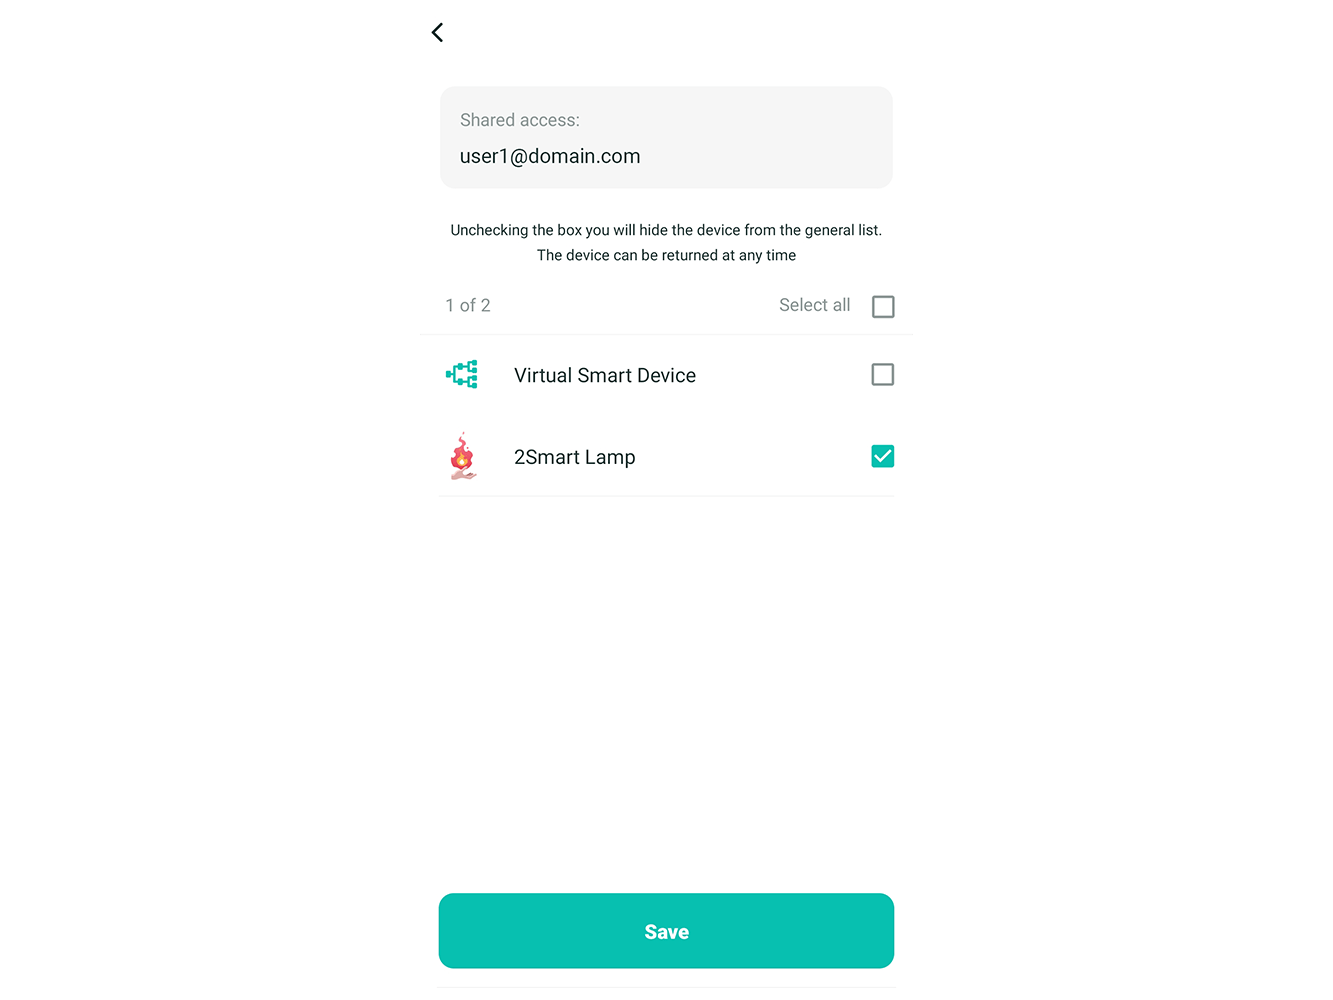
3 - Select the user from whom you received access.
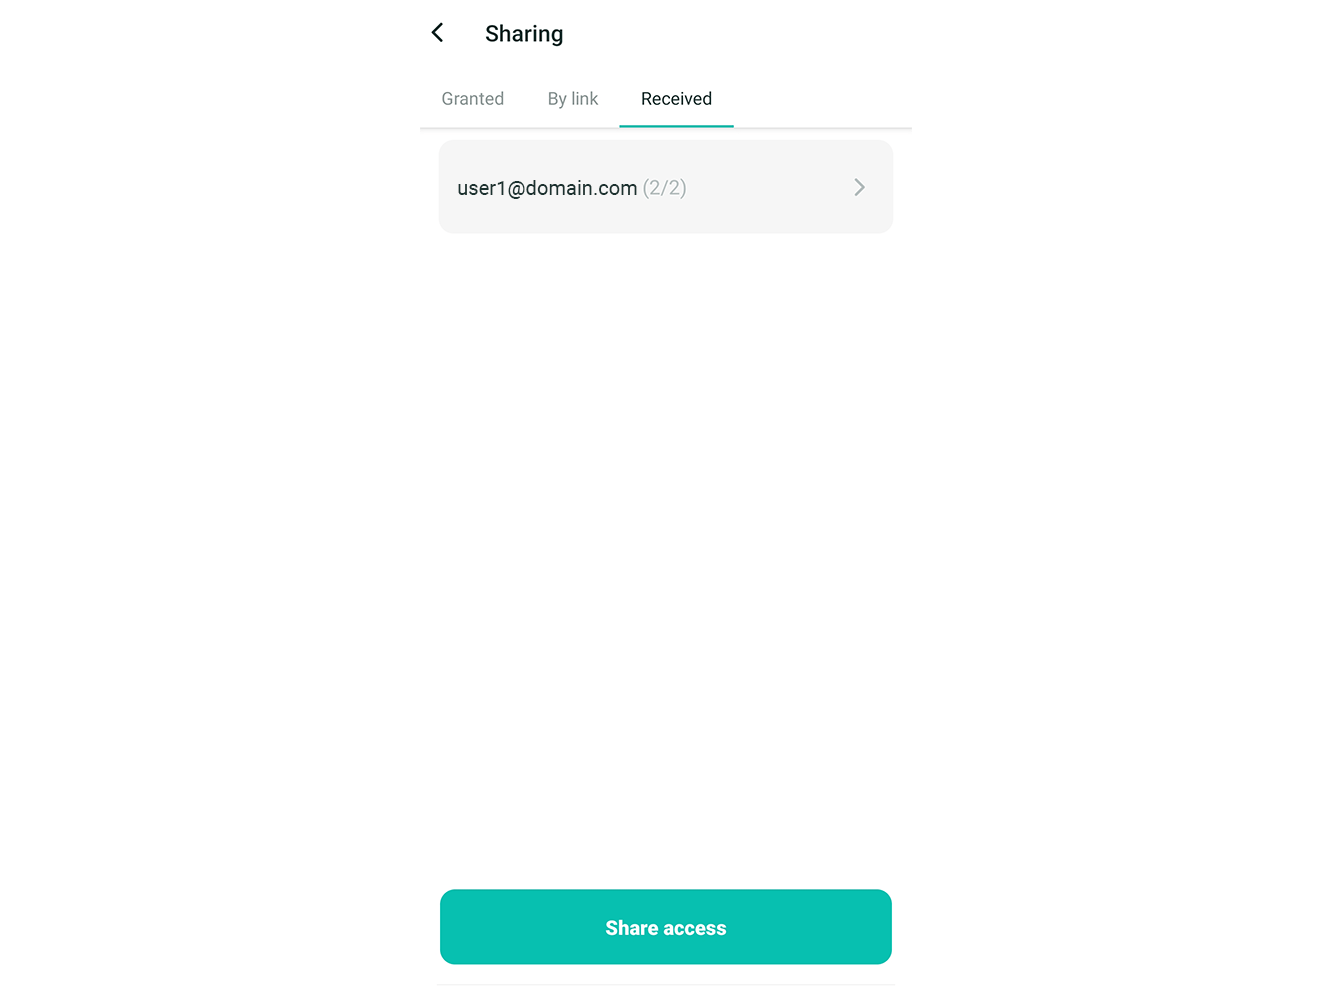
4 - Uncheck the boxes next to those devices you do not need to manage. Click "Save".
5 - Go to the “Accepted” tab of the “Devices” screen and make sure that the list of devices has been updated.