Creating the firmware for ESP32 microcontroller using ESPHome
An ESPHome platform is a simple tool for creating the firmware of the ESP32 microcontroller, which does not even require knowledge of programming principles. This is its main advantage. Initially, ESPHome was designed for home automation systems, so it is not suitable for creating commercial devices by default. In particular, the standard ESPHome firmware implies that the credentials of the home Wi-Fi network must be pre-wired into the code.
However, 2Smart Cloud vendors can take advantage of ESPHome and not worry about its disadvantages. When creating firmware on this base, a simple ESPHome syntax is used. However, the production firmware, installed on the entire batch of devices, does not contain Wi-Fi credentials. The user transmits the parameters of his network when pairing the device with a mobile application – as for firmware written using standard tools.
Please note that ESPHome-based firmware in 2Smart Cloud is assembled on the platform servers. You do not need to use assembler programs on your computer.
The firmware of the test device and the production firmware of ESPHome: what is the difference
When using the ESPHome tool, vendors will note that in 2Smart Cloud, they will be offered two firmware options: test and production.
The difference between these two options is evident from the name. The test firmware is intended solely for testing the functionality of the prototype. Conceptually, it is closer to pure ESPHome – the developer's Wi-Fi network credentials are sewn into the code, which must be specified when assembling the firmware on the platform. This is necessary to quickly connect the prototype to the platform and continue working on the product.
Production firmware is the code version that needs to be installed on the entire batch of devices. There will no longer be Wi-Fi network credentials, and users will specify them at the pairing stage.
The code describing the device's logic using ESPHome is similar in both cases.
How to create a firmware based on ESPHome
Use the documentation and ready-made examples on https://esphome.io/ and other sources to write code.
After writing the code for your product, return to the platform:
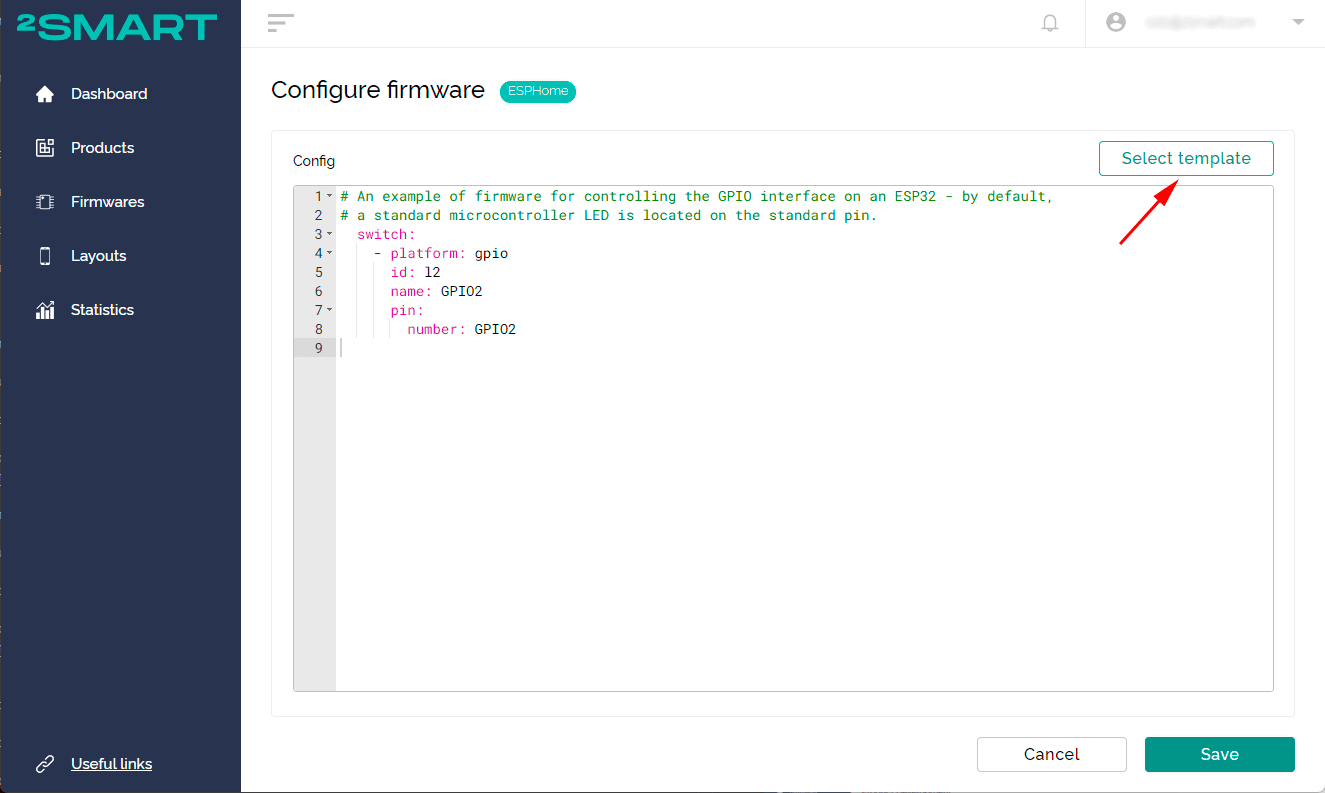
1 - Paste the ESPHome-based firmware code into the edit window.
When using the step-by-step assistant, this is the third stage of working on the product. The editor opens automatically:
When using the product page, a similar window opens after selecting ESPHome as the firmware base:
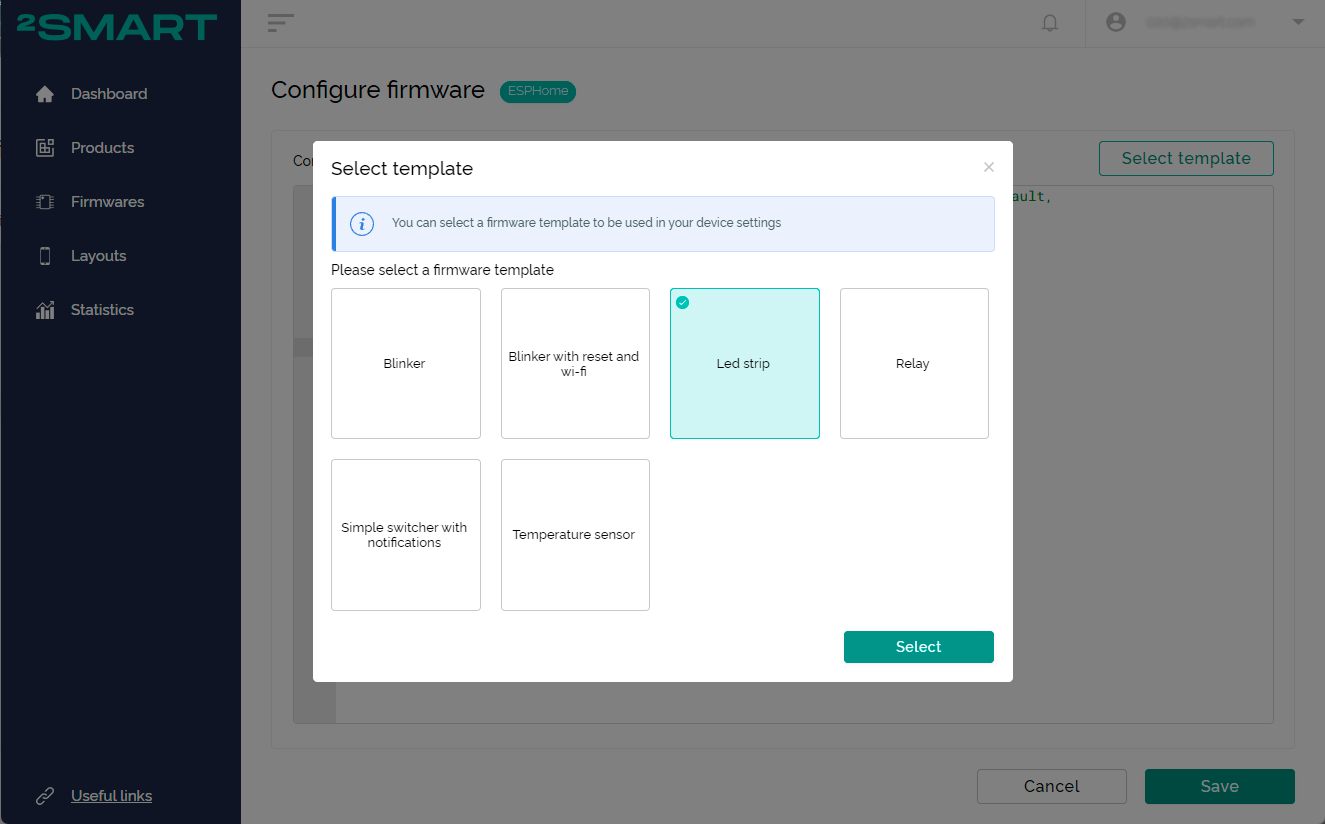
In both cases, you can use ready-made templates with ESPHome firmware for several simple devices.
Click the “Select template” button.
Choose a template and click the “Select” button.
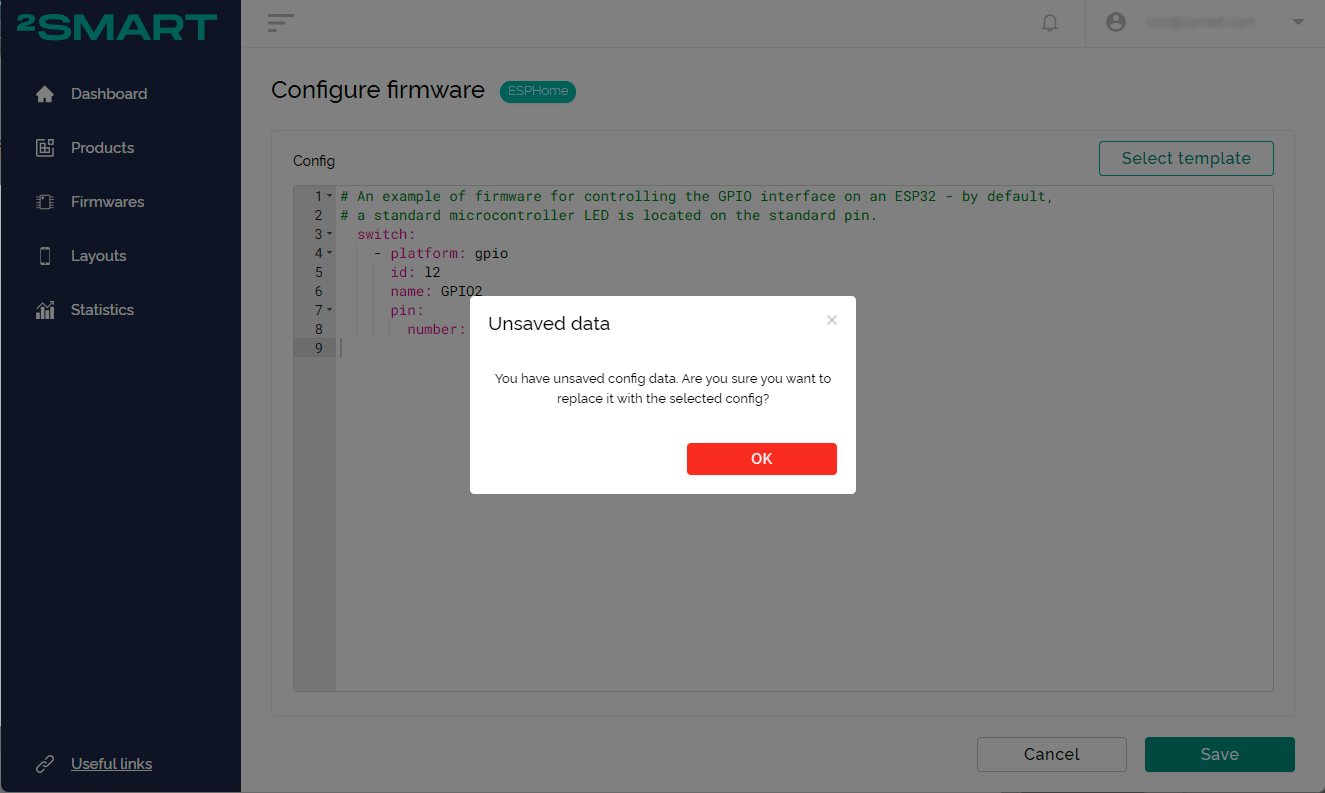
Confirm that you want to replace the current configuration with the template.
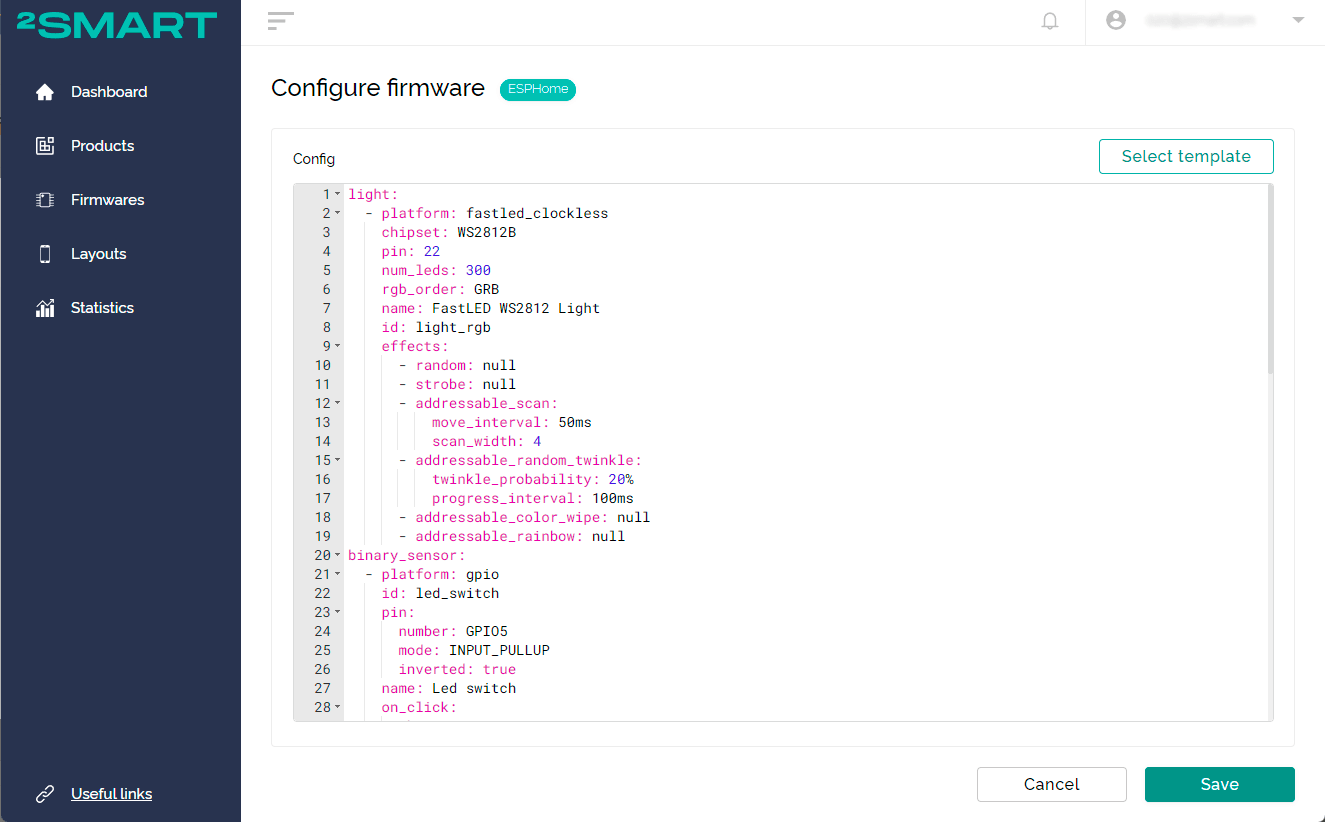
Use the template as is, or make the necessary changes.
2 - Save the code.
Click “Next” in the step-by-step assistant:
Click “Save" when using the product page:
3 - Build the test firmware.
When using the wizard, click “Build firmware” in the next step.
Specify the credentials to connect to your Wi-Fi network:
When using the product page, click the first of the two “Build firmware" buttons.
Specify the credentials to connect to your Wi-Fi network:
4 - Download the archive with the test firmware. Click on the download link next to the “Build firmware” button.
In the step-by-step assistant:
On the product page:
5 - Flash the prototype using the instructions in the readme.md file inside the archive or illustrated instructions on our blog:
Please note! If the firmware is already written to the microcontroller, do not forget to remove it according to the documentation.
Pay attention to the device[ID].yml file in the test firmware archive! It contains the ESPHome firmware configuration of your device. If you need to edit the firmware configuration at the prototype testing stage, it is unnecessary to do it on the platform and build a new archive. In such cases, follow the simple instructions:
- edit the firmware configuration and make the required changes to the device[ID].yml file;
- install updated firmware on the device;
- repeat the previous two steps if necessary;
- copy the final config to the platform before building the production firmware.


